
Silverado 1500 4WD V8-6.0L Hybrid (2009)
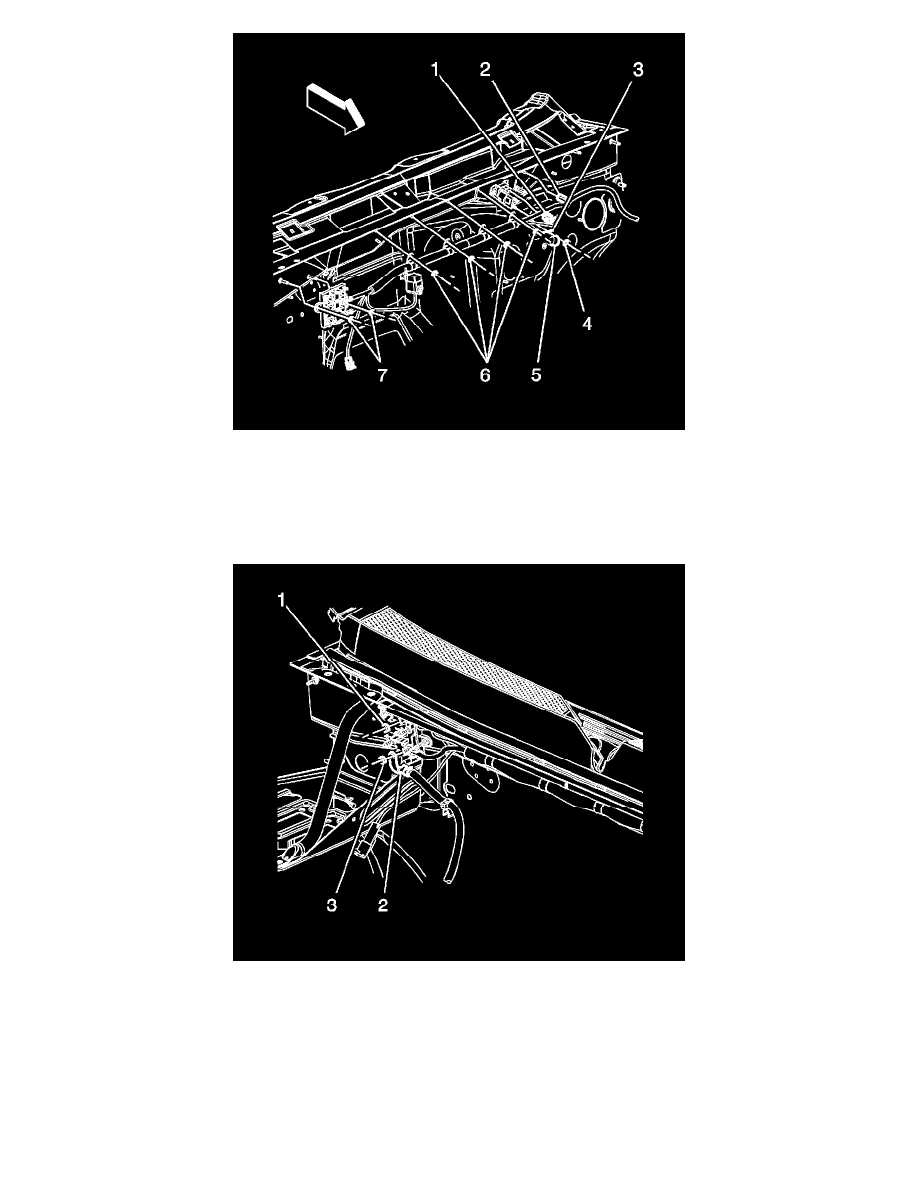
2. Install the auxiliary battery positive cable push nuts (6).
3. Install the auxiliary battery positive cable retainer (2) to the stud on the front of dash.
Caution: Refer to Fastener Caution (See: Service Precautions/Vehicle Damage Warnings/Fastener Caution) .
4. Install the auxiliary battery positive cable and nut (4) to the battery relay and tighten to 9 Nm (80 lb in) .
5. Position the auxiliary battery positive cable boot (5).
6. Connect auxiliary battery positive cable electrical connector (1) to the auxiliary battery relay.
7. Install the auxiliary battery positive cable to the mega fuse holder.
8. Install the generator battery jumper cable terminal (2) to the mega fuse stud.
9. Install the generator battery jumper cable nut (3) to the mega fuse holder and tighten to 9 Nm (80 lb in) .
10. Install the auxiliary battery positive cable nut (1) to the mega fuse holder and tighten to 9 Nm (80 lb in) .