
Silverado 2500 2WD V8-8.1L VIN G (2005)
8. Remove the brake pads from the caliper bracket.
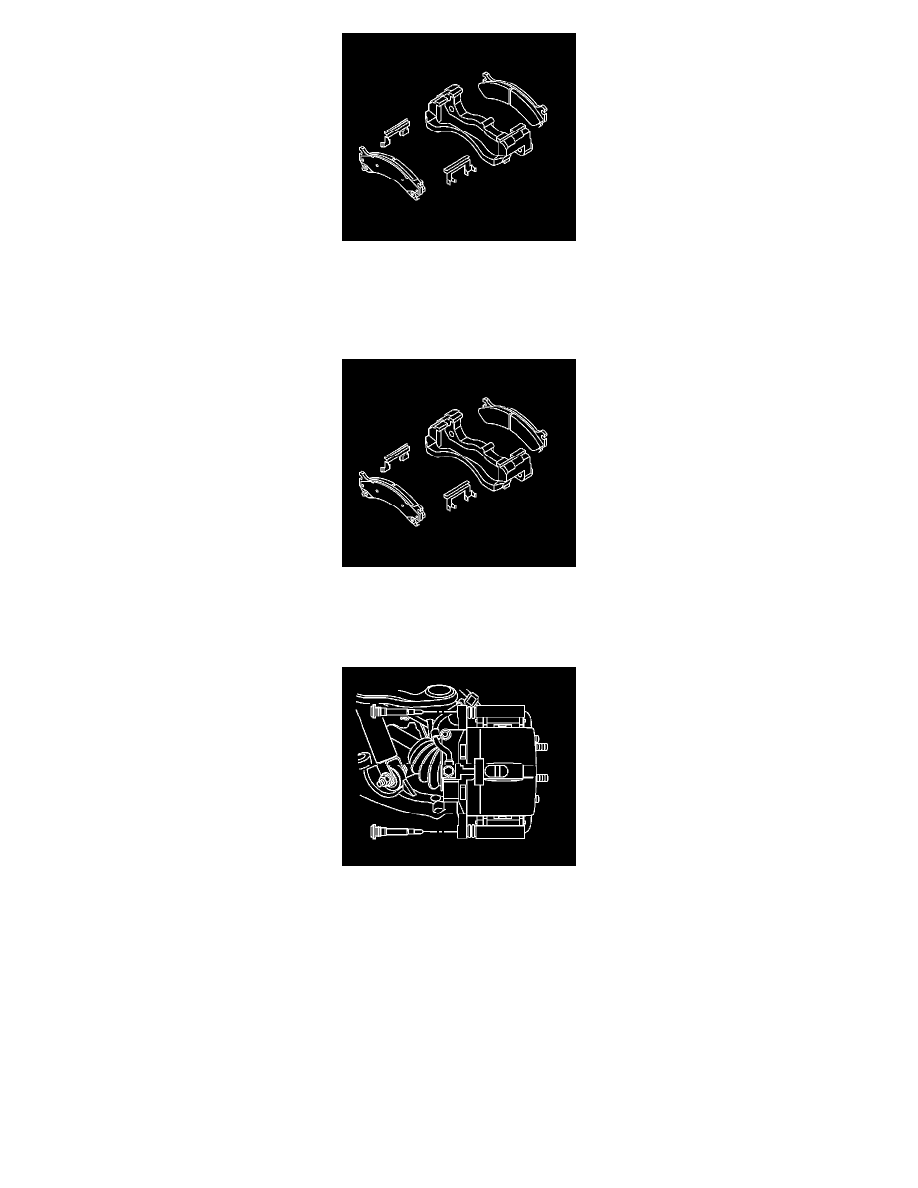
9. Remove and discard the anti-rattle clips.
10. Inspect the caliper and caliper bracket.
Installation Procedure
1. Install NEW anti-rattle clips to the caliper bracket.
2. Install the disc brake pads.
^
2500 Series - inner and outer pad with wear sensor leading.
^
3500 Series - install the inner and outer pads.
3. Install the caliper to the caliper bracket.
4. Notice: Refer to Fastener Notice in Service Precautions.
Install the brake caliper bolts.
Tighten the bolts to 108 Nm (80 ft. lbs.).
5. Install the tire and wheel assembly.
6. Remove the safety stands.
7. Lower the vehicle.
8. With the engine OFF, gradually apply the brake pedal to approximately 2/3 of its travel distance.
9. Slowly release the brake pedal.
10. Wait 15 seconds, then repeat steps 7-8 until a firm pedal is obtained. This will properly seat the brake caliper pistons and pads.
11. Fill the brake master cylinder reservoir to the proper level with clean brake fluid, if necessary.
12. Burnish the pads and rotors.