
Silverado 2500 2WD V8-8.1L VIN G (2005)
7. Using J 43773 (2), compress the control main valve spring until retaining clip (1) is loose. Remove retaining clip (1).
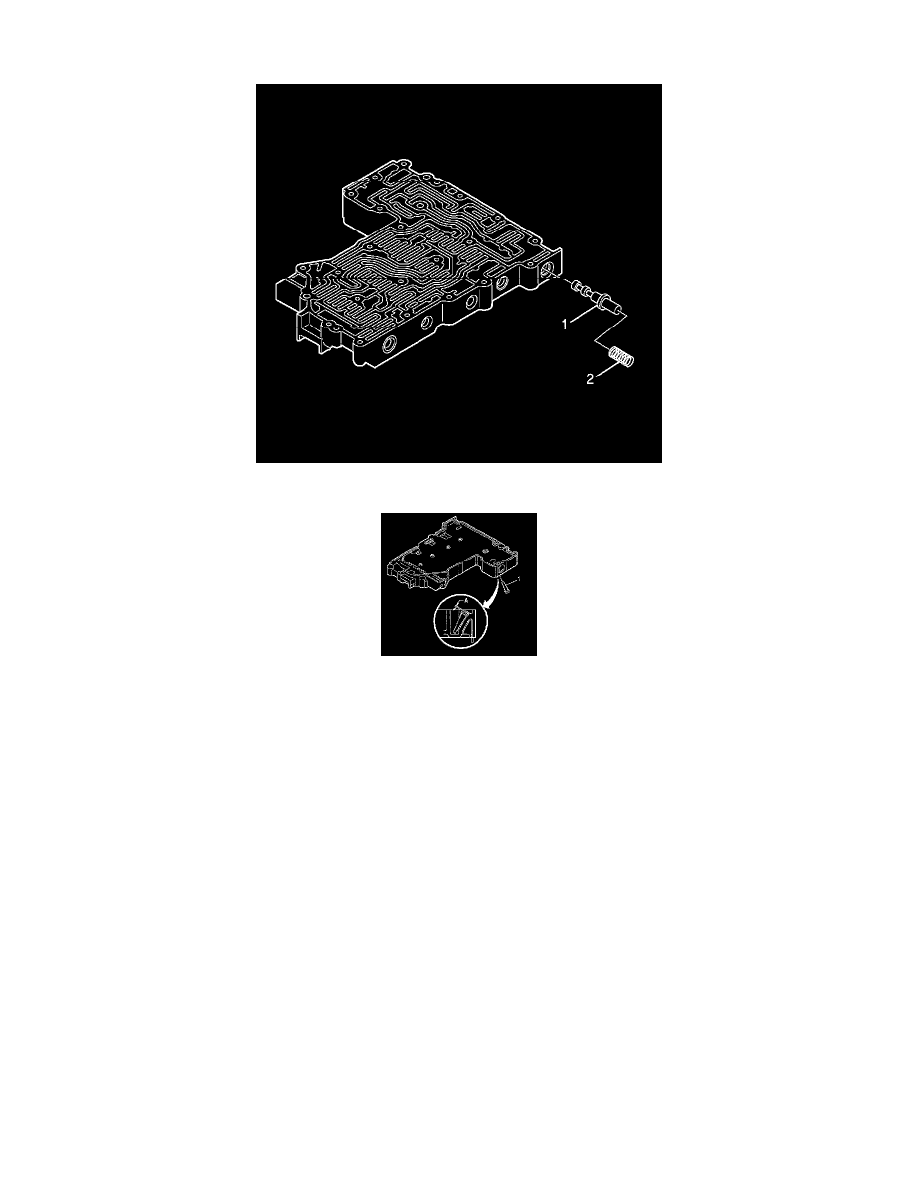
8. Remove spring (2) and control main valve (1).
9. Remove solenoid screen (1).
Control Valve Body Cleaning and Inspection
Control Valve Body Cleaning and Inspection
Clean and Inspect
^
Tools Required
-
J 33163 Valve Tray Set
Notice:
^
Transmission damage may occur when control valve assembly springs and other parts are mistakenly interchanged. Interchanging parts can be
avoided by observing the following precautions:
^
Tag each part as it is removed.
^
Use J 33163 Valve Tray Set to organize parts and to simplify correct valve body reassembly.
^
Protect control valve assembly parts from damage by observing the following precautions:
^
Handle all valves carefully.
^
Protect control valve assembly parts during removal, cleaning, inspection, and reassembly.
^
Keep the parts in a clean container until the parts are installed.
1. Clean all removed parts with volatile mineral spirits or other similar cleaning agent.
2. Clean fluid passages by working a piece of soft wire through the passage and flushing with mineral spirits. Dry the passages with compressed air.
3. Inspect valves for wear, nicks, or scratches. Remove minor imperfections with a soft stone or crocus cloth. Replace any damaged valves.
4. Inspect springs for signs of overheating, permanent set, or wear. Replace suspect springs.
5. Inspect mating surfaces for nicks, burrs, scratches, or foreign matter. Remove any defects with crocus cloth or a soft stone. Replace damaged parts.
6. Inspect bores for wear, scratches, and grooves. Remove scratches and burrs with crocus cloth. Replace deeply grooved or scratched parts.
7. Inspect threaded parts for burred or damaged threads. Remove burrs with a soft stone or fine file.
8. Inspect threaded openings for damaged threads. Correct damaged threads with a correctly sized tap.