
Silverado 2500 4WD V8-6.6L DSL Turbo (2010)
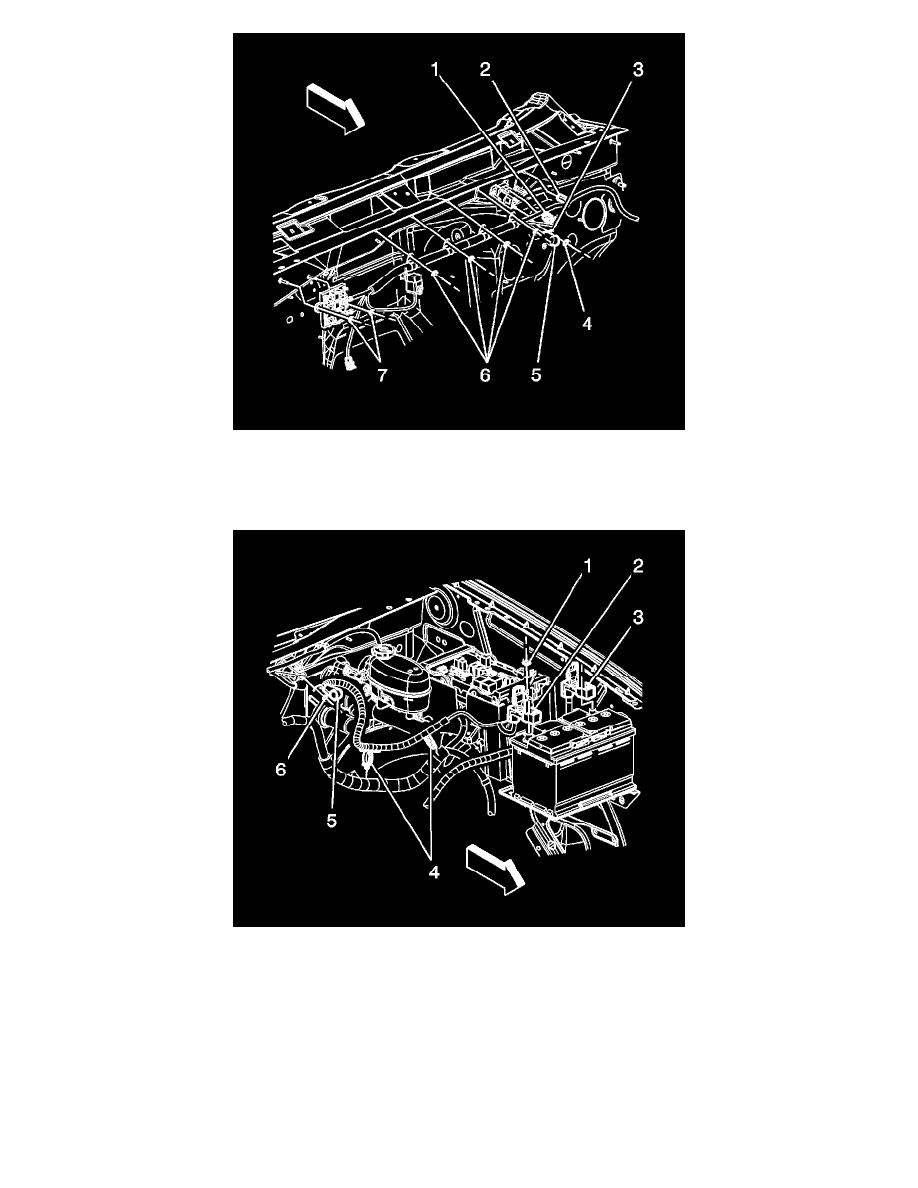
2. Install the auxiliary battery positive cable to the auxiliary battery relay.
3. Install the auxiliary battery positive cable nut (4) to the battery relay stud and tighten to 9 Nm (80 lb in).
4. Position the auxiliary battery positive cable boot (5) to the auxiliary battery relay stud.
5. Connect the auxiliary battery positive cable electrical connector (1) to the battery relay.
6. Install the auxiliary battery positive cable to the auxiliary battery relay.
7. Install the auxiliary battery positive cable nut (6) to the battery relay stud and tighten to 9 Nm (80 lb in).
8. Position the auxiliary battery positive cable boot (5) to the auxiliary battery relay stud.
9. Connect the auxiliary battery negative cable. Refer to Battery Negative Cable Disconnection and Connection (Single Battery) (See: Starting and
Charging/Battery/Battery Cable/Negative/Service and Repair)Battery Negative Cable Disconnection and Connection (Dual Batteries) (See:
Starting and Charging/Battery/Battery Cable/Negative/Service and Repair)Battery Negative Cable Disconnection and Connection (Auxiliary
Battery) (See: Starting and Charging/Battery/Battery Cable/Negative/Service and Repair).