
Silverado 3500 4WD V8-6.0L (2007)
6. Install the J 8614-01 onto the pinion yoke as shown.
Notice: Refer to Fastener Notice.
Important: If the rotating torque is exceeded, the pinion will have to be removed and a new collapsible spacer installed.
7. Tighten the pinion nut while holding the J 8614-01.
Tighten the pinion nut until the pinion end play is just taken up. Rotate the pinion while tightening the nut to seat the bearings.
8. Measure the rotating torque of the pinion using an inch-pound torque wrench.
Compare the measurement with the rotating torque recorded earlier.
Tighten the pinion nut, in small increments, as needed, until the torque required in order to rotate the pinion is 0.40-0.57 N.m (3-5 lb in)
greater than the torque recorded during removal.
9. Once the specified torque is obtained, rotate the pinion several times to ensure the bearings have seated. Recheck the rotating torque and adjust if
necessary.
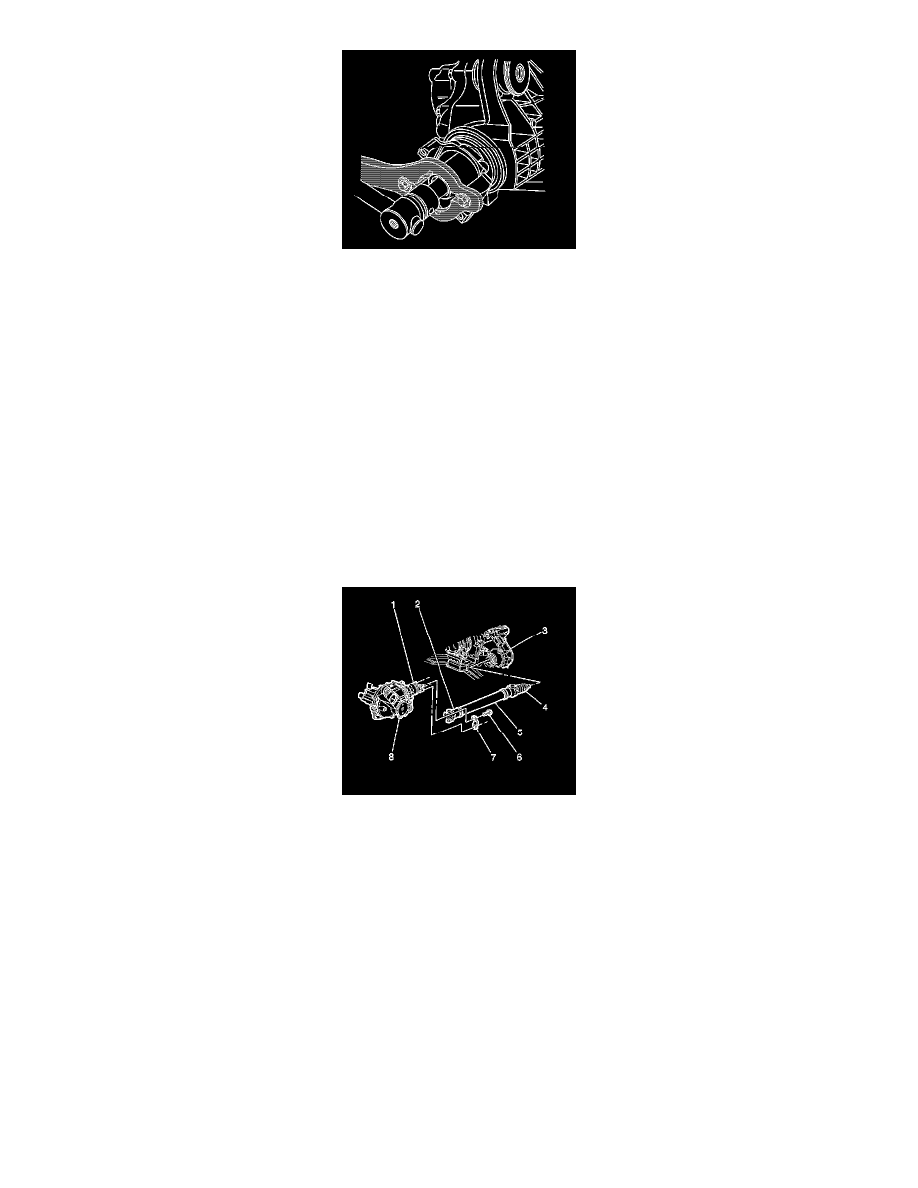
10. Install the propeller shaft universal joint (2) to the pinion yoke (1).
Align the reference marks made during removal.
11. Install the yoke retainers (7) and the yoke retainer bolts (6) to the pinion yoke (1).
Tighten the yoke retainer bolts to 25 N.m (18 lb ft).
12. Inspect the axle lubricant level, and add, if necessary.
13. Install the engine shield, if equipped.
14. Install the brake calipers.
15. Fill the drive axle. Refer to Front Axle Lubricant Replacement.
16. Install the tire and wheel assemblies.
17. Lower the vehicle.