
Silverado 3500 4WD V8-8.1L VIN G (2006)
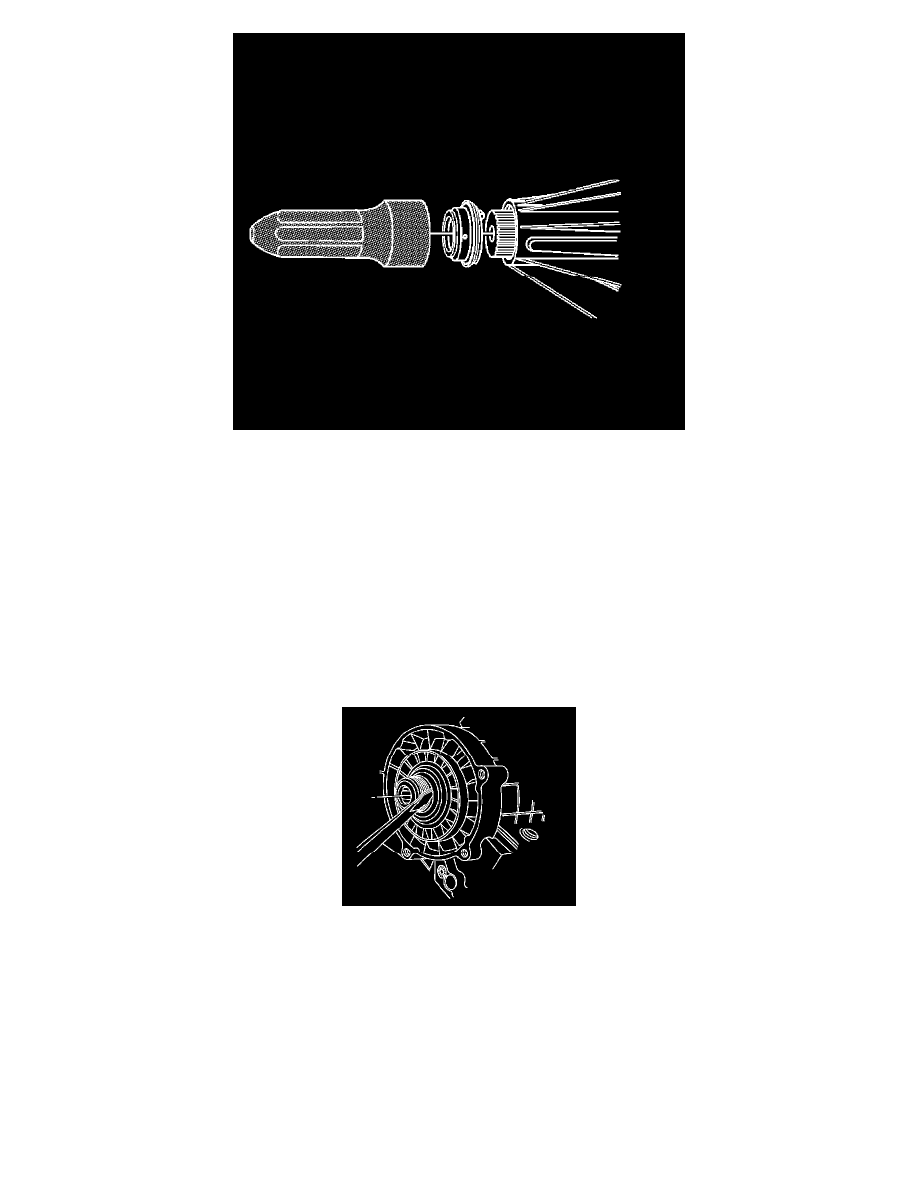
2. Using the J 37668-A, install the rear output shaft to the transfer case.
Important: Ensure the drain hole on the boot of the rear output shaft seal is facing down toward the ground.
3. Install the rear propeller shaft.
4. Check the fluid level, Add fluid if necessary.
5. Install the transfer case shield, if equipped.
Transfer Case Input Shaft Seal Replacement
Transfer Case Input Shaft Seal Replacement
^
Tools Required
-
J 42738 Seal Installer
Removal Procedure
1. Remove the transfer case.
2. Using a flat-tipped screwdriver, remove the input shaft seal.
Installation Procedure
Important: When installing the input shaft seal, make sure that the part numbers on the seal are facing outward (away from the body of the transfer
case).