
Silverado Classic 1500 4WD V8-4.8L (2007)
Battery Control Module: Service and Repair
Generator Battery Control Module Replacement
Removal Procedure
1. Disconnect the engine harness electrical connector from the generator battery control module.
2. Remove the negative battery cable.
3. Cut the tie straps and electrical tape attaching the generator battery control module to the battery cable.
4. Squeeze the negative battery cable branches together.
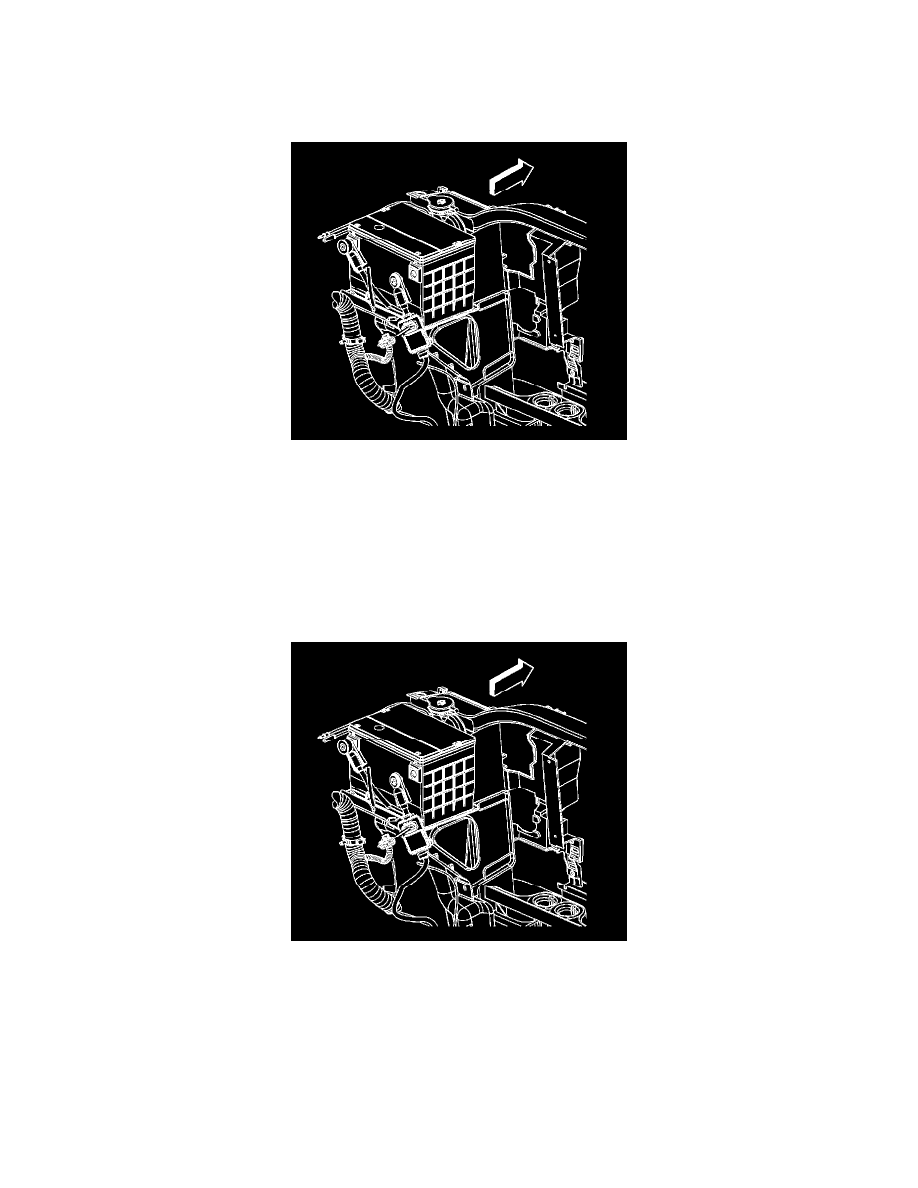
Important: Note the orientation of the generator battery control module prior to removal.
5. Slide the generator battery control module off of the negative battery cable.
Installation Procedure
Important: Prior to installation, ensure that the orientation of the generator battery control module (once completely installed on the
negative battery cable) will be such that the module's connector will be closest to the battery's negative terminal as shown in the above
graphic. The orientation of the module on the negative battery cable is critical to the proper functionality of the module once installed in
the vehicle.
1. Slide the NEW generator battery control module up onto the negative battery cable.
2. Using NEW tie straps and electrical tape, attach the generator battery control module to the negative battery cable.
3. Install the negative battery cable.
4. Connect the engine harness electrical connector to the generator battery control module.
5. Program the generator battery control module. Refer to Control Module References. See: Testing and Inspection/Programming and Relearning