
Silverado Classic 1500 4WD V8-5.3L Hybrid (2007)
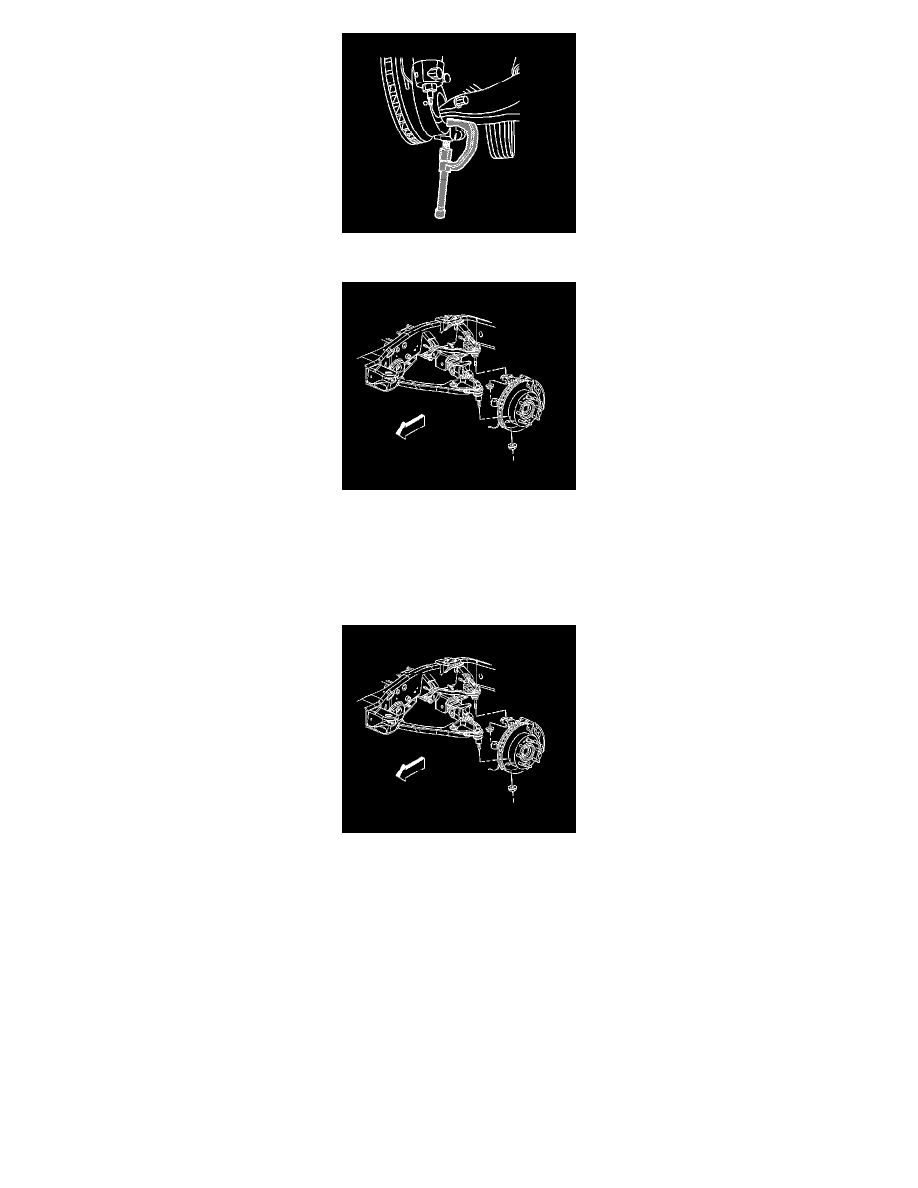
8. Remove the lower control arm retaining nut. Separate the lower ball joint from the steering knuckle using the J 43631 and J 45851.
9. Remove the steering knuckle.
Installation Procedure
1. Clean all grease and contaminants from the tapered section and the threads of the upper ball joint, the lower ball joint, and the tie rod end.
2. Clean and inspect the taper holes and the mounting surfaces of the steering knuckle. If any of the tapered holes are elongated, out of round, or
damaged, replace the steering knuckle.
3. Install the steering knuckle.
4. Notice:
Refer to Fastener Notice.
Connect the lower ball joint to the steering knuckle and install the retaining nut.
Tighten the lower control arm retaining nut to 100 Nm (74 ft. lbs.).
5. Connect the upper ball joint to the steering knuckle and install the retaining nut.
Tighten the upper control arm retaining nut to 50 Nm (37 ft. lbs.).