
Silverado Classic 2500 2WD V8-8.1L (2007)
Brake Rotor/Disc: Removal and Replacement
Brake Pad and Rotor Burnishing
Brake Pad and Rotor Burnishing
Caution: Refer to Road Test Caution.
Burnishing the brake pads and brake rotors is necessary in order to ensure that the braking surfaces are properly prepared after service has been
performed on the disc brake system.
This procedure should be performed whenever the disc brake rotors have been refinished or replaced, and/or whenever the disc brake pads have been
replaced.
1. Select a smooth road with little or no traffic.
2. Accelerate the vehicle to 48 km/h (30 mph).
Important: Use care to avoid overheating the brakes while performing this step.
3. Using moderate to firm pressure, apply the brakes to bring the vehicle to a stop. Do not allow the brakes to lock.
4. Repeat steps 2 and 3 until approximately 20 stops have been completed. Allow sufficient cooling periods between stops in order to properly
burnish the brake pads and rotors.
Front Brake Rotor Replacement
Front Brake Rotor Replacement (25/3500 Series)
Tools Required
^
J 41013 Rotor Resurfacing Kit
^
J 42450-A Wheel Hub Resurfacing Kit
Caution: Refer to Brake Dust Caution.
Removal Procedure
1. Notice: Any new rotor must have the protective coating removed from the friction surfaces before being placed in service. Remove the protective
coating using denatured alcohol or an equivalent brake cleaner, and wipe the surface clean with clean cloths. Do not use gasoline, kerosene, or
other oil base solvents which may leave an oily residue. This residue is damaging to the brake lining and is flammable.
Remove the tire and wheel assembly.
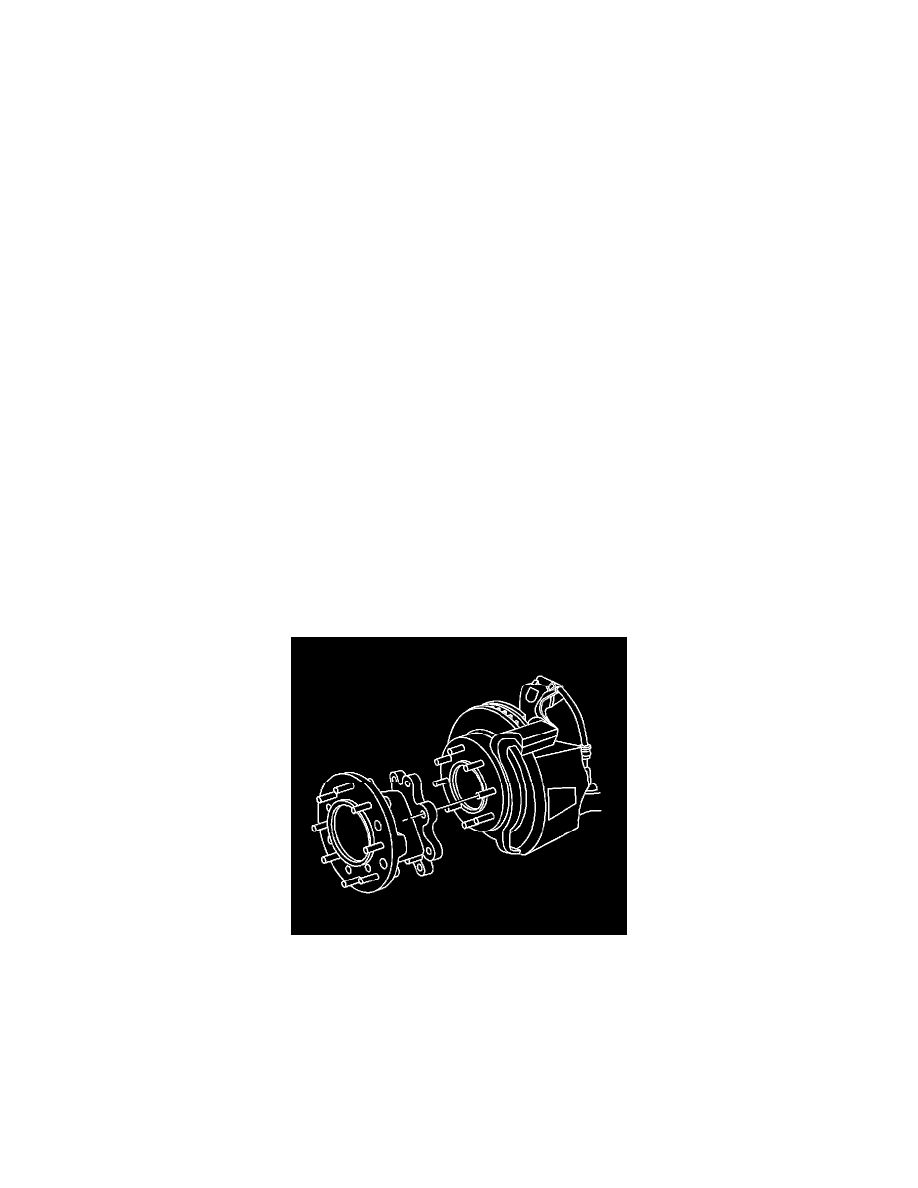
2. Remove the front wheel hub extension, dual wheel vehicles only.
1. Insert a drift or large screwdriver through the brake caliper into one of the brake rotor vanes in order to prevent the rotor from turning.
2. Mark the relationship of the front wheel hub extension to the hub.
3. Remove the front wheel hub extension nuts.
4. Remove the front wheel hub extension from the vehicle. It may be necessary to tap around the perimeter of the hub extension with a rubber
mallet to loosen it from the hub.