
Silverado Classic 3500 4WD V8-6.6L DSL Turbo (2007)
Wiring Harness: Service and Repair
ENGINE WIRING HARNESS ASSEMBLY REPLACEMENT
REMOVAL PROCEDURE
1. Disconnect the negative battery cable.
2. Remove the intake manifold cover.
3. Remove both front wheelhouse panels.
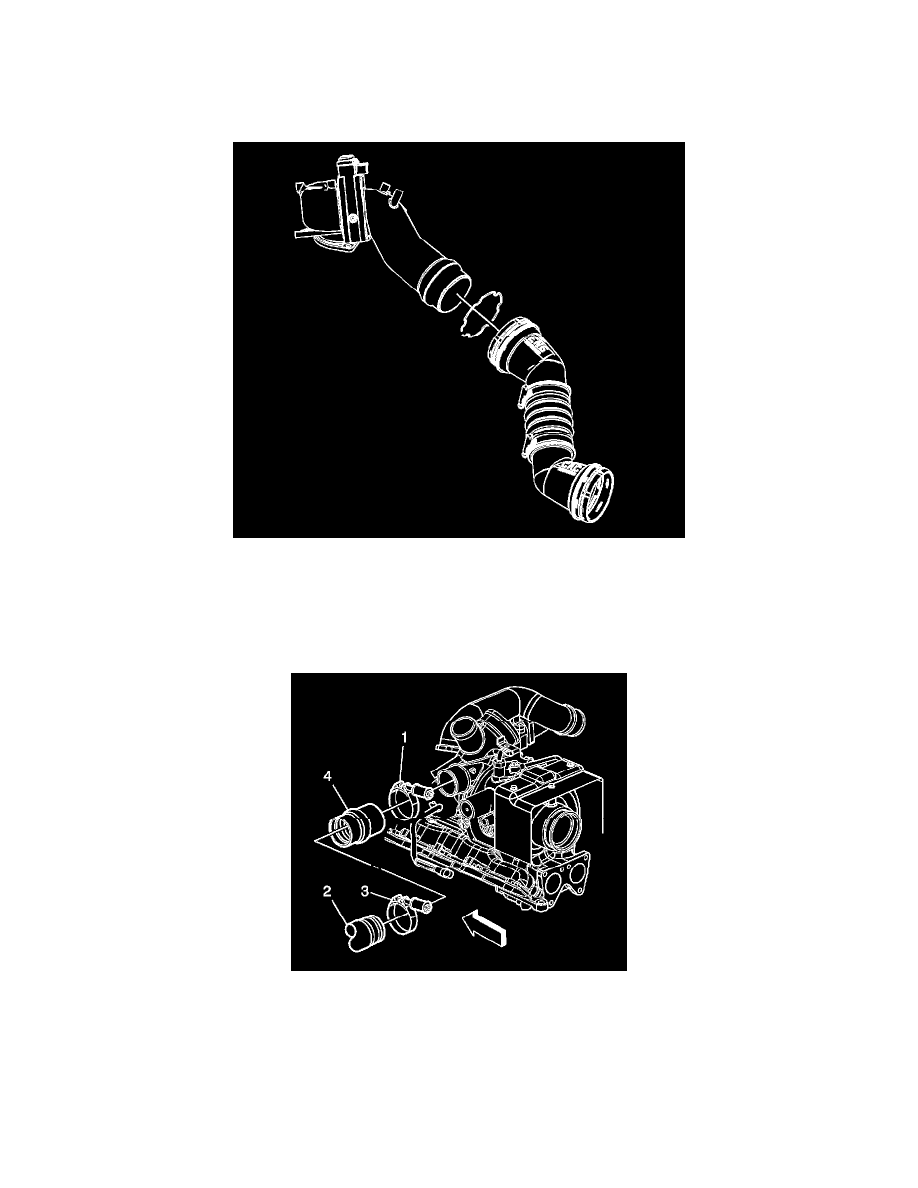
4. Remove the air cleaner outlet duct.
5. Using a pick or a small flat-bladed screw driver, remove and discard the quick connect fitting clip from the charged air cooler outlet duct.
6. Remove the charged air cooler outlet duct from the intake.
7. Loosen the charged air cooler inlet duct connector to turbocharger clamp (1).
IMPORTANT: Do not use a screwdriver or other tool to pry the hose loose. The hose can be torn or damaged. Loosen the hose by
twisting.
8. Remove the charged air cooler inlet duct connector (4) from the turbocharger.