
Suburban 3/4 Ton 4WD V8-6.0L VIN U (2004)
Extension Housing: Service and Repair
Automatic Transmission - 4L60-E/4L65-E
Transmission Extension Housing Assembly Replacement
Removal Procedure
1. Remove the propeller shaft. Refer to Propeller Shaft Replacement - Rear in Propeller Shaft.
2. Remove the transmission mount. Refer to Transmission Mount Replacement.
3. Support the transmission with a transmission jack.
4. Place a drain pan under the vehicle.
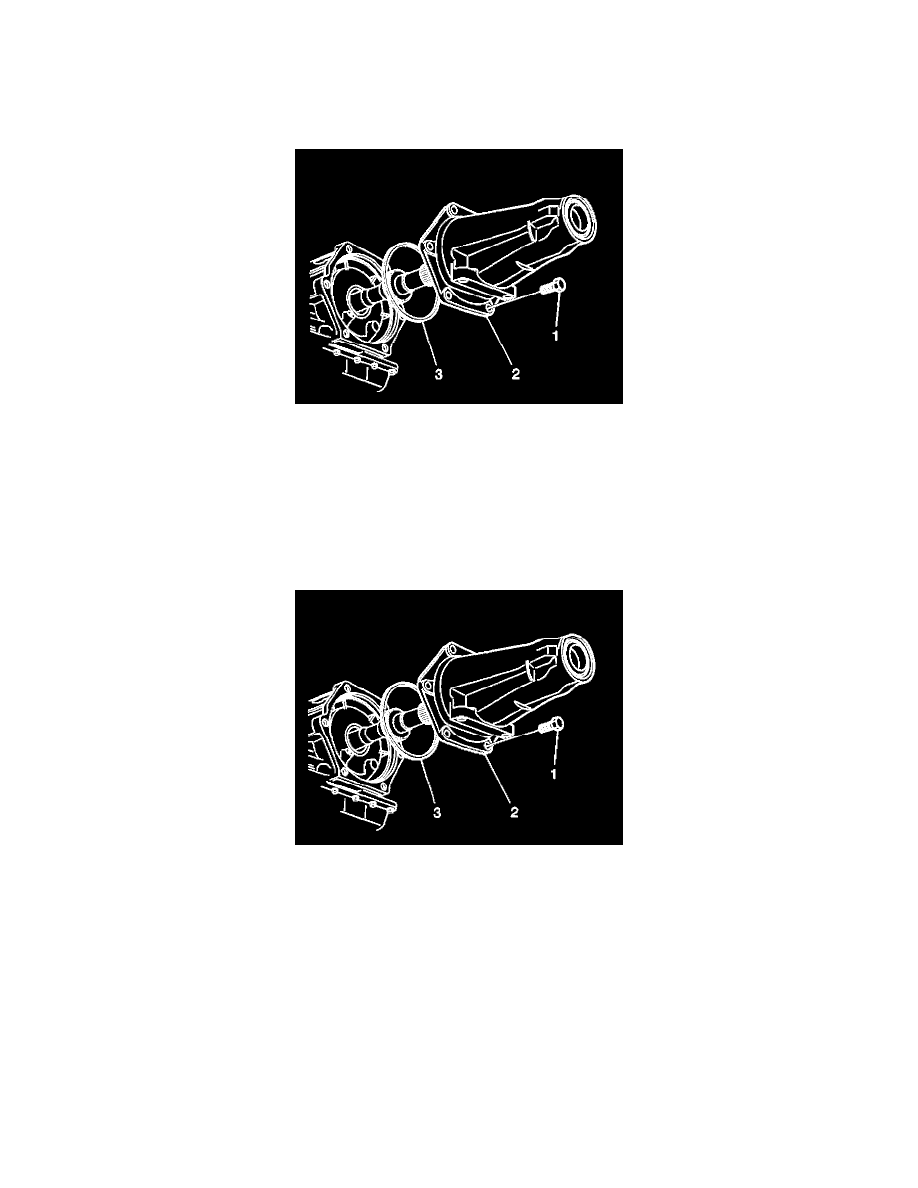
5. Remove the case extension bolts (1).
6. Remove the case extension (2).
7. Remove and discard the case extension O-ring seal (3).
Installation Procedure
1. Install a new case extension O-ring seal (3).
2. Install the case extension (2).
Notice: Refer to Fastener Notice in Service Precautions.
3. Install the case extension bolts (1).
^
Tighten the bolts (1) to 45 Nm (33 ft. lbs.).
4. Install the transmission mount. Refer to Transmission Mount Replacement.
5. Remove the drain pan and the transmission jack.
6. Install the propeller shaft. Refer to Propeller Shaft Replacement - Rear in Propeller Shaft.
7. Fill the transmission to the proper level with DEXRON(R) III transmission fluid. Refer to Transmission Fluid Checking Procedure.