
Tahoe 4WD V8-6.0L Hybrid (2008)
Important:
*
The alignment of the structural oil pan is critical. The rear bolt hole locations of the oil pan provide mounting points for the transmission
bellhousing. To ensure the rigidity of the powertrain and correct transmission alignment, it is important that the rear of the block and the
rear of the oil pan must NEVER protrude beyond the engine block and transmission bellhousing plane.
*
Do not reuse the oil pan gasket.
*
It is not necessary to rivet the NEW gasket to the oil pan.
1. If reusing the oil pan perform the following step, otherwise proceed to step 3.
Important: Be sure to align the oil gallery passages in the oil pan and engine block properly with the oil pan gasket.
2. Place a NEW oil pan gasket onto the oil pan.
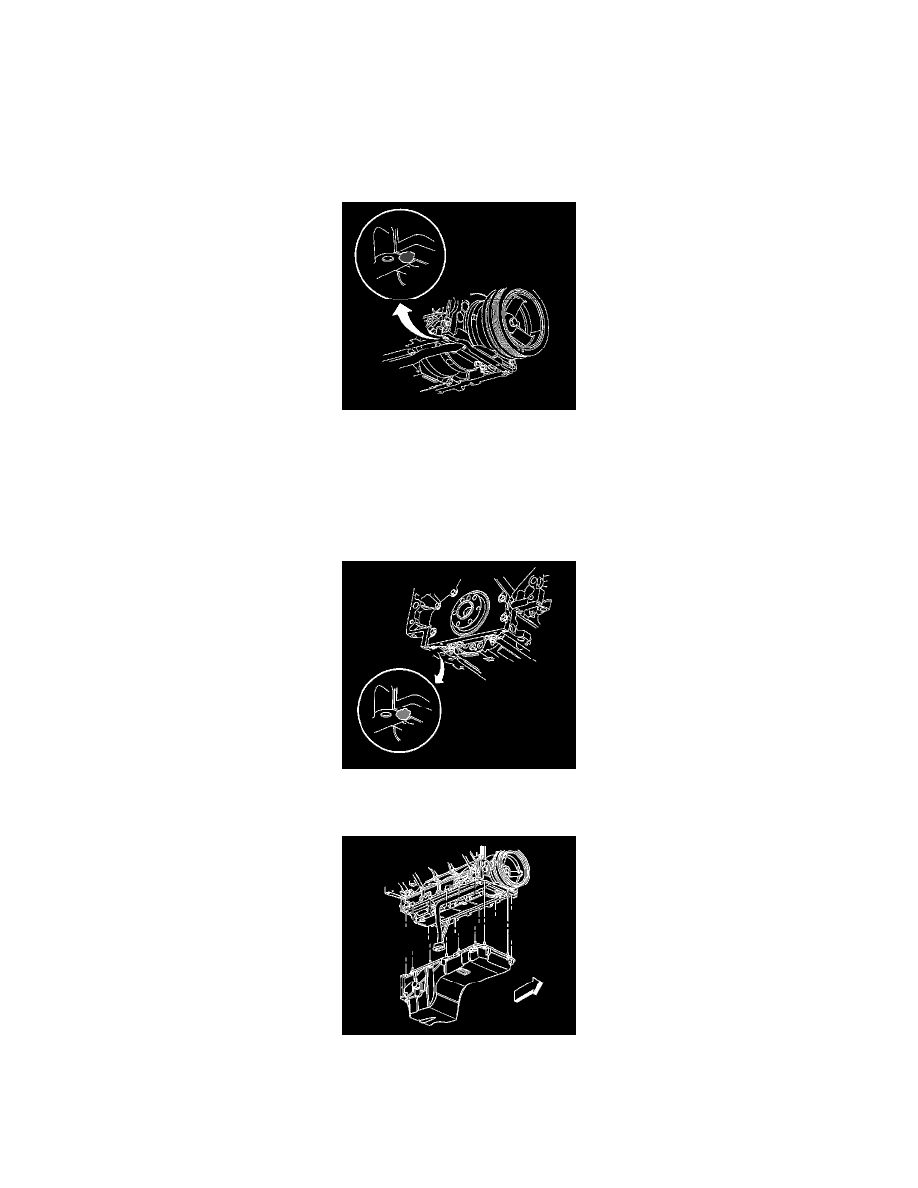
3. Apply a 5 mm (0.20 in) bead of sealant, 20 mm (0.80 in) long to the engine block. Apply the sealant directly onto the tabs of the front cover gasket
that protrudes into the oil pan surface. Refer to Sealers, Adhesives, and Lubricants (See: Specifications/Sealers, Adhesives, and Lubricants) .
4. Apply a 5 mm (0.20 in) bead of sealant, 20 mm (0.8 in) long to the engine block. Apply the sealant directly onto the tabs of the rear cover gasket
that protrudes into the oil pan surface. Refer to Sealers, Adhesives, and Lubricants (See: Specifications/Sealers, Adhesives, and Lubricants) .
5. Install 1 oil pan bolt into a oil pan bolt hole and up through the gasket.
6. Position and install the oil pan and the rest of the oil pan bolts.
7. Tighten the oil pan bolts until snug.