
Tracker 2WD L4-1.6L VIN 6 (2000)
Hood Latch: Service and Repair
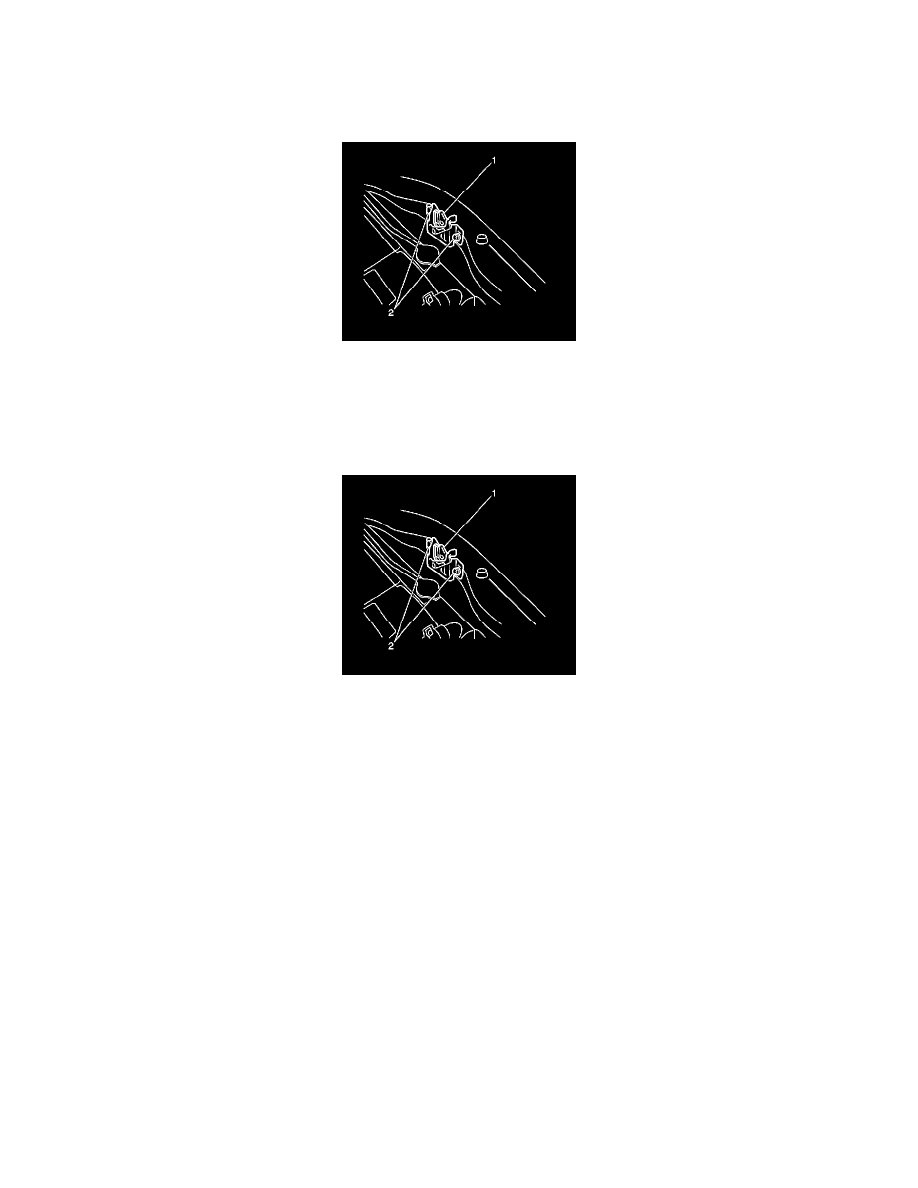
Hood Primary and Secondary Latch Replacement
Removal Procedure
1. Raise and suitably support the hood.
2. Remove the 2 bolts (3) the hood primary latch (1) from the front upper panel.
3. Remove the hood primary latch release cable from the hood primary latch (1).
4. Remove the hood primary latch (1) from the vehicle.
Installation Procedure
1. Install the hood primary latch release cable to the hood primary latch (1).
2. Install the hood primary latch (1) to the vehicle. Secure the latch with the 2 retaining bolts. Do not fully tighten the bolts.
3. Adjust the hood primary latch (1) in order to ensure that the striker shaft lines up with the center groove of the hood primary latch (1).
Notice: Refer to Fastener Notice in Cautions and Notices.
4. Adjust the hood primary latch in order to ensure that the hood is flush with the front fenders. Refer to Body Panel Adjustment (See: Adjustments)
.
Tighten the hood latch retaining bolts to 10 N.m (89 lb in).
5. Lower the hood.