
Tracker 2WD L4-1.6L VIN 6 (2000)
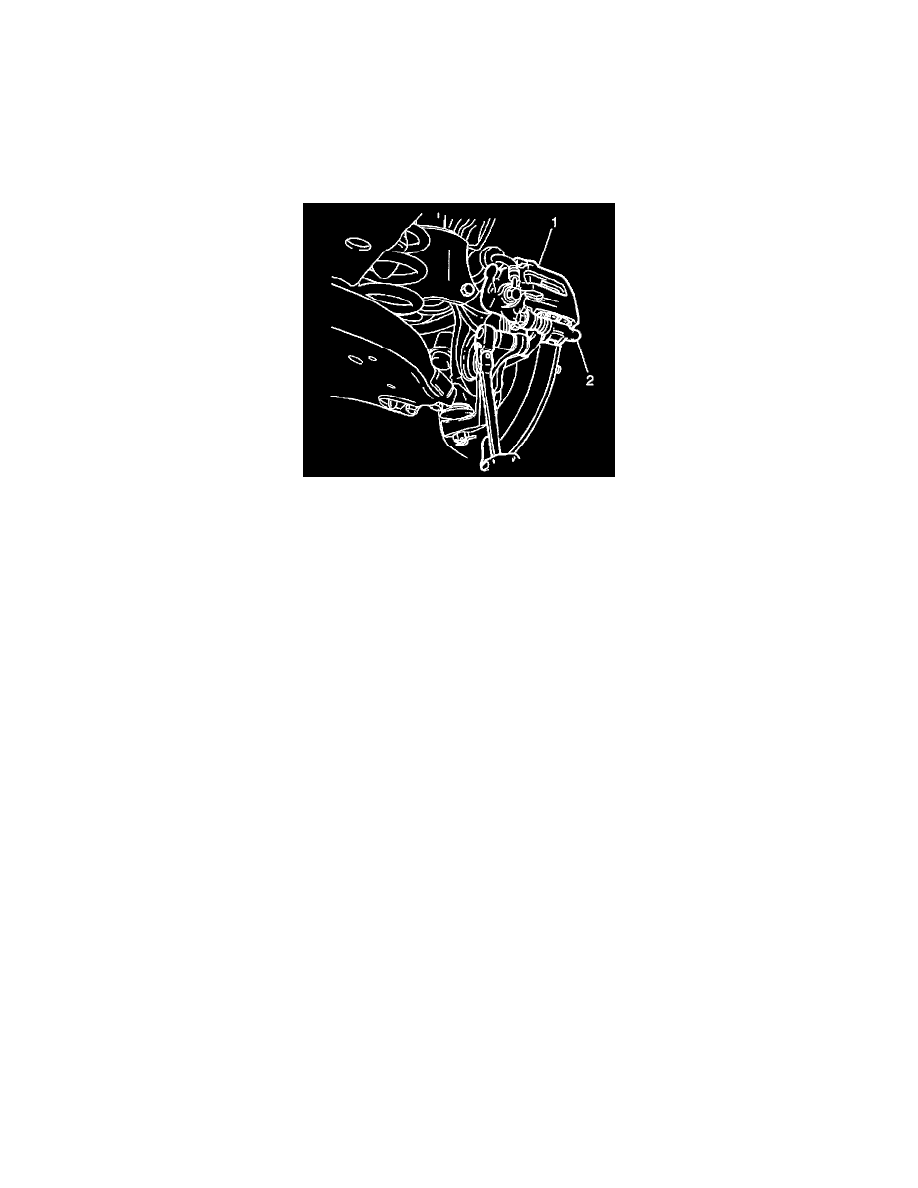
7. Suspend the caliper and the caliper bracket (1) with a wire (2) in order to prevent damage to the brake hose.
8. Inspect the brake rotor for thickness variation. Refer to Brake Rotor Thickness Variation Check.
9. Inspect the brake rotor for lateral runout. Refer to Brake Rotor Lateral Runout Check.
10. Inspect the brake rotor surface. Refer to Brake Rotor Tolerance.
11. Remove the brake rotor from the wheel hub. If necessary, install two 8 mm bolts into the rotor. Tighten the bolts in order to force the rotor off of
the wheel hub.
Installation Procedure
1. Install the brake rotor to the hub.
Notice: Refer to Fastener Notice in Service Precautions.
2. Place the caliper (1) and the caliper bracket (2) into position. Secure the caliper and the caliper bracket with the 2 caliper bracket mounting bolts.
^
Tighten the bolts to 85 Nm (61.5 ft. lbs.).
3. Install the tire and wheel assembly. Refer to Tire and Wheel Removal and Installation in Wheels, Tires and Alignment.
4. Lower the vehicle.
5. Fill the master cylinder reservoir. Refer to Master Cylinder Reservoir Filling in Hydraulic Brakes.
6. Start the engine.
6. Press the brake pedal several times in order to position the caliper piston.