
Tracker 2WD L4-1.6L VIN 6 (2000)
7. Inspect the outer tie rod ball joint. Replace the outer tie rod end (7), if necessary. Refer to Power Steering System Inspection.
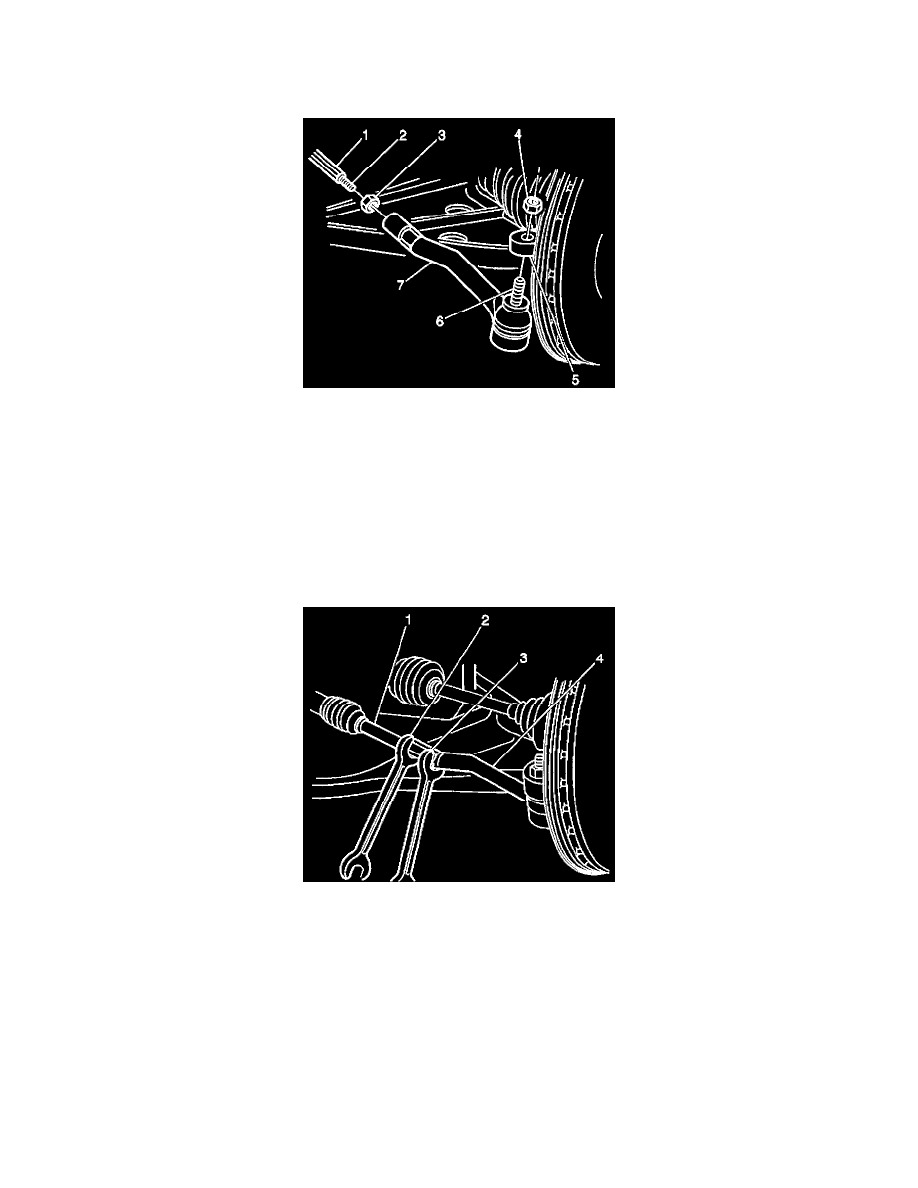
Installation Procedure
1. Install the tie rod lock nut (3) to the match mark on the inner tie rod (1). Do NOT tighten the lock nut.
2. Install the outer tie rod end (7) to the inner tie rod (1).
Notice: Refer to Fastener Notice in Cautions and Notices.
Important: When tightening the outer tie rod nut, support and push the outer tie rod end with a jack in order to prevent the ball stud from rotating.
3. Install the outer tie rod end (7) to the knuckle (5), and install the outer tie rod nut (4).
-
Tighten the nut to 43 Nm (31.5 ft. lbs.).
4. Install the tire and wheel assembly. Refer to Tire and Wheel Removal and Installation in Tires and Wheels.
5. Measure the wheel alignment. Refer to Measuring Wheel Alignment in Alignment.
6. Adjust the toe, if necessary. Refer to Front Toe Adjustment in Wheel Alignment.
-
Tighten the tie rod lock nut (2) to 65 Nm (47 ft. lbs.).
7. Lower the vehicle.