
Tracker 2WD L4-2.0L VIN C (1999)
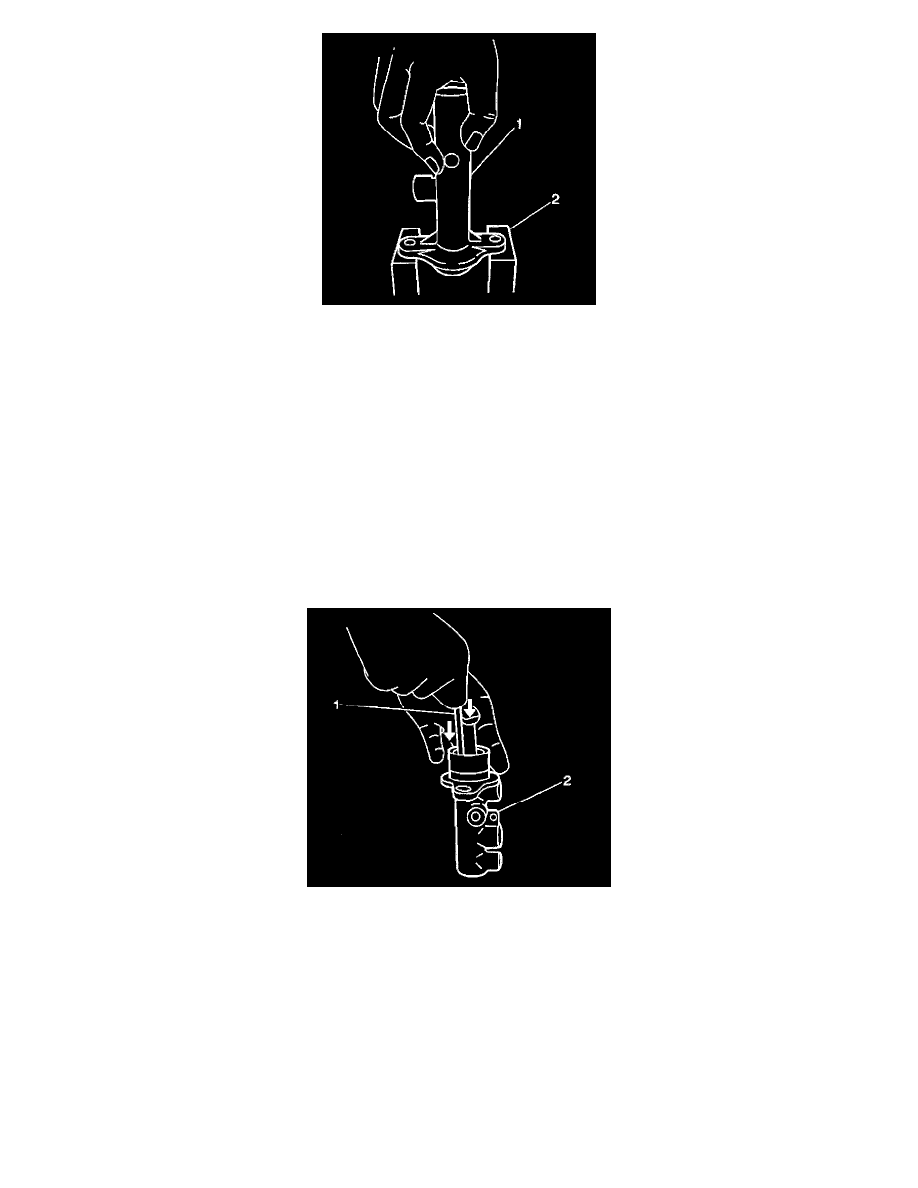
8. Remove the secondary piston assembly carefully from the master cylinder (1) by tapping the flange on a piece of wood (2) or two soft objects.
9. Remove the secondary piston pressure cup.
10. Remove the piston cup.
11. Remove the O-ring.
12. Inspect all disassembled parts for wear or damage. Replace parts if necessary.
IMPORTANT: DO NOT reuse piston cups.
13. Wash disassembled parts with brake fluid.
14. Inspect the master cylinder bore for scoring or corrosion (pits or excessive roughness). Replace a corroded master cylinder.
IMPORTANT: Do NOT use a cloth in order to dry the cylinder, because lint from a cloth will stick to the cylinder bore surfaces.
15. Rinse the cylinder in clean brake fluid. Shake excess rinsing fluid from the cylinder.
ASSEMBLY PROCEDURE
1. Install the O-ring to the master cylinder (2).
2. Install the following to the master cylinder:
^
The new piston cup
^
The secondary piston assembly
^
The new secondary piston pressure cup
3. Install the primary piston assembly to the master cylinder.
4. Install the plate.
5. Install the cylinder cup.
6. Install the piston stopper.