
Tracker 2WD L4-2.0L VIN C (1999)
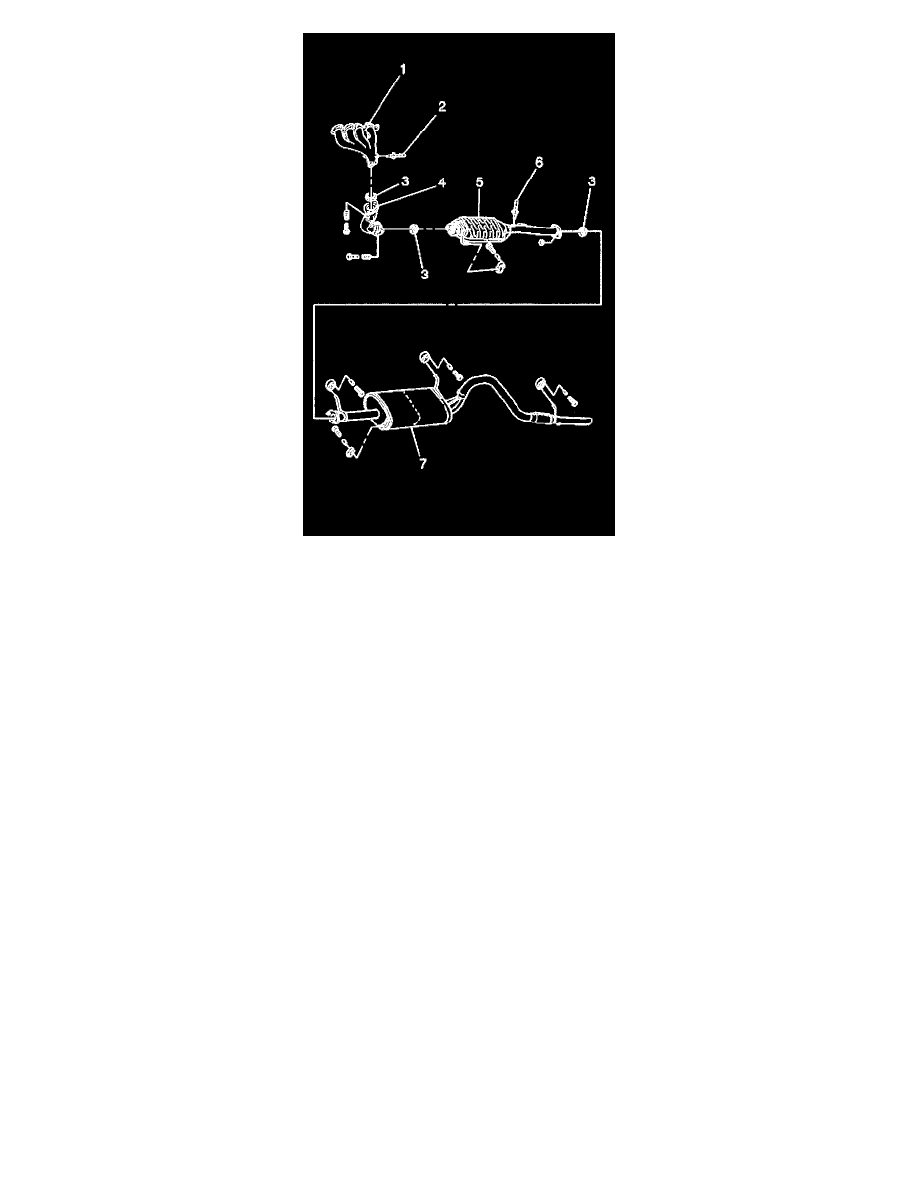
Important: When installing a new exhaust system component, always use new gaskets and seals.
1. Install the catalytic converter assembly (5) to the vehicle.
2. Support the catalytic converter assembly with a hanger.
3. Attach the catalytic converter assembly with a new gasket to the resonator/muffler/tail pipe assembly (7).
4. Secure the resonator/muffler/tail pipe assembly with two nuts. Do not fully tighten the nuts.
5. Attach the electrical connector to the Heated Oxygen Sensor (HO2S2) (6).
6. Use a new seal, and connect the front pipe to the catalytic converter assembly and secure with two bolts. Do not fully tighten the bolts.
Notice: Refer to Fastener Notice in Service Precautions.
7. Align all system components before tightening the fasteners, in order to prevent noise or vibrations.
Tighten:
^
Tighten the front pipe to catalytic converter assembly bolts to 50 Nm (37 ft. lbs.).
^
Tighten the catalytic converter to resonator/muffler/tail pipe assembly nuts to 35 Nm (26 ft. lbs.).
8. Lower the vehicle.