
Tracker 4WD L4-1.6L VIN 6 (1998)
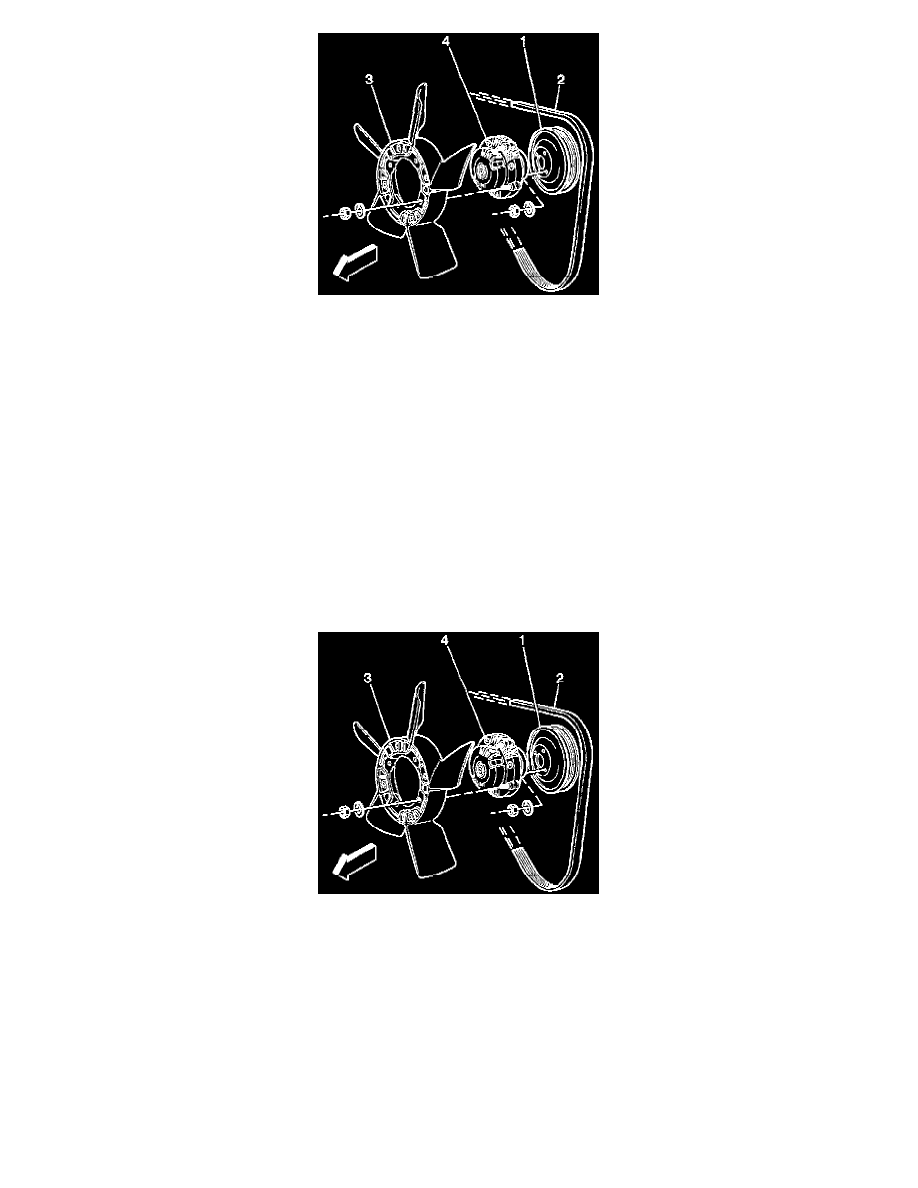
6. Remove the four fan clutch mounting nuts.
7. Remove the shroud, the fan clutch (4), and the cooling fan (3) together.
8. Remove four nuts and washers from the cooling fan (3) and remove the fan clutch (4).
9. Inspect the cooling fan (3) for the following conditions:
^
Cracked blades
^
Broken blades
10. Replace the cooling fan if necessary.
11. Inspect the fan clutch (4) for the following conditions:
^
Cracks
^
Binding
^
A worn bearing
12. Replace the fan clutch if necessary.
INSTALLATION PROCEDURE
NOTICE: Refer to Fastener Notice in Service Precautions.
1. Connect the cooling fan (3) to the fan clutch (4). Secure with the four washers and nuts.
^
Tighten the cooling fan nuts to 11 Nm (97 inch lbs.).
IMPORTANT: The fan clutch, cooling fan and shroud must be installed together because of insufficient clearance to install these parts in
separate steps.
2. Install the fan clutch (4), cooling fan (3) and shroud. Secure the components with the four fan clutch nuts and four shroud bolts.
^
Tighten the fan clutch nuts to 11 Nm (97 inch lbs.).
^
Tighten the shroud bolts to 11 Nm (97 inch lbs.).