
Tracker 4WD L4-1.6L VIN 6 (1998)
^
Tighten the camshaft carrier cap bolts to 10 Nm (89 inch lbs.).
4. Remove the camshaft carrier caps (1) carefully without disturbing the plastic-type gaging material.
5. Measure each piece of plastic-type gaging material at its widest point using the gaging scale provided on the plastic-type gaging material
packaging.
^
The standard camshaft journal clearance is 0.040 to 0.082 mm (0.0016 to 0.0032 in).
^
The maximum camshaft journal clearance is 0.12 mm (0.0047 in).
6. Install the camshaft carrier caps onto the camshaft carrier. Tighten the camshaft carrier bolts to specification if the camshaft journal clearance
exceeds 0.12 mm (0.0047 in).
7. Use a telescopic micrometer in order to measure the camshaft journal bore of the inside diameter.
8. Use the J26900-1 in order to measure the camshaft journal outside diameter.
^
The standard camshaft journal bore inside diameter is 28.000 to 28.021 mm (1.1024 to 1.1031 in).
^
The standard camshaft journal outside diameter is 27.939 to 27.960 mm (1.1000 to 1.1008 in).
9. Replace the camshaft if the camshaft journal outside diameter is farther out of specification than the camshaft journal bore inside diameter.
10. Replace the cylinder head if the camshaft journal bore inside diameter is farther out of specification than the camshaft journal outside diameter.
INSTALLATION PROCEDURE
^
TOOLS REQUIRED
-
J 41040 Camshaft Sprocket Spanner Wrench
1. Apply clean engine oil to all rocker arm components to ensure the ease of assembly.
IMPORTANT: Rotate the rocker arm shaft (2) so that the flat machined surface is horizontal and facing down parallel with the cylinder head (1)
mating surface.
2. Install the rocker arm shaft (2) by pushing the rocker arm shaft through the front of the cylinder head (1).
3. Slide the exhaust rocker arms and rocker arm springs as the rocker arm shaft is being installed.
4. Push the rocker arm shaft back through the rear of the cylinder head until the end of the rocker arm shaft appears.
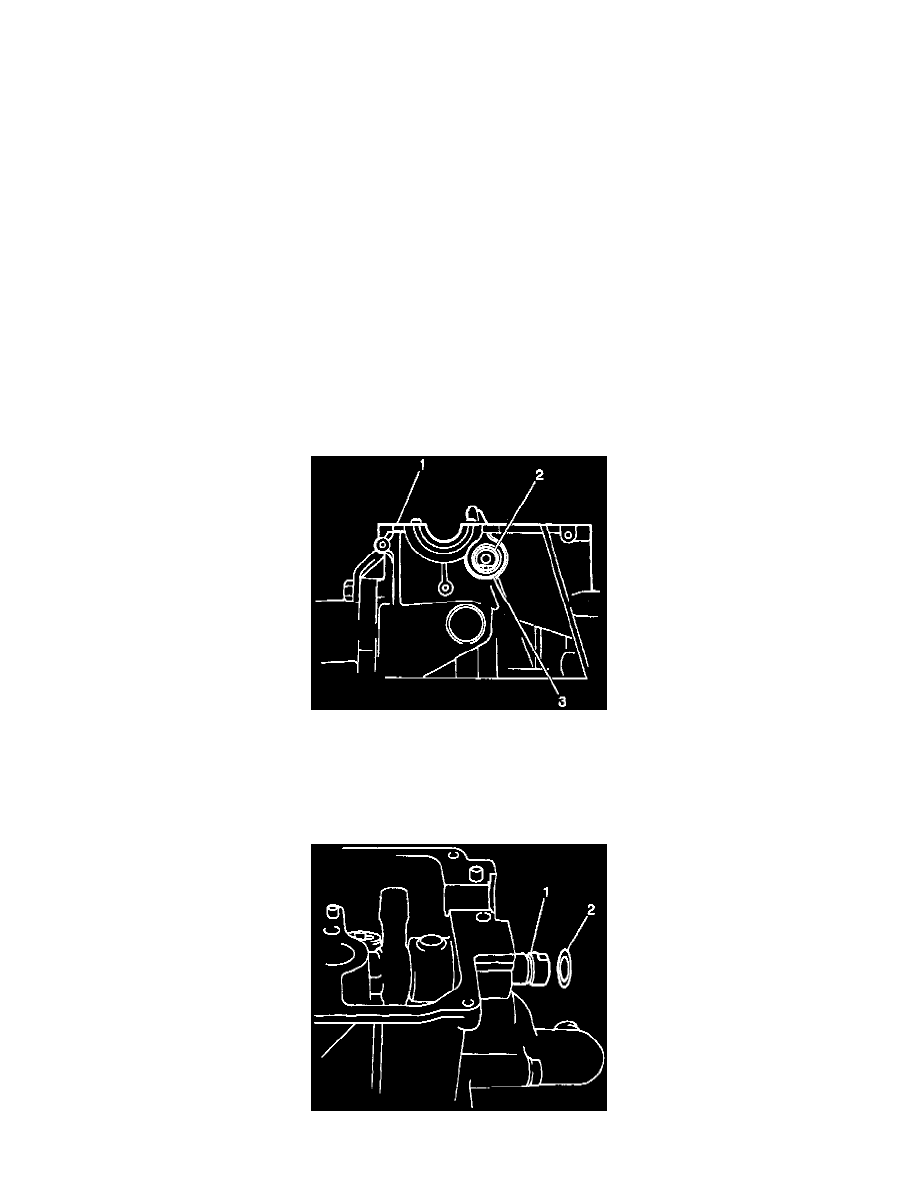
5. Install a new O-ring (2) onto the rear of the rocker arm shaft (1).