
Tracker 4WD L4-1.6L VIN 6 (1998)
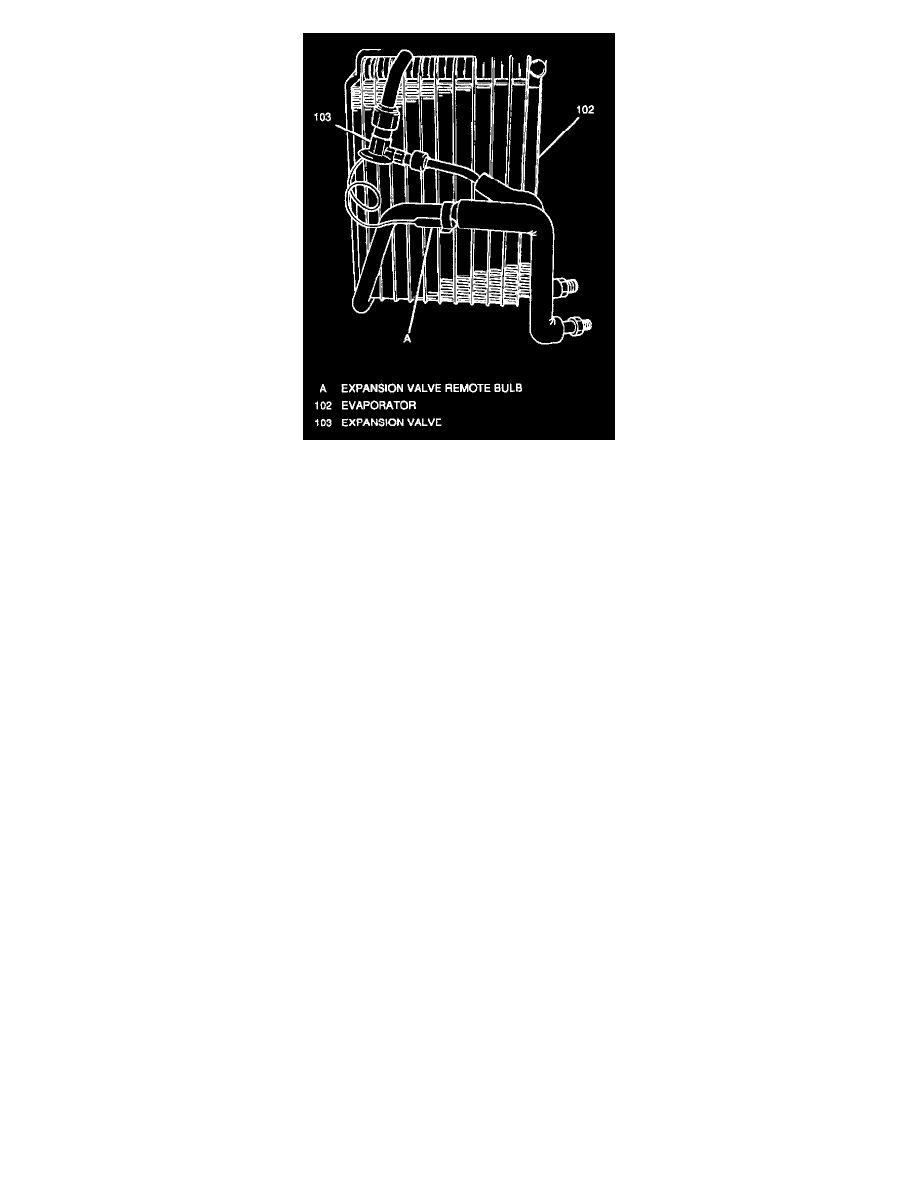
Evaporator And Expansion Valve
17. Expansion valve from evaporator by removing two nuts.
18. Evaporator thermistor from evaporator.
Install or Connect
1. Evaporator thermistor to evaporator.
2. Expansion valve to evaporator; secure with two nuts.
Tighten
^
Expansion valve pipe (larger nut) to 35 N.m (26 lb. ft.).
^
Expansion valve pipe (smaller nut) to 13 N.m (115 lb. in.).
3. Evaporator attaching screws and evaporator to lower case.
4. Evaporator pipe retaining clamp to lower case.
5. Evaporator case; secure upper and lower halves with five retaining clips and one screw.
6. Evaporator case to vehicle; secure with two bolts and one nut.
Tighten
^
Evaporator case mounting bolts and nut to 15 N.m (11 lb. ft.).
7. SIR harness loop to evaporator case.
8. A/C amplifier and evaporator thermistor electrical connectors.
9. Evaporator case drain hose.
10. Evaporator case-to-heater case connector band; slide band on from heater case and tighten.
11. Blower case. Refer to Heater and Ventilation.
12. Passenger-side SIR inflator module.
13. Right-side instrument panel center support; secure with two bolts.
14. Install new O-rings to evaporator pipe fittings. Coat new O-rings with clean refrigerant oil.
15. Evaporator inlet and outlet pipes at bulkhead; secure with pipe nuts.
Tighten
^
Evaporator inlet pipe nut to 35 N.m (26 lb. ft.).
^
Evaporator outlet pipe nut to 45 N.m (33 lb. ft.).
16. Enable the SIR.
17. Negative (-) battery cable. Refer to Battery.
18. Evacuate and recharge air conditioning system.
19. Operate A/C system and check for refrigerant leaks.