
Tracker 4WD L4-1.6L VIN 6 (1998)
Front Steering Knuckle: Service and Repair
REMOVAL PROCEDURE
^
Tools Required
-
J 21687-02 Ball Joint Remover
-
J 22888-D Ball Stud Remover
1. Raise the vehicle. Support the vehicle.
2. Remove the tire and wheel assembly.
3. On four-wheel drive models, remove the locking hub. Refer to Locking Hub Replacement (Automatic Locking Hub).
4. On two-wheel drive models, remove the hub end cap.
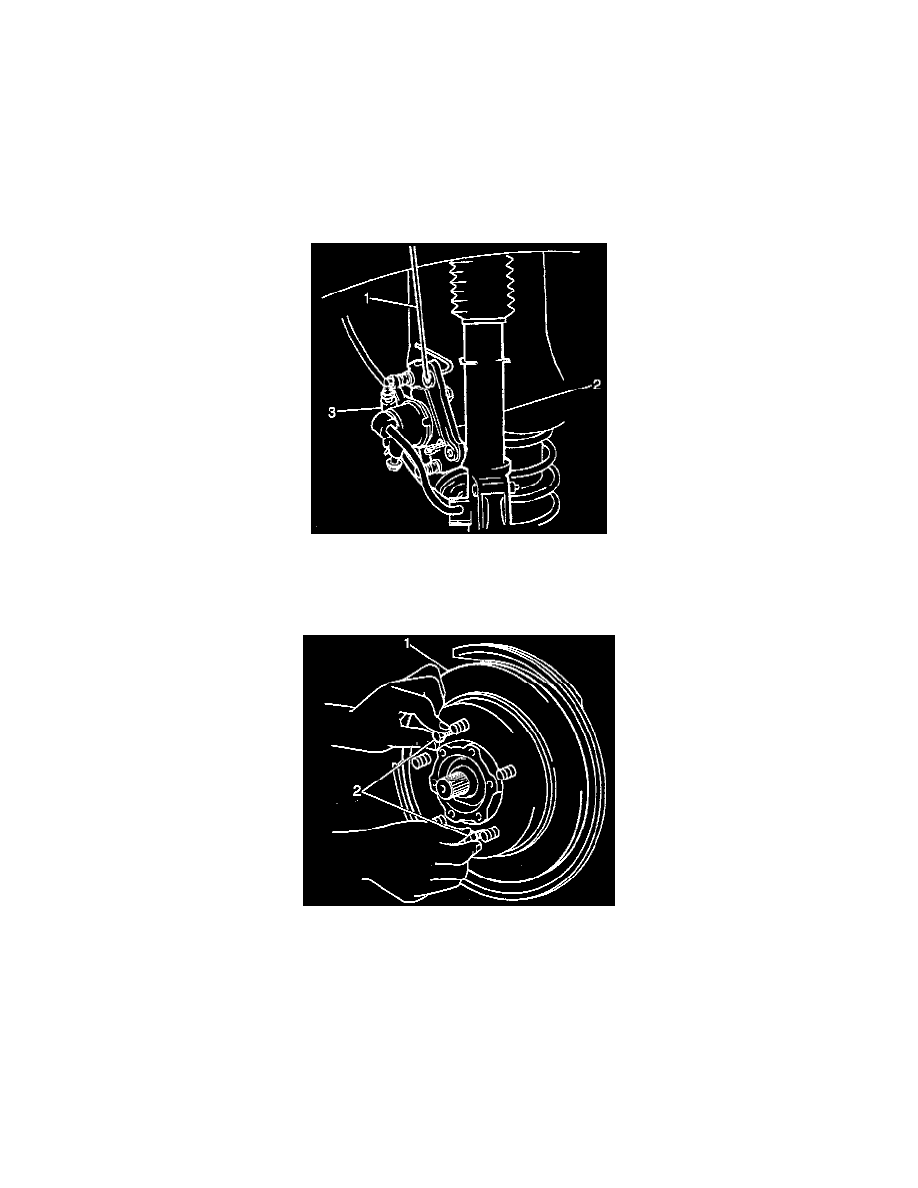
Important: Suspend the caliper assembly with wire (1) in order to prevent damage to the brake hose.
5. Remove the two caliper carrier bolts.
6. Remove the brake caliper from the steering knuckle.
7. Remove the brake rotor (1) from the wheel hub.
If it is not possible to remove the rotor by hand use the following steps in order to remove the rotor:
7.1. Install two 8 mm bolts (2) into the rotor.
7.2. Tighten the bolts in order to force the rotor off of the wheel hub.
8. On ABS equipped vehicles, remove the electrical connector from the wheel speed sensor.
9. On ABS equipped vehicles, remove one bolt and the wheel speed sensor from the spindle.
10. Remove the wheel hub and the bearing. Refer to Wheel Bearing and Wheel Hub Replacement.
11. Remove the four bolts holding the dust shield to the steering knuckle.
Remove the dust shield from the steering knuckle.
12. Tap the spindle with a hammer in order to remove the spindle from the steering knuckle.