
Tracker 4WD L4-1.6L VIN 6 (1998)
Vacuum Regulator Valve: Service and Repair
Vacuum Modulator Valve Assembly Removal
REMOVAL PROCEDURE
^
Tools Required
-
J 23100 Vacuum Modulator Wrench
1. Raise and suitably support the vehicle.
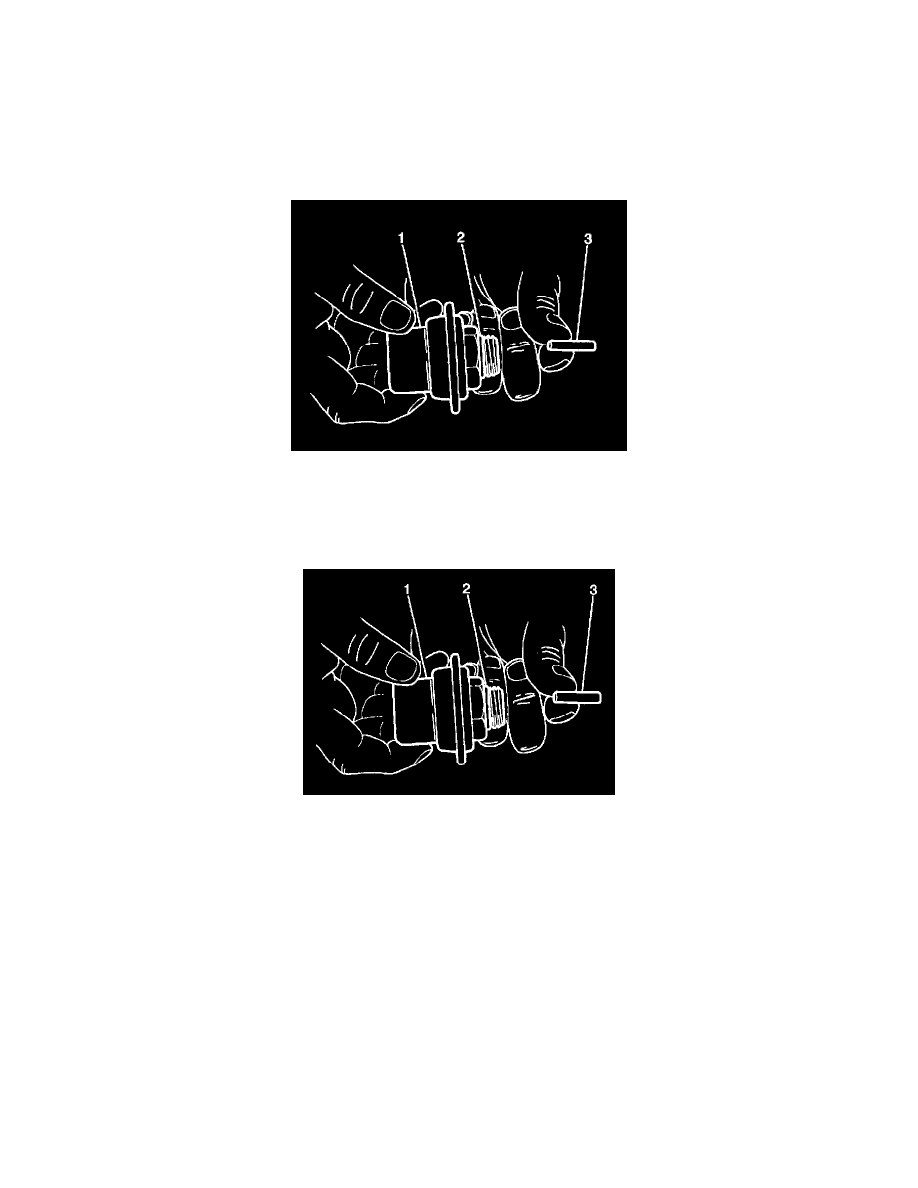
2. Disconnect the vacuum hose and pipe (1) from the vacuum modulator (2).
3. Use the J 23100 in order to remove the vacuum modulator (1) and the plunger (3) from the transmission.
INSPECTION PROCEDURE
^
Tools Required
-
J 23738-A Hand Operated Vacuum Pump
1. Perform the following procedure in order to inspect the vacuum modulator (1) for leakage:
1.1. Remove the vacuum modulator plunger (3) from the vacuum modulator (1).
1.2. Inspect for fluid that drains out of the vacuum modulator (1).
1.3. Replace the vacuum modulator (1) if transmission fluid is present in the vacuum modulator.
2. Perform the following procedure in order to use the J 23738-A when inspecting the vacuum modulator for leakage:
2.1. Attach the J 23738-A to the vacuum fitting on the rear of the vacuum modulator (1).
2.2. Apply 67 kPa (20 in Hg) of vacuum to the vacuum modulator.
2.3. Observe the gauge at the top of the J 23738-A.
2.4. Replace the vacuum modulator (1) if the J 23738-A indicates a vacuum loss.
3. Inspect the vacuum modulator O-ring (2) for cuts or other damage.
Replace the vacuum modulator O-ring as necessary.