
Tracker 4WD L4-2.0L VIN C (1999)
Catalytic Converter: Service and Repair
Catalytic Converter Replacement (PUP Converter)
Removal Procedure
1. Raise and support the vehicle. Refer to Vehicle Lifting.
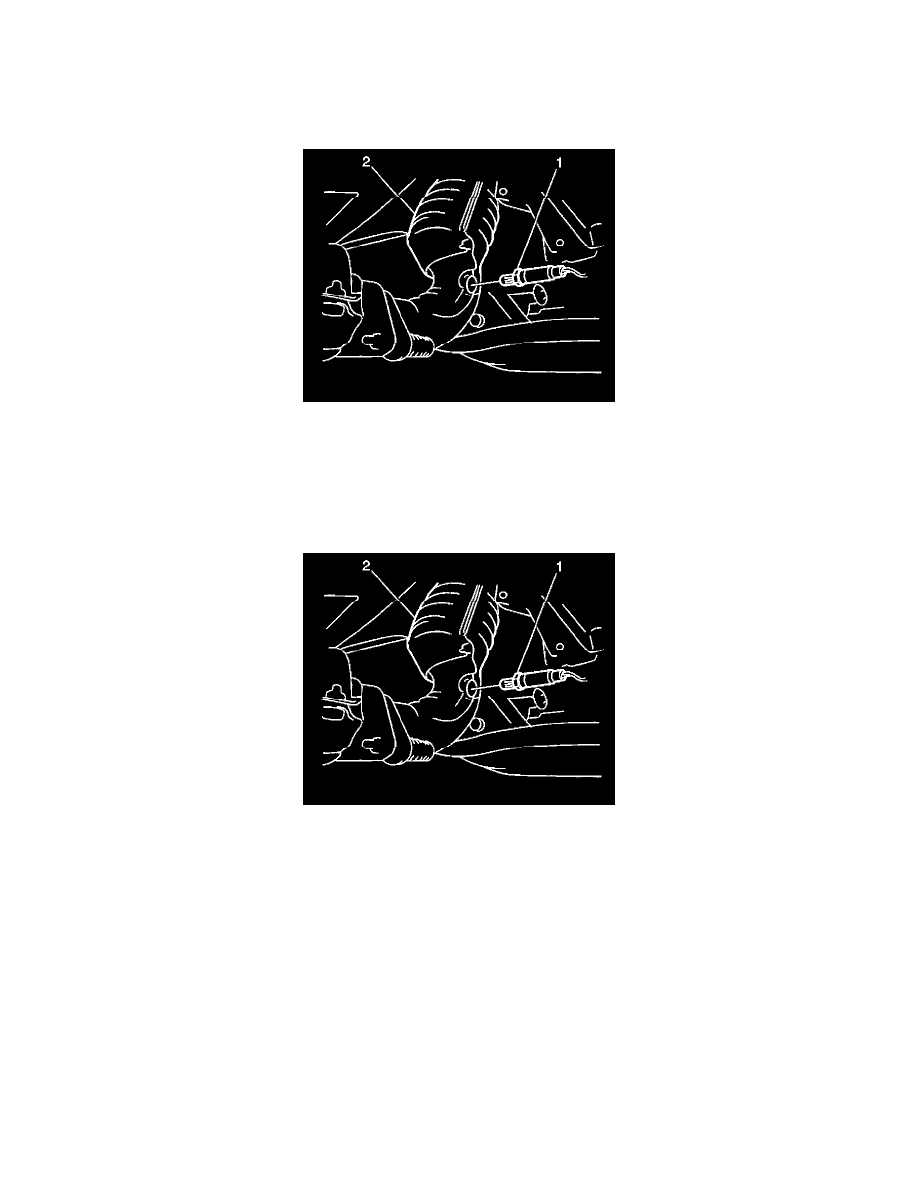
2. Remove the electrical connector at the Heated Oxygen Sensor (HO2S1) (1).
3. Remove the two bolts from the PUP catalytic converter and separate the PUP (2) from the standard catalytic converter assembly.
4. Remove the three nuts from the flange of the PUP catalytic converter (1) and separate from the exhaust manifold.
5. Remove the PUP catalytic converter from the vehicle.
6. Clean the gasket and the seal mating surfaces.
Installation Procedure
Important: When installing a new exhaust system component, always use new gaskets and seals.
1. Install the PUP catalytic converter (2) to the exhaust manifold.
2. Secure the PUP catalytic converter with three nuts. Do not fully tighten the nuts.
3. Attach the PUP catalytic converter with a new gasket to the standard catalytic converter assembly.
4. Secure the PUP catalytic converter with two bolts. Do not fully tighten the bolts.
5. Attach the electrical connector to the Heated Oxygen Sensor (HO2S1) (1).
Notice: Refer to Fastener Notice in Service Precautions.
6. Align all system components before tightening the fasteners, in order to prevent noise or vibrations.
Tighten:
^
The PUP catalytic converter to standard catalytic converter assembly bolts to 50 Nm (37 ft. lbs.).
^
Tighten the PUP catalytic converter to exhaust manifold nuts to 50 Nm (37 ft. lbs.).
7. Lower the vehicle.