
Tracker 4WD L4-2.0L VIN C (1999)
Exhaust Manifold: Service and Repair
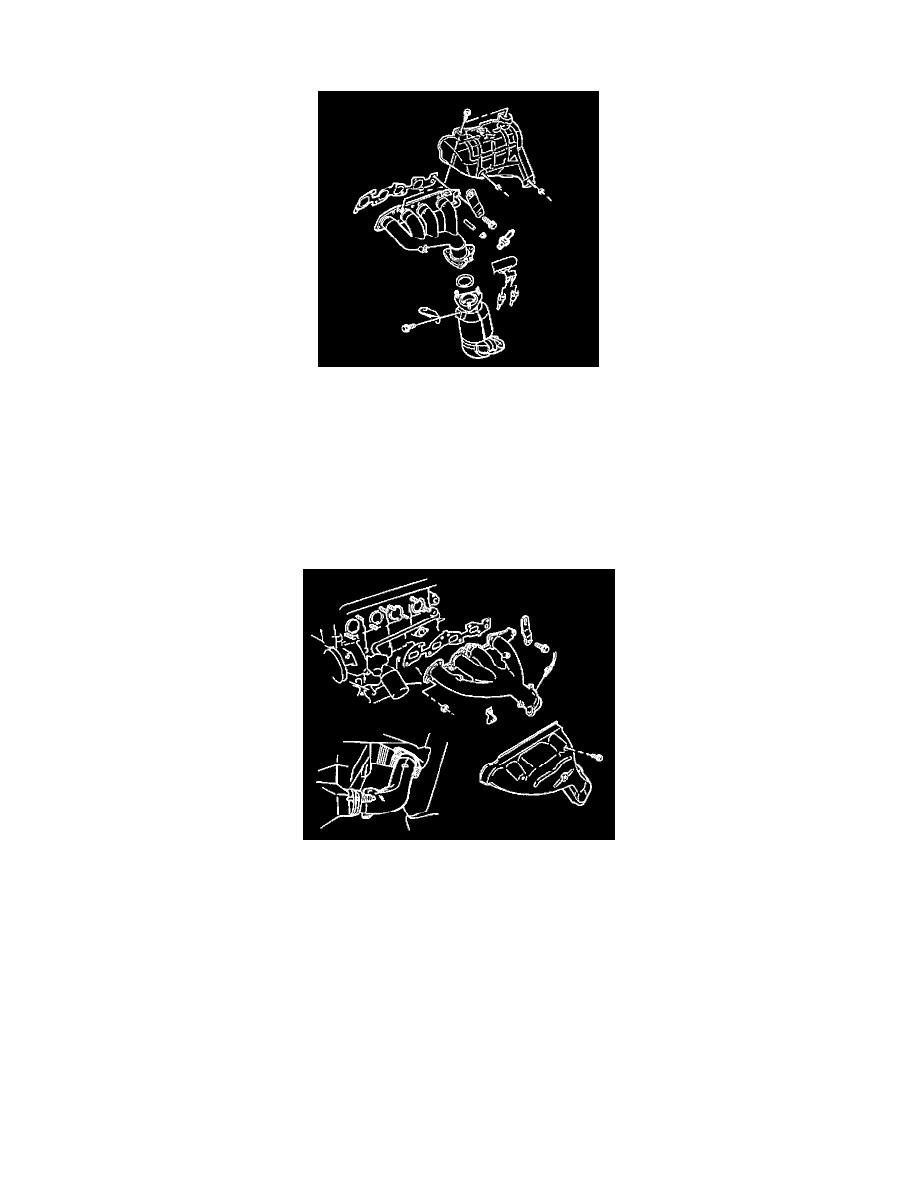
Removal Procedure
Caution: In order to avoid being burned, do not service the exhaust system while it is still hot. Service the system when it is cool.
Important: California emissions vehicles are equipped with an additional catalytic converter (PUP catalytic converter) and a different exhaust
manifold from federal emissions vehicles.
1. Perform the following if the vehicle is equipped with the PUP catalytic converter:
1.1. Remove the 3 bolts and 2 nuts and remove the exhaust manifold heat shield from the exhaust manifold.
1.2. Remove the 3 nuts and separate the front pipe/catalytic converter assembly from the exhaust manifold.
1.3. Remove the engine mount-to-front pipe/catalytic converter assembly bracket.
1.4. Remove the exhaust manifold-to-engine block bracket.
2. Perform the following if the vehicle is not equipped with the PUP catalytic converter:
2.1. Remove the 4 bolts and 1 nut and the exhaust manifold heat shield.
2.2. Raise the vehicle. Refer to Vehicle Lifting.
2.3. Remove the two bolts and separate the front pipe assembly from the exhaust manifold.
2.4. Lower the vehicle.
2.5. Remove the exhaust manifold-to-engine block bracket.
3. Disconnect the oxygen sensor electrical connector.
4. Remove the oxygen sensor from the exhaust manifold.
5. Remove the 1 bolt and 8 nuts from the exhaust manifold.
6. Remove the exhaust manifold, the engine lift hook, and the gasket from the cylinder head.
Installation Procedure