
Tracker 4WD L4-2.0L VIN C (1999)
2. Hook the end of the cable into the hole in the lever arm.
3. Slide the sheath back on the cable.
4. Line up the sheath with the sheath retainer.
5. Slide the sheath into its retainer until it snaps into place.
6. Install the heater control unit.
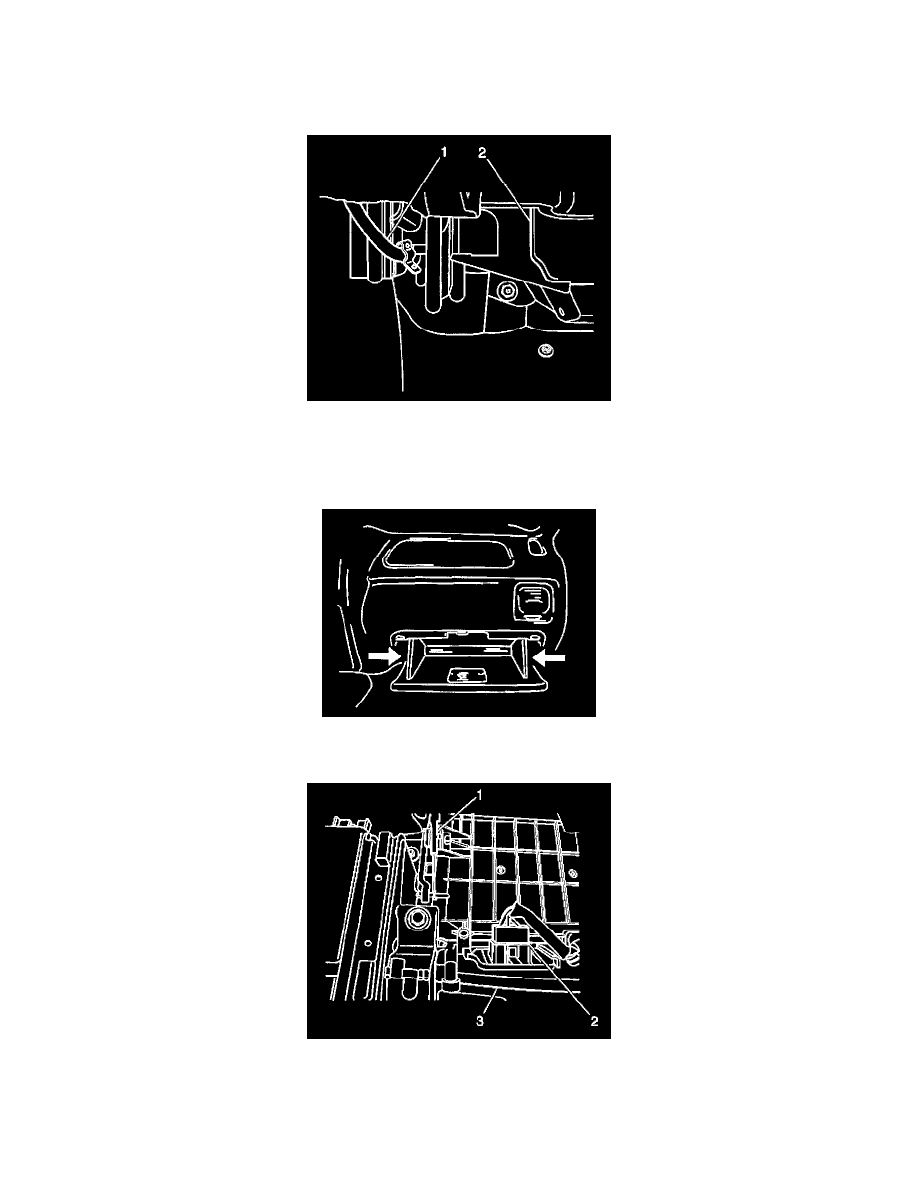
7. Install the temperature control cable (1) onto the pin of the temperature door and install the cable to the clip at the heater case.
8. Adjust the cable as necessary. Refer to Temperature Control Cable Adjustment.
Vent Control Cables Replacement
REMOVAL PROCEDURE
1. Open the Instrument Panel (IP) compartment.
2. Push in the left and right side of the IP compartment and lower the IP compartment.
3. Remove the fresh/recirc control cable (1) from the clip at the blower case. Unhook the cable from the fresh/recirc door pin.