
Tracker 4WD L4-2.0L VIN C (1999)
Overdrive Switch: Service and Repair
Removal Procedure
1. Remove the 4 console screws and the 2 console plastic retaining clips.
2. Remove the console.
3. Remove the back terminals from the O/D (2) switch wire coupler.
4. Remove the O/D wire harness from the O/D switch wire clamp.
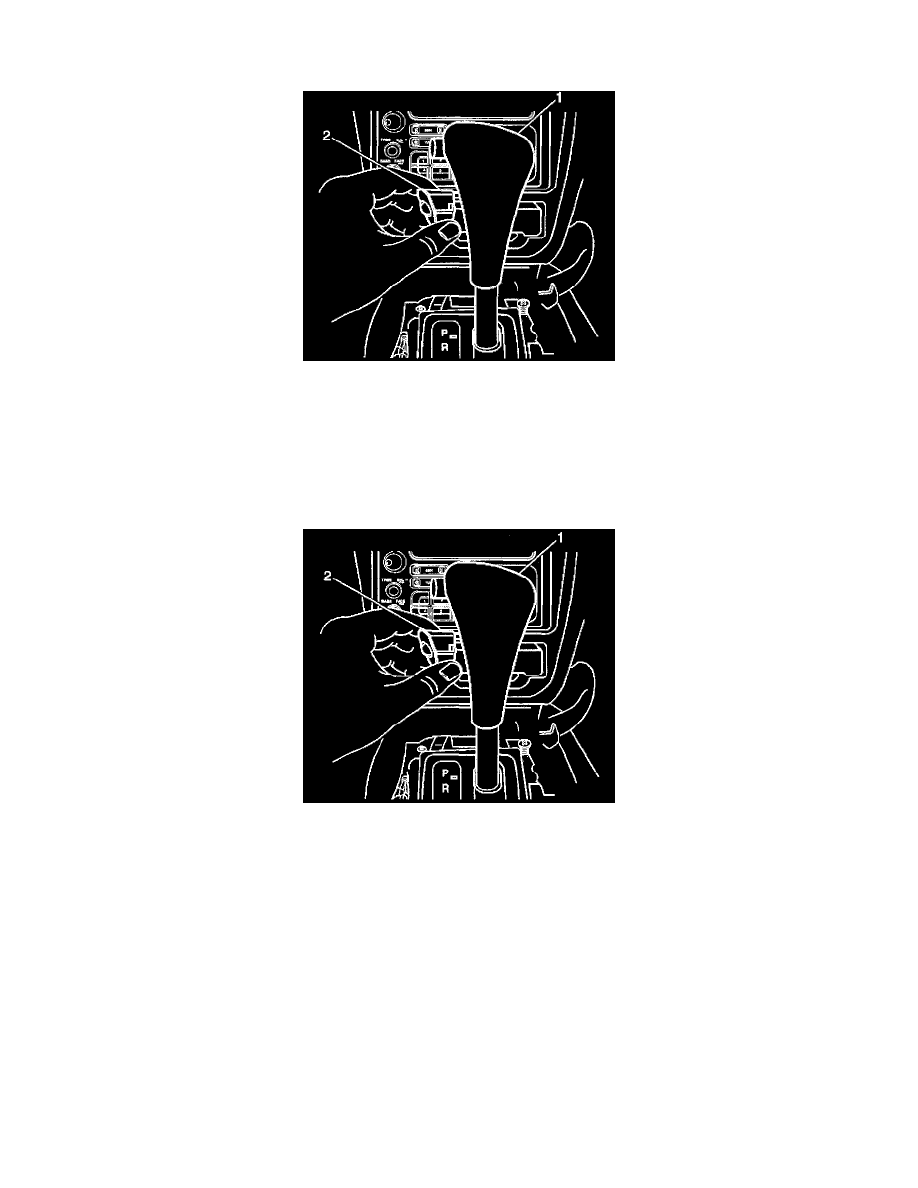
5. Remove the 2 screws that secure the knob assembly to the select lever tube.
6. Gently pull the knob assembly (1) in order to ensure that the O/D switch (2)wire harness does not catch.
Installation Procedure
1. Route the O/D switch wire harness through the select lever tube in order to ensure that the O/D switch wire harness tube is in the correct position.
2. Ensure that the detent release guide taper is toward the rear of the vehicle.
3. Position the knob assembly (1) over the selector lever tube.
4. Secure the knob assembly with the 2 screws.
5. Install the new O/D switch (2) wire coupler.
6. Install the O/D switch wire harness to the O/D switch wire clamp.