
Tracker 4WD L4-2.0L VIN C (1999)
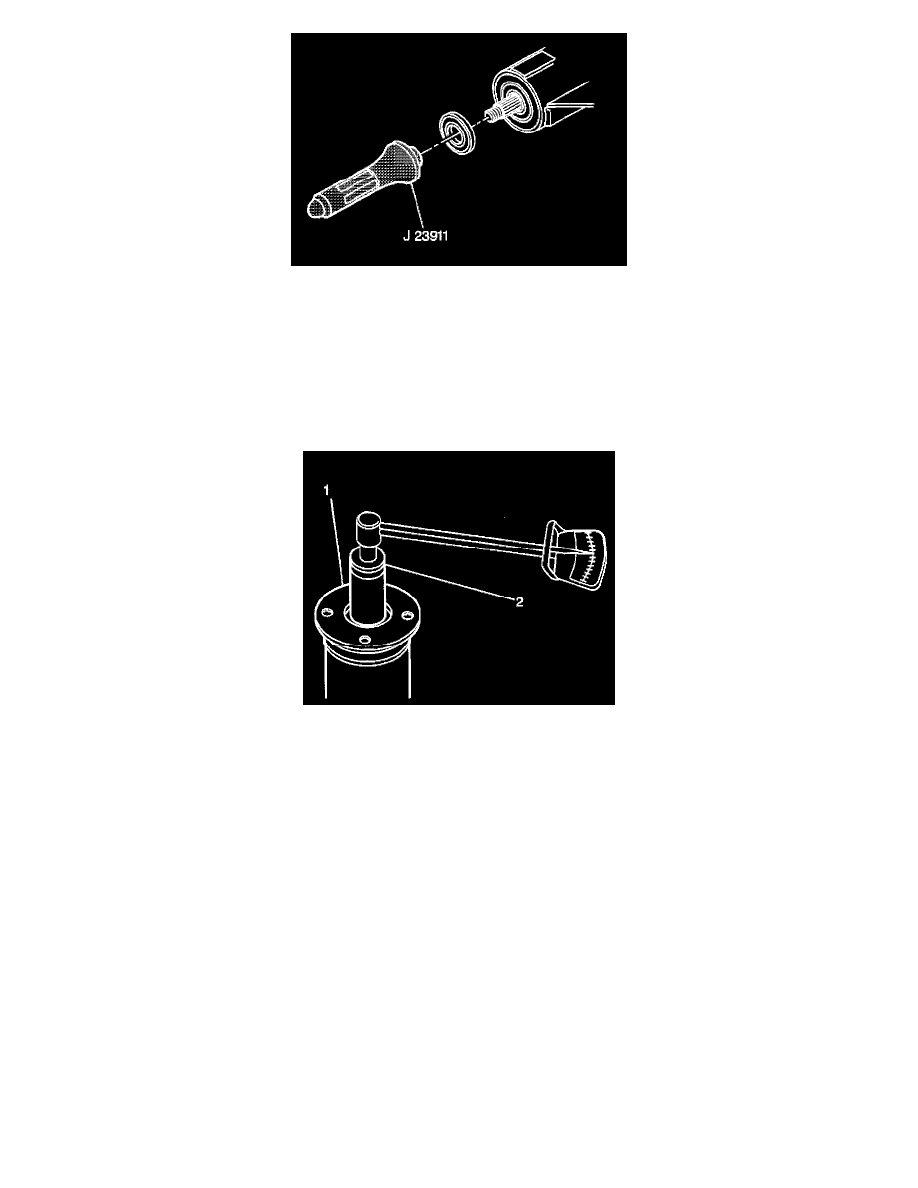
1. Install anew seal using J 23911.
2. Apply seal lubricant (GM P/N 1050169) to the outside of the pinion flange and the sealing lip of the new seal.
3. Install the pinion flange.
Notice: Refer to Fastener Notice in Service Precautions.
4. Install the washer and nut.
^
Tighten the nut on the pinion stem as close to the original marks as possible without going past the mark. Use the reference mark and the
thread count as a reference. Tighten the nut in increments. Turn the pinion flange several times after each tightening in order to set the rollers.
Important: If the original preload torque was less than 3 inch-pounds, reset the torque specification to 3-5 inch-pounds.
5. Measure the torque required to rotate the pinion. Compare this with the torque recorded earlier. Continue to tighten and measure a little at a time
until the same preload is achieved.
6. Align the propeller shaft with the alignment marks made previously. Use J 8614-01 in order to hold the pinion flange.
7. Install the propeller shaft to the pinion flange.
8. Install the bolts and retainers.
^
Tighten the bolts to 45 Nm (33 ft. lbs.).