
Tracker 4WD V6-2.5L VIN 4 (2001)
Timing Chain: Service and Repair
Secondary Timing Chain Replacement- Left
Removal Procedure
Caution: Refer to Battery Disconnect Caution in Service Precautions.
1. Disconnect the negative battery cable.
2. Remove the engine front cover.
3. Remove the spark plugs.
Notice: Refer to Timing Chain and Tensioner Removal Notice in Service Precautions.
Important: The timing marks must be correctly aligned before disassembly in order to correctly install the timing chains.
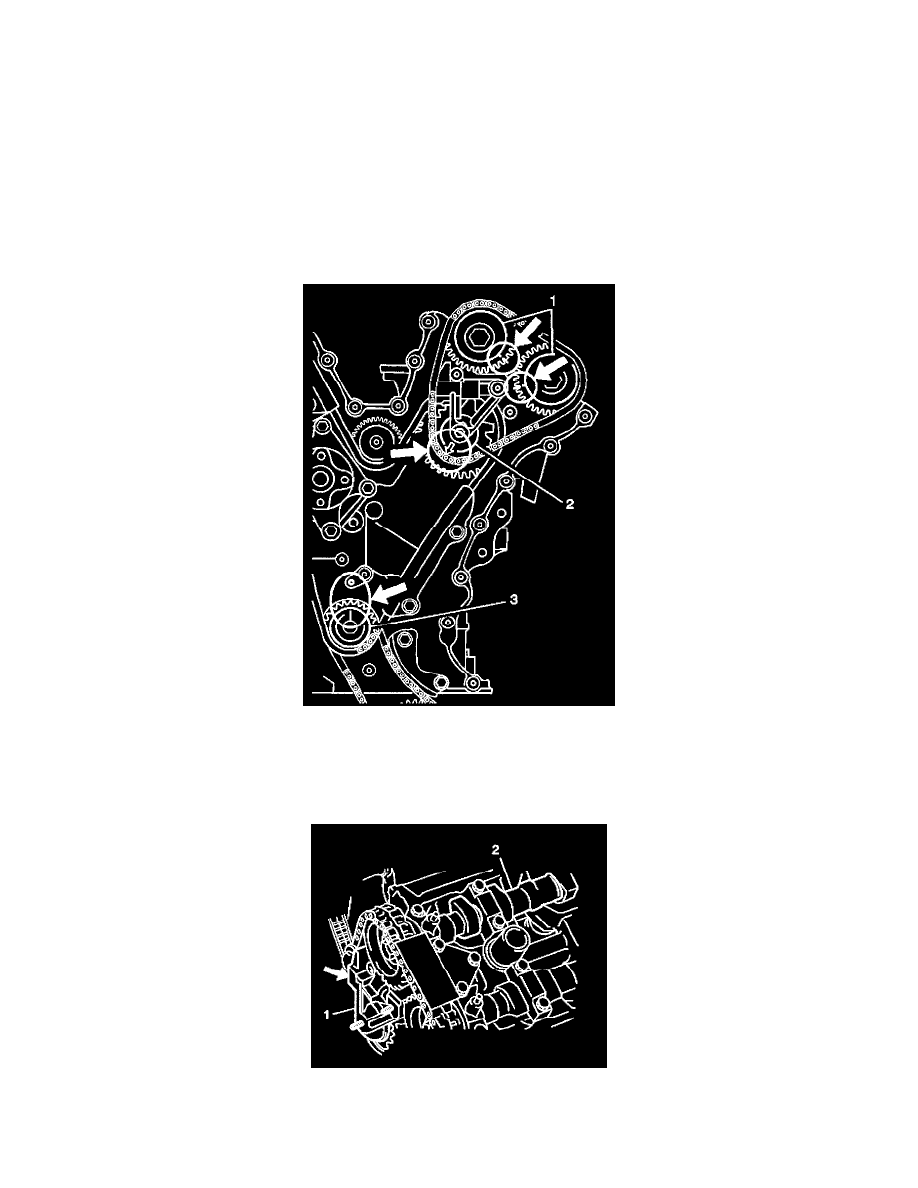
4. Rotate the crankshaft so that the following conditions are met:
-
The keyway on the crankshaft (3) is properly positioned.
-
The arrow (2) on the idler sprocket is pointing to the crankshaft.
-
The marks on the sprockets (1) match up with the marks on the cylinder head.
5. Remove the 3 bolts and the upper chain guide.
6. Remove the 1 nut and 2 bolts from the timing chain tensioner (1).
7. Remove the timing chain tensioner (1). It may be necessary to slacken the timing chain by turning the intake camshaft (2) counterclockwise a little
while pushing back on the tensioner pad.