
Tracker 4WD V6-2.5L VIN 4 (2001)
Fuel Tank Pressure Release Valve: Service and Repair
REMOVAL PROCEDURE
1. Remove the fuel tank from the vehicle.
2. Disconnect the 2 vapor hoses from the pressure control valve.
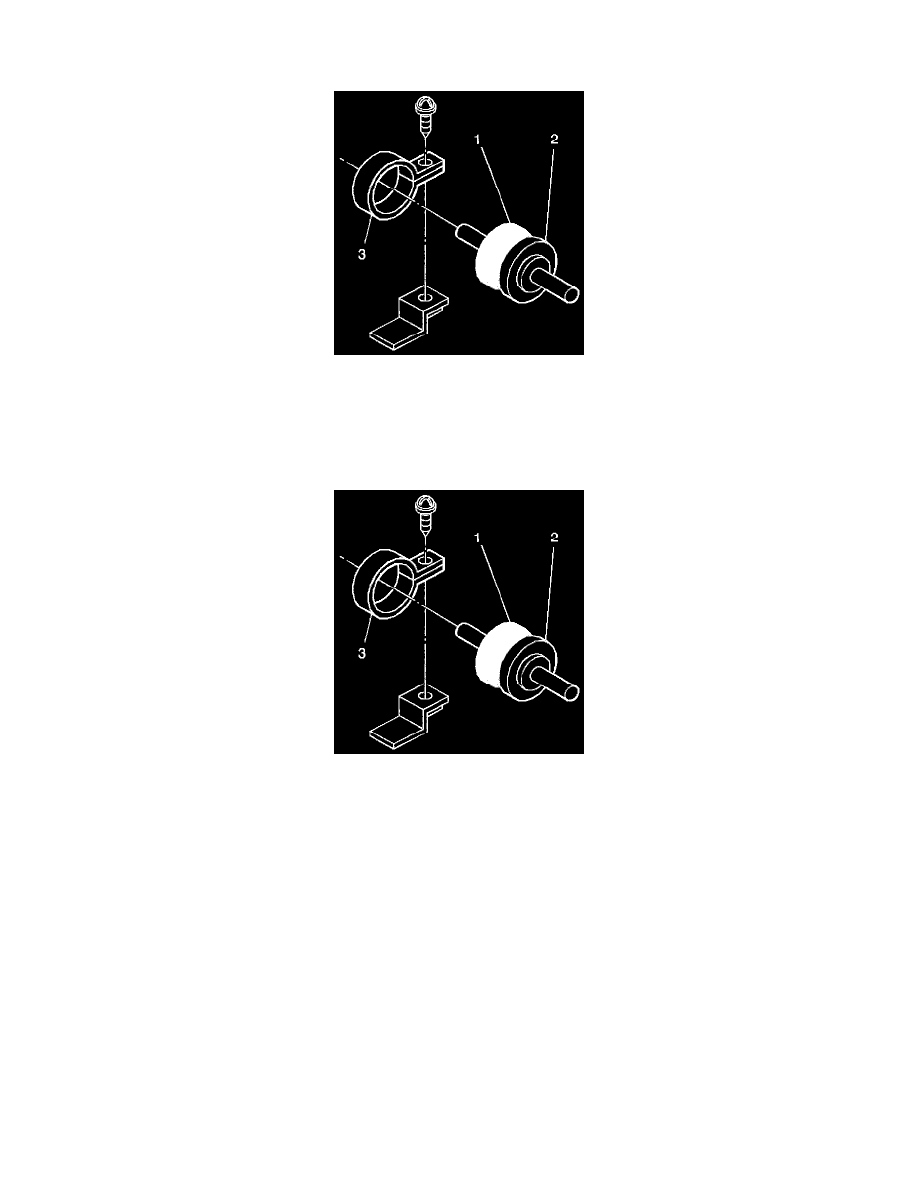
3. Remove the fastener and the pressure control valve from the fuel tank.
4. Remove the pressure control valve from the sleeve (3).
INSTALLATION PROCEDURE
1. Install the pressure control valve into the sleeve (3).
NOTE: Refer to Fastener Notice in Service Precautions.
2. Install the pressure control valve to the fuel tank, and secure the valve with the fastener.
Tighten
Tighten the fastener to 1.2 N.m (11 lb in).
3. Connect the vapor hose from the Evaporative Emission (EVAP) canister to the orange side or to the green side (2) of the pressure control valve.
4. Connect the vapor hose from the fuel tank to the black side (1) of the pressure control valve.
5. Install the fuel tank to the vehicle.