
TrailBlazer 2WD L6-4.2L VIN S (2003)
14. Install the seat pan to the seat adjuster frame.
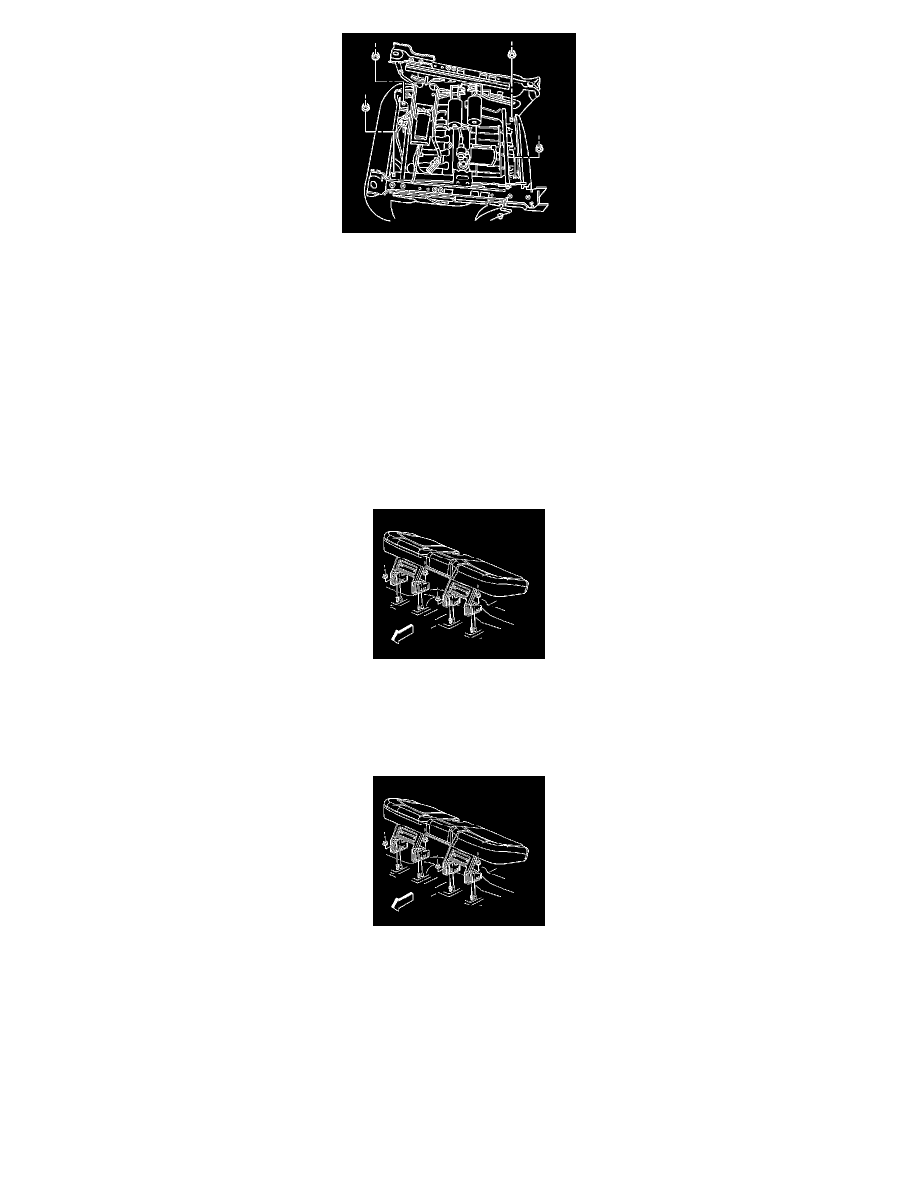
15. Install the 4 retaining nuts to the studs on the underside of the cushion.
Tighten the nuts to 25 N.m (18 lb ft).
16. Install the 3 seat switch bezel screws.
Seat Cushion Replacement - Rear No. 1 (TrailBlazer, Envoy, Bravada)
Seat Cushion Replacement - Rear No. 1 (Trailblazer, Envoy, Bravada)
Removal Procedure
1. Remove the rear seat bracket trim cover.
2. Remove the hydraulic jack from the jack stowage area, on the left side only.
3. Position the seat cushion assembly in order to gain access to the 2 rear seat mounting nuts.
4. Remove the 2 mounting nuts.
5. Remove the seat cushion assembly from the vehicle.
Installation Procedure
1. Position the seat cushion assembly to the vehicle.
Notice: Refer to Fastener Notice in Service Precautions.
2. Install the 2 nuts that retain the seat cushion assembly to the floor panel.
Tighten the rear seat mounting nuts to 45 N.m (33 lb ft).
3. Install the hydraulic jack into the jack stowage area, on the left side only.
4. Adjust the seat cushion assembly to the latched position.
5. Install the rear mount trim cover.
Seat Cushion Bracket Replacement - Rear No. 1 (TrailBlazer, Envoy, Bravada)