TrailBlazer 2WD V8-5.3L (2007)

3. Close the liftgate.
4. Open the liftgate window.
5. Install the push-pin retainer in the upper trim panel.
6. Close the liftgate window.
7. Install the upper liftgate garnish molding.
Rear Floor Front Trim Plate Replacement
Rear Floor Front Trim Plate Replacement
Removal Procedure
1. Lower the midgate to the cargo position.
2. Raise the hinged filler panel on the back of the midgate.
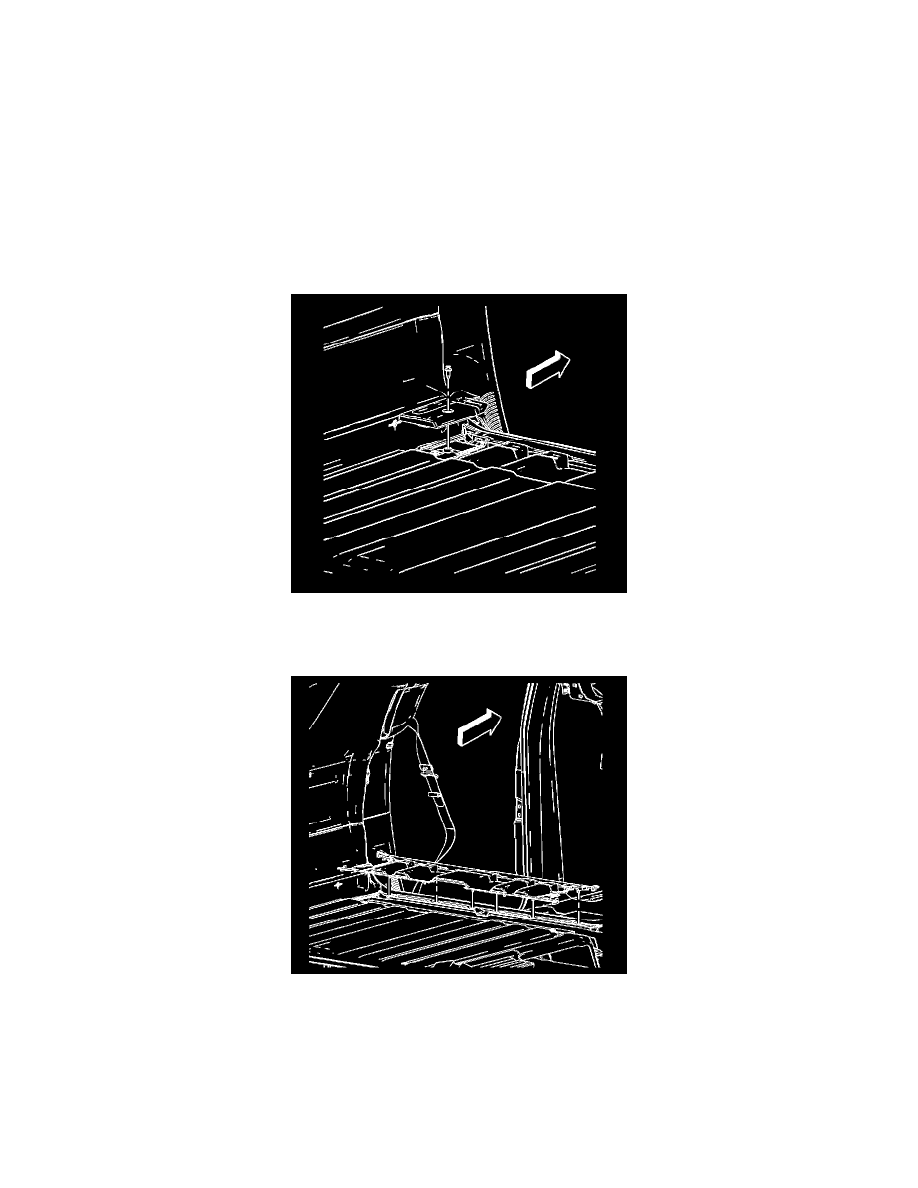
3. Remove the pushpins securing the rear floor front trim panel end covers by unscrewing the retainer pin.
4. Remove the rear floor front trim panel end covers.
5. Remove 2 push pin fasteners by lifting up on each end of the rear floor front trim panel.
6. Grasp the front edge of the rear floor front trim panel and pull straight up to release the retaining clips along the front edge.
7. Remove the rear floor front trim panel by pulling straight up to release the retaining clips along the rear edge.
8. Remove the rear floor front trim panel from the vehicle
Installation Procedure
