
TrailBlazer 4WD L6-4.2L VIN S (2002)
1. Remove the I/P carrier.
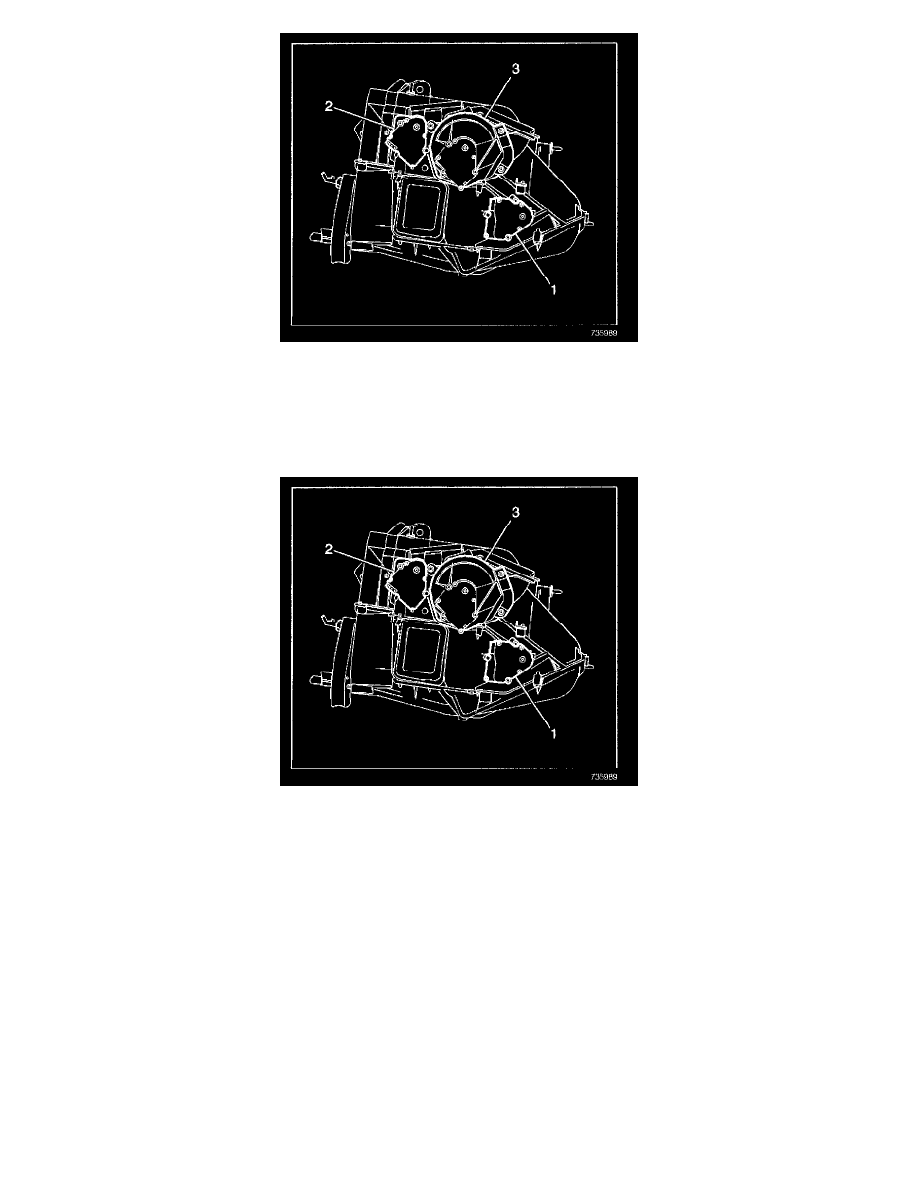
2. Remove the left side air temperature actuator (1) retaining screws.
3. Disconnect the left side air temperature actuator electrical connector.
4. Remove the left side air temperature actuator.
INSTALLATION PROCEDURE
1. Install the left side air temperature actuator (1).
NOTE: Refer to Fastener Notice in Service Precautions.
2. Install the left side air temperature actuator retaining screws.
Tighten
Tighten the screws to 1.9 N.m (17 lb in).
3. Connect the electrical connector to the left side air temperature actuator.
4. Install the I/P carrier.
5. Calibrate the air temperature actuator on vehicles equipped with automatic climate control (C68). Refer to Re-Calibrating Actuators (Primary) or
Re-Calibrating Actuators (Auxiliary HVAC).
For a description of the RPO Code(s) shown in this article or any of the images therein, refer to the RPO Code List found at Vehicle/Application ID".
See: Application and ID/RPO Codes
Right
REMOVAL PROCEDURE