
TrailBlazer 4WD L6-4.2L VIN S (2002)
Tighten
Tighten the nut to 48 N.m (35 lb ft).
10. Install the sealing washers.
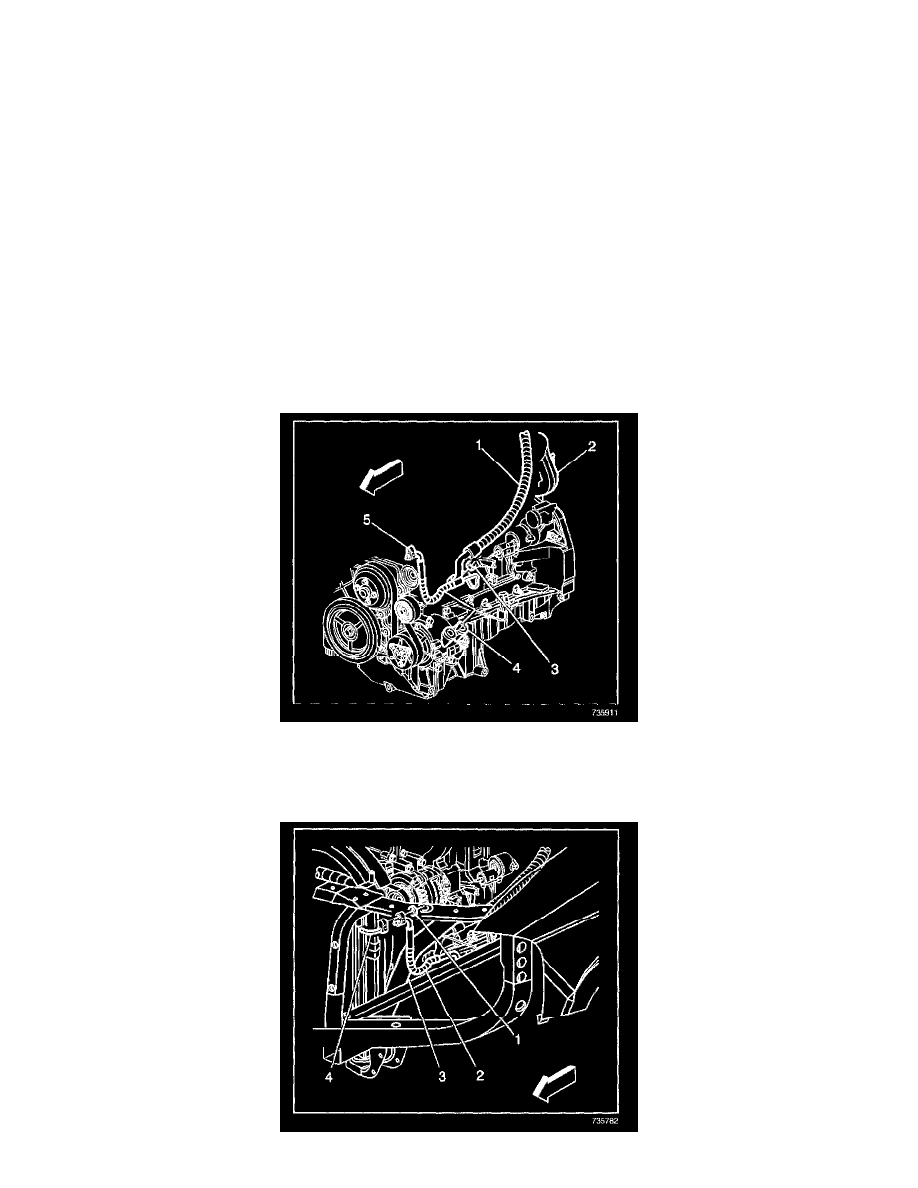
11. Connect the compressor suction/discharge hose to the compressor (4).
12. Install the compressor suction/discharge hose washers.
13. Install the retaining nut (3).
Tighten
Tighten the nut to 33 N.m (24 lb ft).
14. Evacuate and recharge the A/C system. Refer to Refrigerant Recovery and Recharging.
15. Leak test the fittings of the components using the J 39400.
TrailBlazer EXT and the Envoy XL.
TOOLS REQUIRED
J 39400-A Halogen Leak Detector
REMOVAL PROCEDURE
1. Recover the refrigerant from the system. Refer to Refrigerant Recovery and Recharging.
2. Remove the compressor suction/discharge hose nut (3).
3. Remove the compressor suction/discharge hose from the compressor (4).
4. Remove the sealing washers.