TrailBlazer 4WD V8-6.0L (2007)

Exhaust Resonator: Service and Repair
Resonator Replacement
Removal Procedure
1. Raise and suitably support the vehicle. Refer to Lifting and Jacking the Vehicle.
Important: Do not reuse any component of the exhaust system that is corroded or damaged.
2. Inspect the exhaust system components to determine if they can be reused.
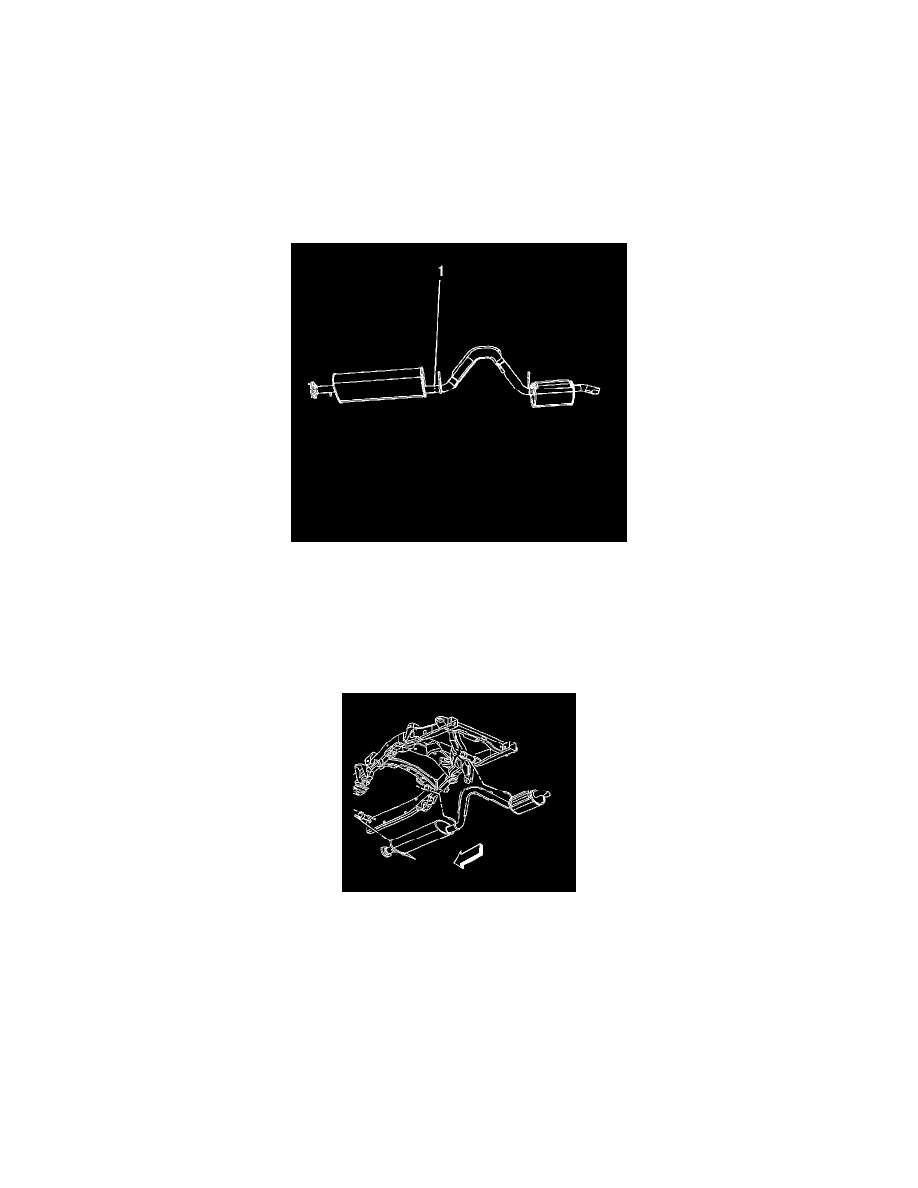
3. Cut (1) the resonator pipe as close to the exhaust hanger as possible.
4. Separate the resonator and tailpipe assembly from the hanger insulators.
5. Remove the resonator and tailpipe assembly.
Installation Procedure
1. Install the new resonator and tailpipe assembly to the muffler.
2. Attach the resonator and tailpipe to the hanger insulators.
3. Loosely install the clamp to secure the resonator to the muffler.
Notice: Refer to Fastener Notice.
4. Align the tailpipe in the proper position.
Tighten the clamp nuts to 50 N.m (37 lb ft).
5. Inspect the exhaust system for leaks and underbody contact.
6. Lower the vehicle.
