
Traverse FWD V6-3.6L (2009)
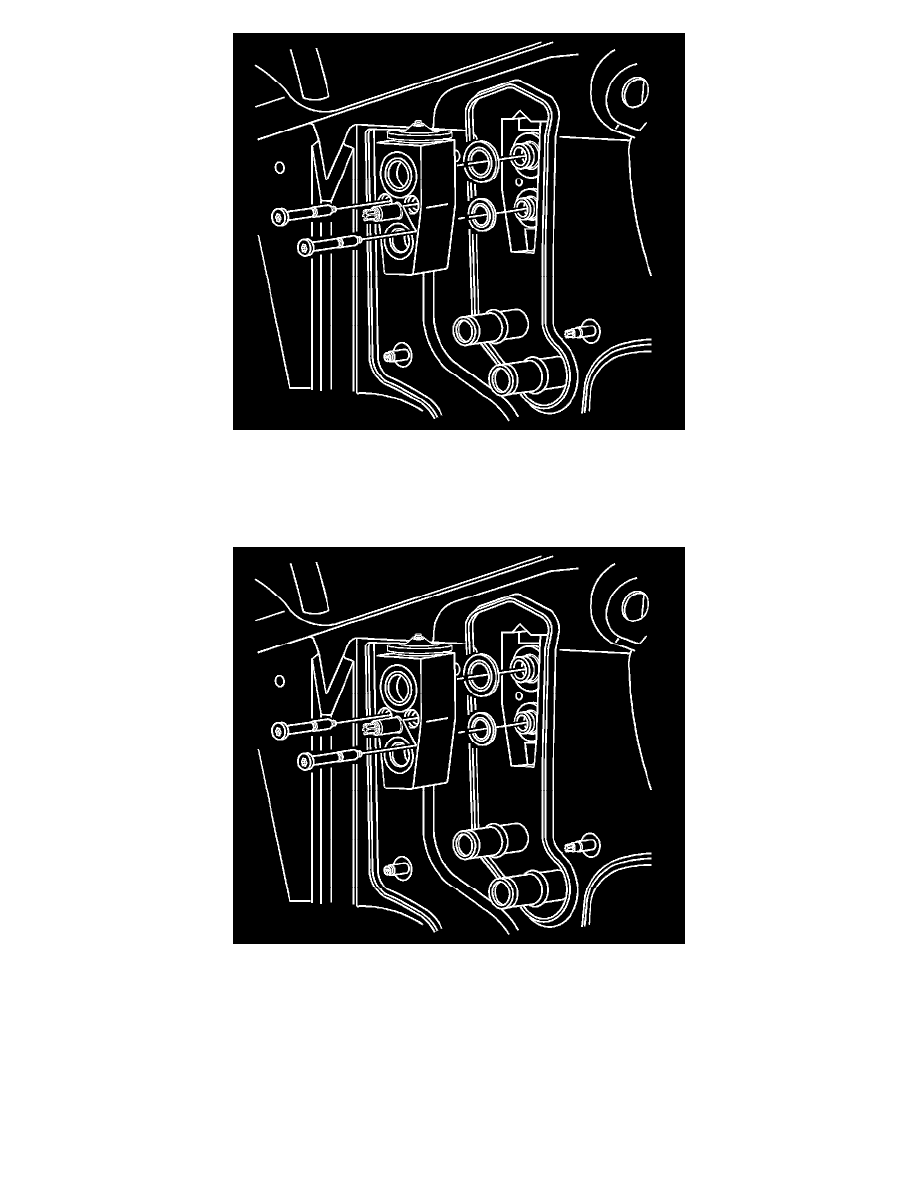
6. Remove the TXV bolts.
7. Remove the TXV.
8. Remove and discard the seal washers.
Installation Procedure
1. Install new seal washers to the evaporator core fittings. Refer to Sealing Washer Replacement (See: Coupler HVAC/A/C Coupler O-ring/Service
and Repair/Sealing Washer Replacement).
2. Install the TXV.
Caution: Refer to Fastener Caution (See: Service Precautions/Vehicle Damage Warnings/Fastener Caution).
3. Install the TXV bolts. Insert a small phillips screwdriver through one of the TXV bolt holes and into the threaded hole of the mounting plate.
Install the TXV bolt into the other hole without the screwdriver. Remove the screwdriver and install the other TXV bolt.
Tighten the bolts to 5 Nm (44 lb in).