
Traverse FWD V6-3.6L (2009)
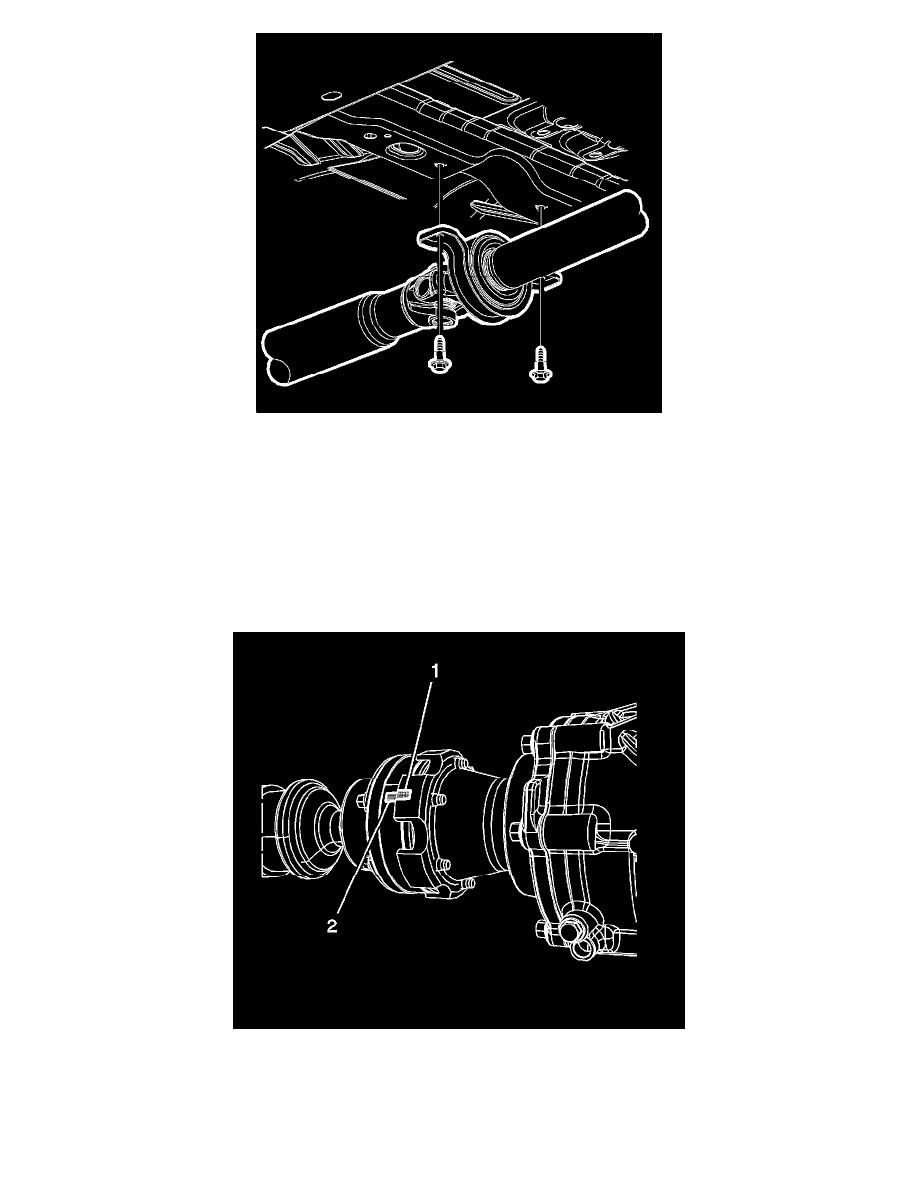
12. Remove the center support mounting bolts.
13. With the aid of an assistant, remove the propeller shaft from the supports and the vehicle.
Installation Procedure
Note: Align the paint or scribe reference marks on the transfer case flange to the propeller shaft flange and the rear differential drive flange to ensure
minimal driveline system imbalance.
1. Clean the mounting bolts for the center bearing, front and rear propeller shaft drive flanges. Refer to Adhesives, Fluids, Lubricants, and Sealers (
See: Specifications/Fluid Type Specifications).
2. With the aid of an assistant, position the propeller shaft on the supports.
Note: Install a few of the mounting bolts and washers to hold the propeller shaft in place.
3. Align the reference marks on the front propeller shaft (2) to transfer case flange (1).