
Uplander FWD V6-3.5L VIN L (2006)
18. Align the luggage carrier slats to the raised portions of the roof.
19. Use the top as alignment marks for the luggage carrier slats.
20. Apply touch up paint around the attaching hole as needed.
21. Use a rivnut tool, or equivalent, in order to install the rivnut to the attaching hole.
IMPORTANT: Remove and install the luggage carrier as an assembled luggage carrier.
22. With help from an assistant, install the luggage carrier to the roof.
23. Install the front and the rear luggage carrier mounting screws.
Tighten the screws to 6 N.m (53 lb in).
Luggage Carrier Rivnut Replacement
LUGGAGE CARRIER RIVNUT REPLACEMENT
REMOVAL PROCEDURE
1. Remove the luggage carrier.
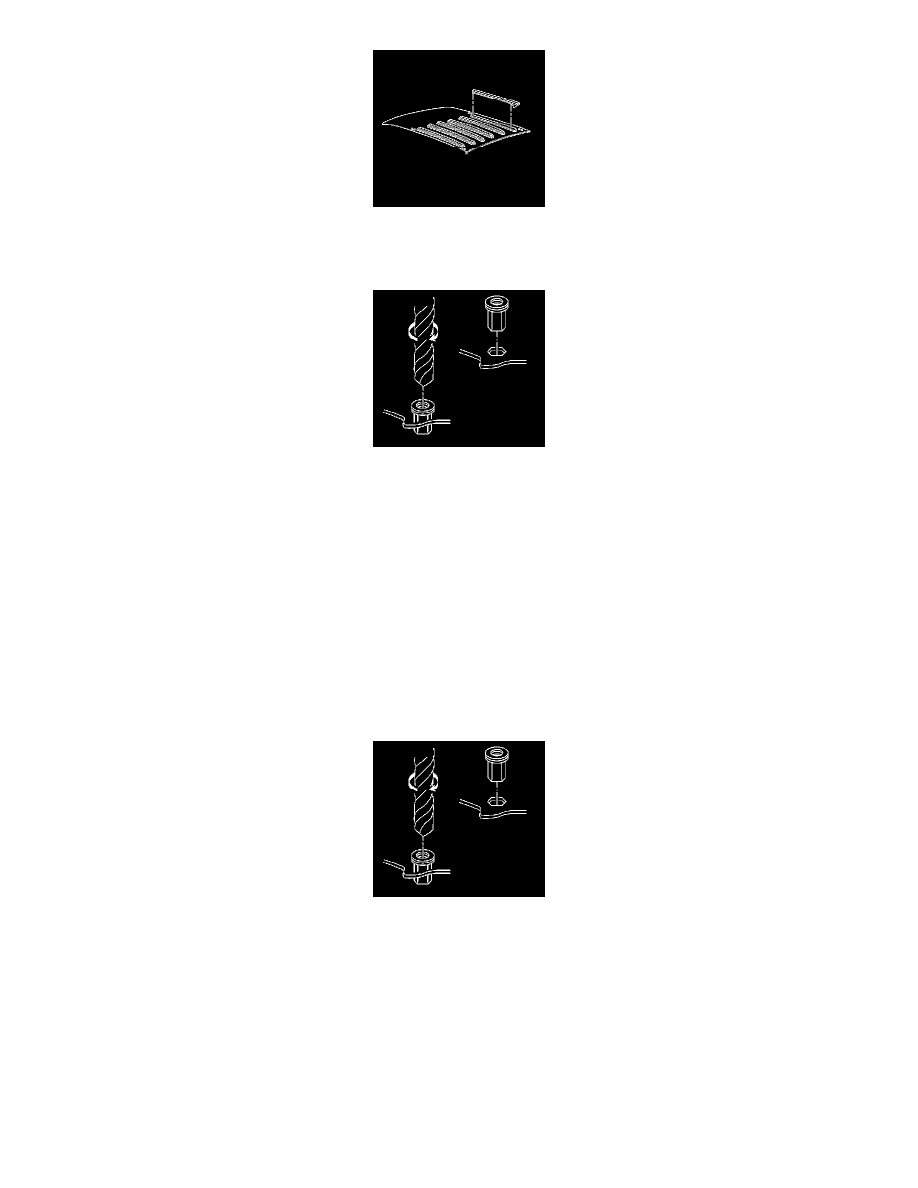
2. Drill through the luggage carrier rivnut head using a 7.5 mm (0.295 in) drill bit.
CAUTION: Refer to Safety Glasses Caution in Service Precautions.
3. Remove the rivnut from the roof.
INSTALLATION PROCEDURE
1. Use a 10 mm (0.39 in) drill bit to drill the hole in the roof out.