
Venture V6-3.4L VIN E (1997)
Valve Cover: Service and Repair
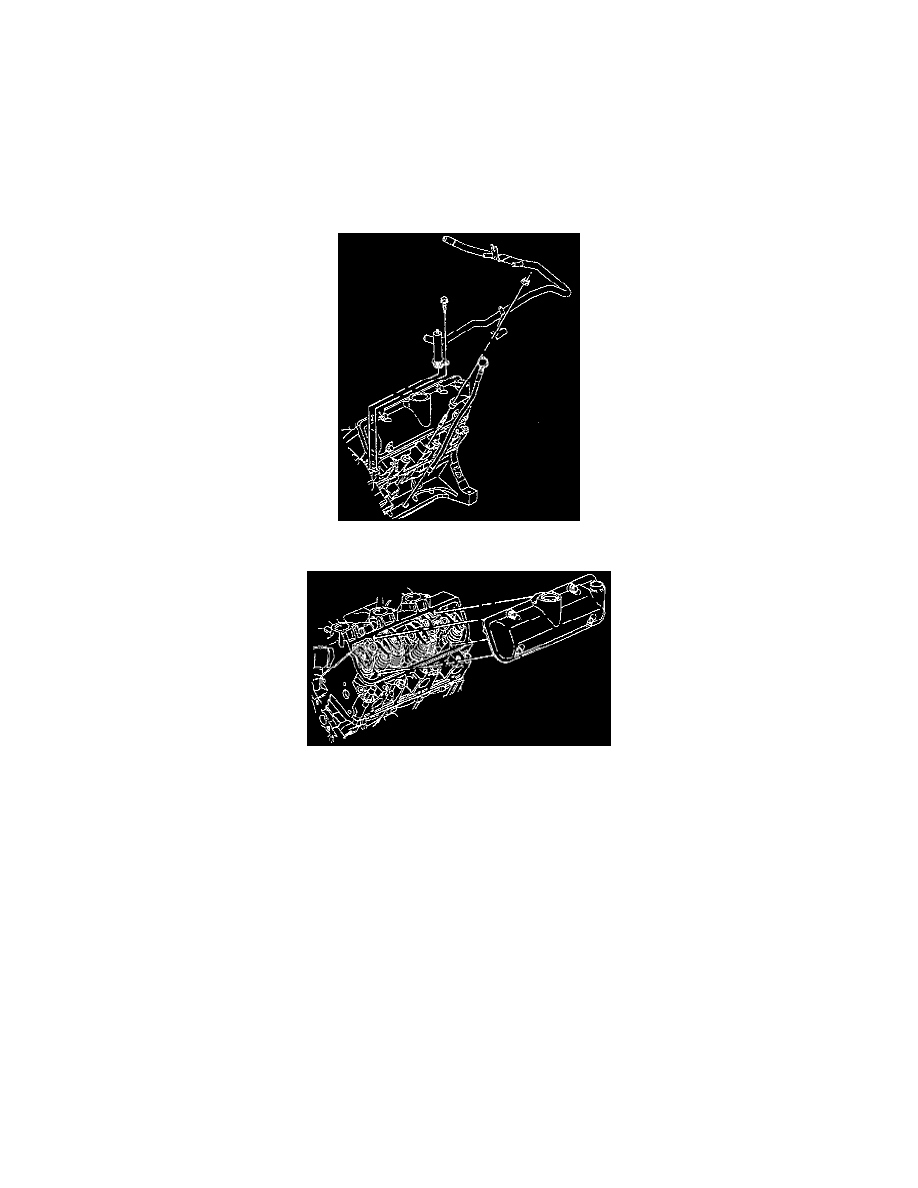
Left Side - Front
REMOVAL
1. Disconnect the battery ground (negative) cable.
2. Drain the engine coolant. Refer to Cooling System.
3. Remove the fuel injector sight shield. Refer to Engine Cover Replacement See: Service and Repair
4. Remove the left (front) spark plug wires. Refer to Starting and Charging.
5. Remove the automatic transaxle vacuum modulator pipe. Refer to Transmission and Drivetrain.
6. Remove the right engine mount strut at the engine.
7. Remove the Positive Crankcase Ventilator (PCV) valve from the left (front) valve rocker arm cover. Refer to Powertrain Management.
8. Remove the thermostat bypass pipe. Refer to Heating and Air Conditioning.
9. Remove the left (front) valve rocker arm cover bolts.
10. Remove the left (front) valve rocker arm cover.
11. Remove the left (front) valve rocker arm cover gasket.
12. Clean the valve rocker arm cover.
13. Clean the valve rocker arm cover gasket sealing surfaces on the cylinder head and the lower intake manifold.
INSTALLATION
1.
Install a new left (front) valve rocker arm cover gasket.
NOTE: Apply sealant GM P/N 12345739 or equivalent at the cylinder head to lower intake manifold joint.
2. Install the left (front) valve rocker arm cover.
-
Hand tighten the left (front) valve rocker arm cover bolts.
-
Tighten the bolts to 10 Nm (89 inch lbs.).
3. Install the thermostat bypass pipe. Refer to Heating and Air Conditioning.
4. Install the PCV valve to the left (front) valve rocker arm cover. Refer to Powertrain Management.
5. Install the right engine mount strut at the engine.
6. Connect the automatic transaxle vacuum modulator pipe. Refer to Transmission and Drivetrain.
7. Install the left (front) spark plug wires. Refer to Starting and Charging.
8. Install the fuel injector sight shield. Refer to Engine Cover Replacement See: Service and Repair
9. Fill the cooling system with coolant. Refer to Cooling System.
10. Connect the battery ground (negative) cable.