
Venture AWD V6-3.4L VIN E (2004)
Headlamp Bulb: Service and Repair
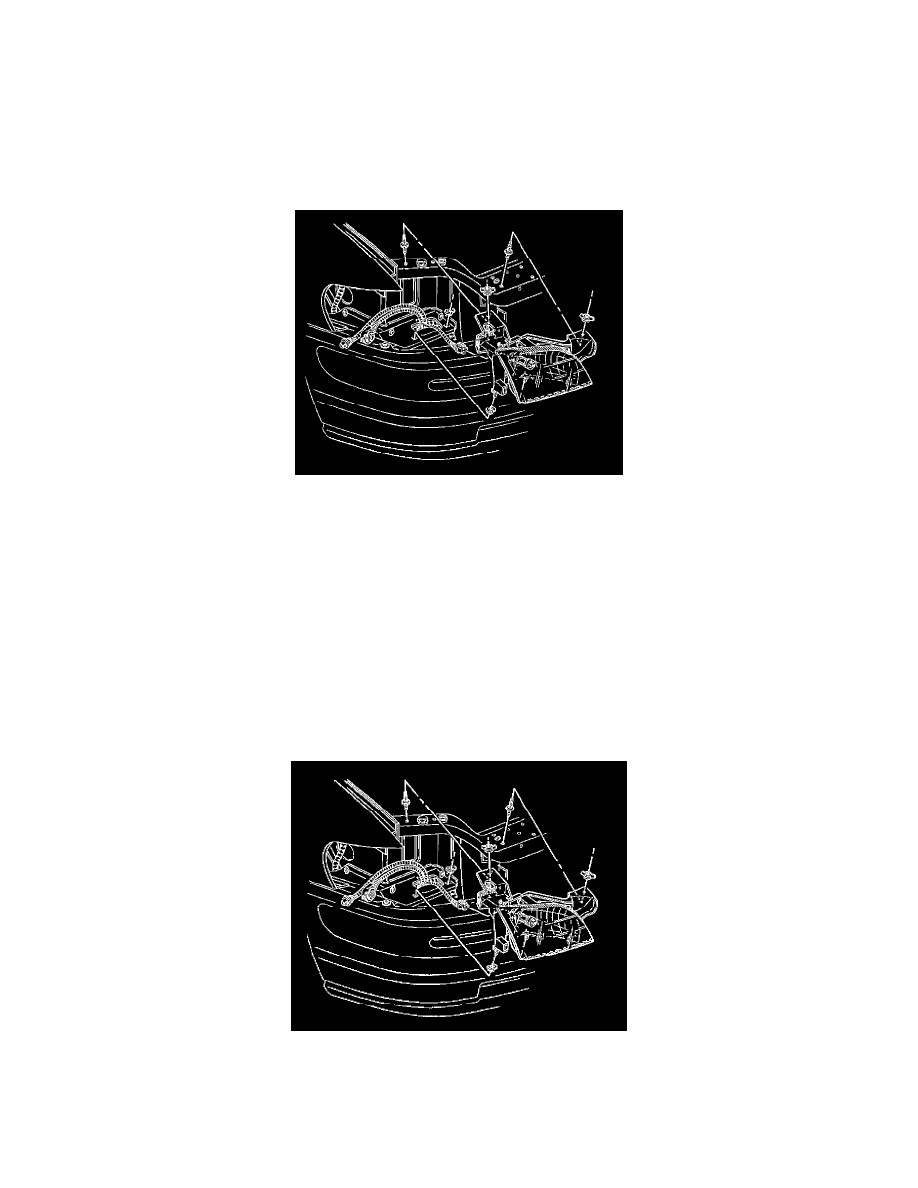
HEADLAMP ASSEMBLY OR HEADLAMP BULB REPLACEMENT
REMOVAL PROCEDURE
CAUTION: Refer to Halogen Bulb Caution in Service Precautions.
1. Open the hood.
2. Remove the front park/turn signal/sidemarker lamp.
3. Remove the wing nuts from the headlamp studs.
4. Remove the headlamp from the support panel by lifting up and pulling forward.
5. Disconnect the electrical connector from the headlamp bulb/socket.
6. Place the headlamp, lens down, on a flat surface covered with a rag to protect the surface of the lens.
IMPORTANT: In order to minimize the nitrogen from escaping from within the headlamp, the headlamp must be placed on a flat surface, lens
down, when removing the bulb. The amount of time spent on removing the bulb from the headlamp must be kept to a minimum. If the headlamp is to
be stored while repairs are being completed on the vehicle, the bulb must remain in the headlamp.
7. Remove the headlamp bulb/socket from the headlamp by rotating counterclockwise.
INSTALLATION PROCEDURE
1. Install the headlamp bulb/socket to the headlamp by rotating clockwise.
2. Connect the electrical connector to the headlamp bulb/socket.
3. Align the lower pins to the locating holes in the headlamp support bracket.
4. Align the bracket to the studs in order to install the headlamp to the body.
5. Install the wing nuts to the headlamp studs and hand tighten.
6. Install the front park/turn signal/sidemarker lamp.
7. Close the hood.