
W 3500 L4-5.2L DSL Turbo (2005)
Fuel Injector: Service and Repair
Installation
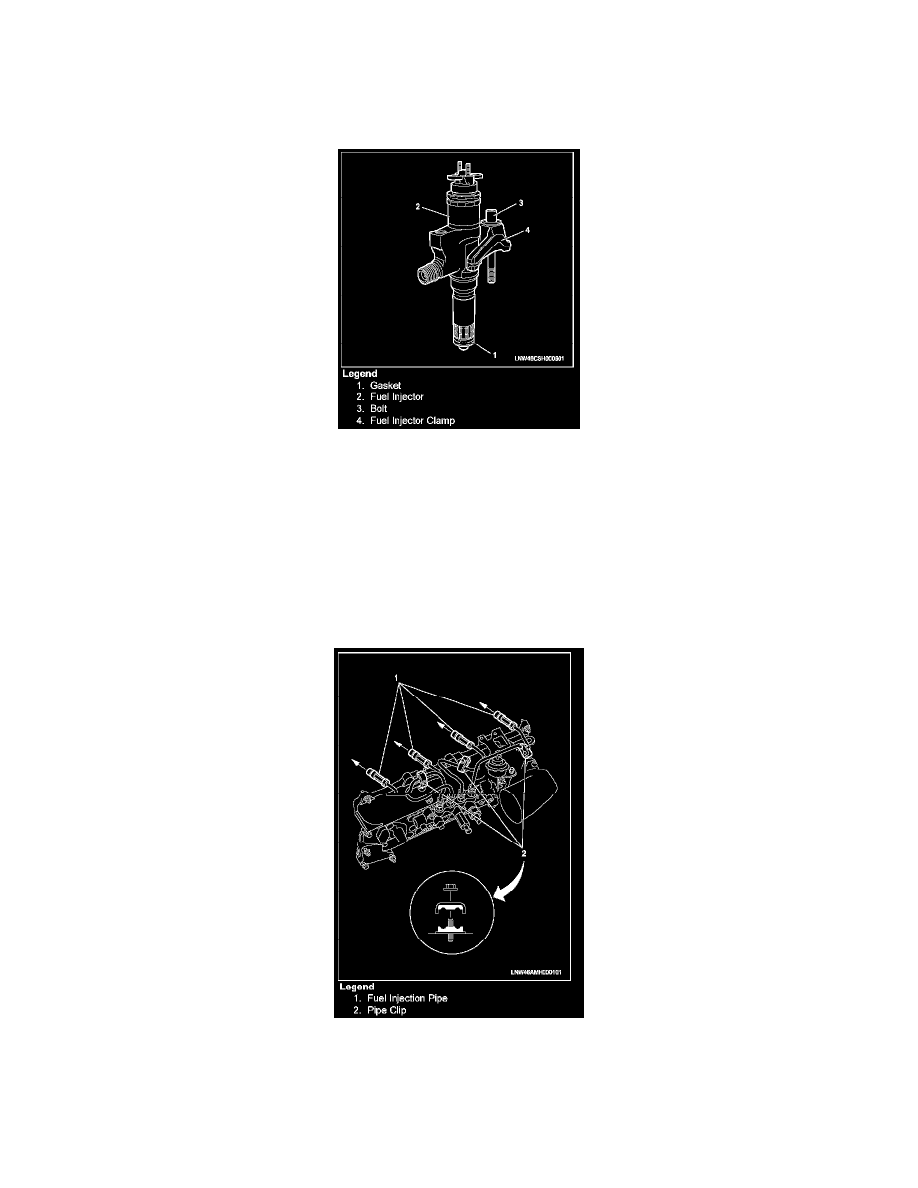
Fuel Injector
Installation
1. Install a new gasket and O-ring to each of the fuel injector clamps. Refer to the illustration.
2. Apply molybdenum to the threads and seating surfaces of the clamp bolts.
3. Install the fuel injector clamps to the cylinder head.
4. Temporarily tighten the clamp bolts.
5. Apply a thin coat of engine oil to the outer surface of the fuel injector side sleeve nuts.
6. Install the fuel injector pipes to the position shown in the illustration.
7. Use a spanner to carefully the sleeve nuts until the fuel injector pipes contact the fuel injector and common rail.
8. Tighten the fuel injection pipe clips to the specified torque.
Tightening torque: 6 N.m (5 lb ft)
9. Final tighten the injection clamp bolts to the specified torque.
Tightening torque: 30 N.m (22 lb ft)
10. Tighten the injection pipes to the specified torque.