
300 V6-3.5L (2008)
Scuff Plate: Service and Repair
Liftgate Sill Scuff Plate
Liftgate Sill Scuff Plate - Removal
REMOVAL
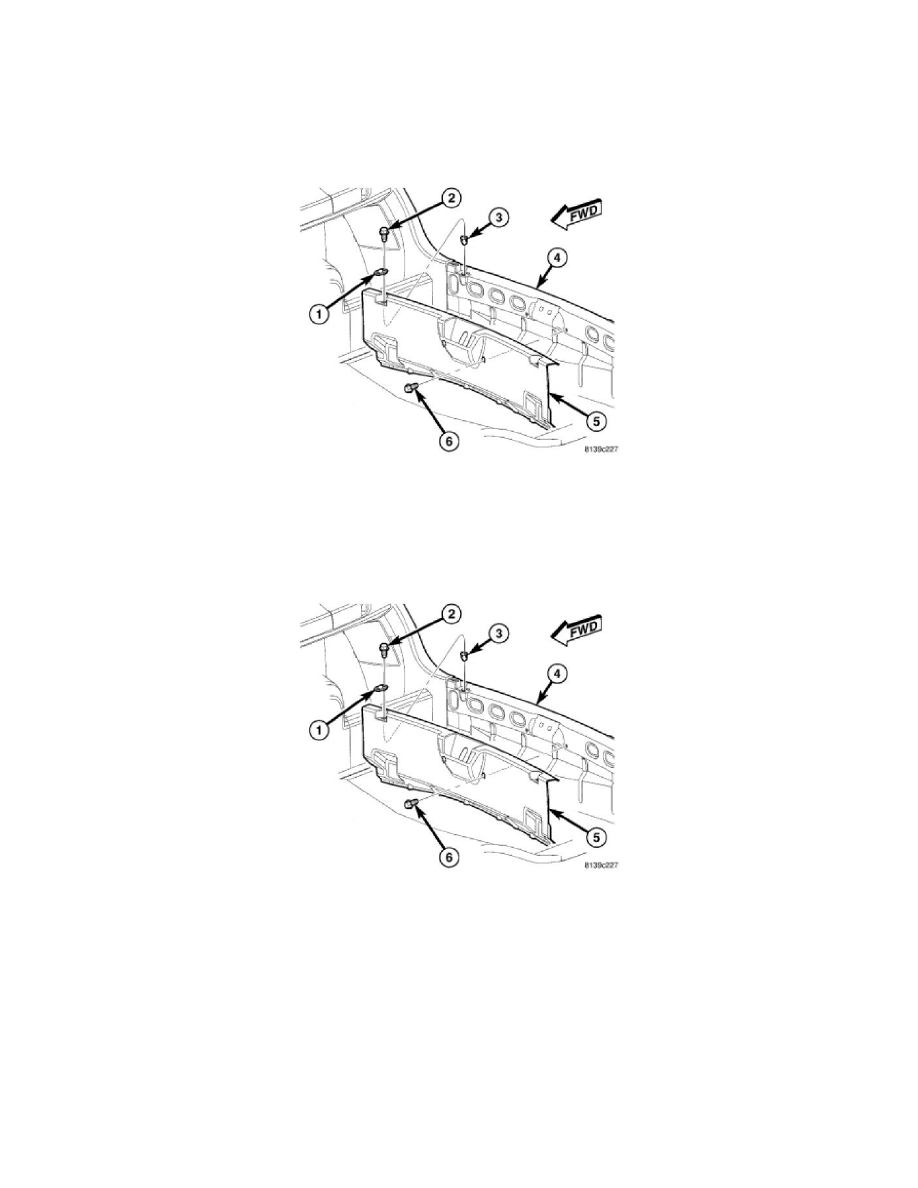
1. Remove the two screws (2) that secure the tie-down loops (1) and the scuff plate trim panel (5) to the top of the liftgate opening lower panel (4).
2. Remove the two screws (6) that secure the scuff plate trim panel to the inside of the liftgate opening lower panel.
3. Remove the scuff plate trim panel from the vehicle.
Liftgate Sill Scuff Plate - Installation
INSTALLATION
1. Check to be certain that two spring nuts (3) are properly installed and in good condition in the top of the liftgate opening lower panel (4).
2. Position the scuff plate trim panel (5) to the inside of the liftgate opening lower panel. Ensure that the trim edge is located into the seal crack.
3. Position the two tie-down loops (1) to the top of the trim panel.
4. Install and tighten the two screws that secure the tie-down loops and the scuff plate trim panel to the top of the liftgate opening lower panel.
Tighten the screws to 11 Nm (8 ft. lbs.).
5. Install and tighten the two screws (6) that secure the trim panel to the inside of the liftgate opening lower panel. Tighten the screws to 11 Nm (8 ft.
lbs.).