
Concorde V6-2.7L VIN V (2001)
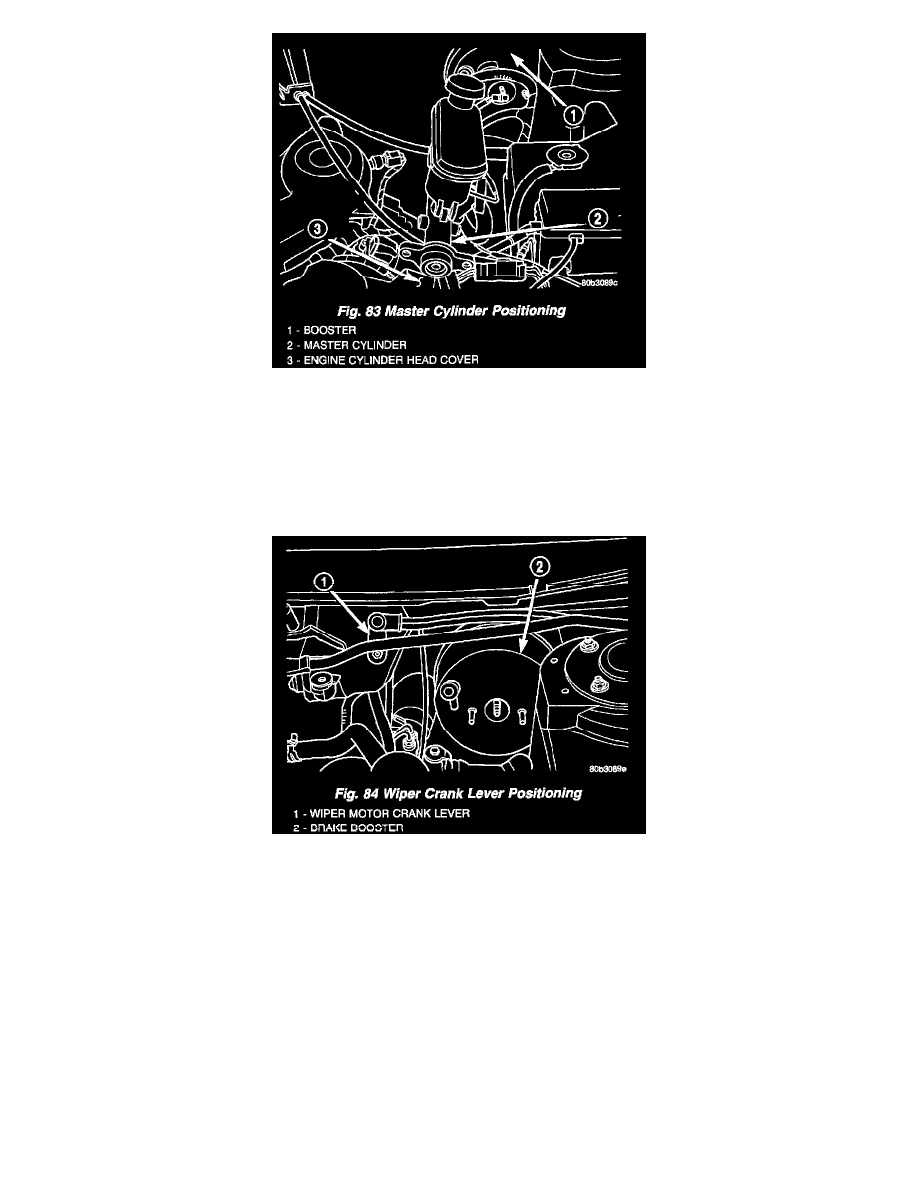
8. Carefully slide master cylinder off vacuum booster with brake lines attached, and position it backwards, on top of left engine cylinder head cover.
9. Disconnect vacuum hose from power brake booster check valve. DO NOT REMOVE CHECK VALVE FROM POWER BRAKE BOOSTER.
10. From under instrument panel, position a small screwdriver between the center tang on the power brake booster input rod to brake pedal pin
retaining clip.
11. Rotate screwdriver enough to allow retainer clip center tang to pass over end of brake pedal pin and pull retainer clip off pin. Discard retainer clip
it is not to be reused, replace only with a new retainer clip.
12. Remove the four nuts that attach the power brake booster to the vehicle dash panel. Nuts are accessible from under the dash panel in the area of the
steering column and pedal bracket.
13. Rotate the windshield wiper motor crank lever until the crank lever points in the 12 o'clock position.
14. Slide the power brake booster out of the dash panel and remove from vehicle .
CAUTION: Do not attempt to disassemble the power brake vacuum booster. it is serviced ONLY as a complete assembly.
INSTALLATION - POWER BRAKE BOOSTER
1. Position power brake vacuum booster on dash panel.
2. Install and tighten the 4 power brake booster to dash panel mounting nuts to 28 Nm (250 inch lbs.) torque.
3. Using Lubriplate or equivalent, coat the bearing surface of brake pedal pin.
4. Connect booster input rod to brake pedal pin and install a NEW retainer clip. Use only a new retainer clip DO NOT USE the old clip.
NOTE: Before installing master cylinder, reposition under hood wiring harness above master cylinder mounting studs, in front of booster).
5. Carefully position master cylinder on booster. Position wire harness routing bracket onto right master cylinder mounting stud.
6. Install and tighten the 2 master cylinder to booster mounting nuts to 28 Nm (250 inch lbs.) torque.
7. Reconnect brake fluid level sensor connector.
8. Connect all vacuum hoses onto the booster vacuum check valve.