
Concorde V6-2.7L VIN V (2001)
Power Window Switch: Service and Repair
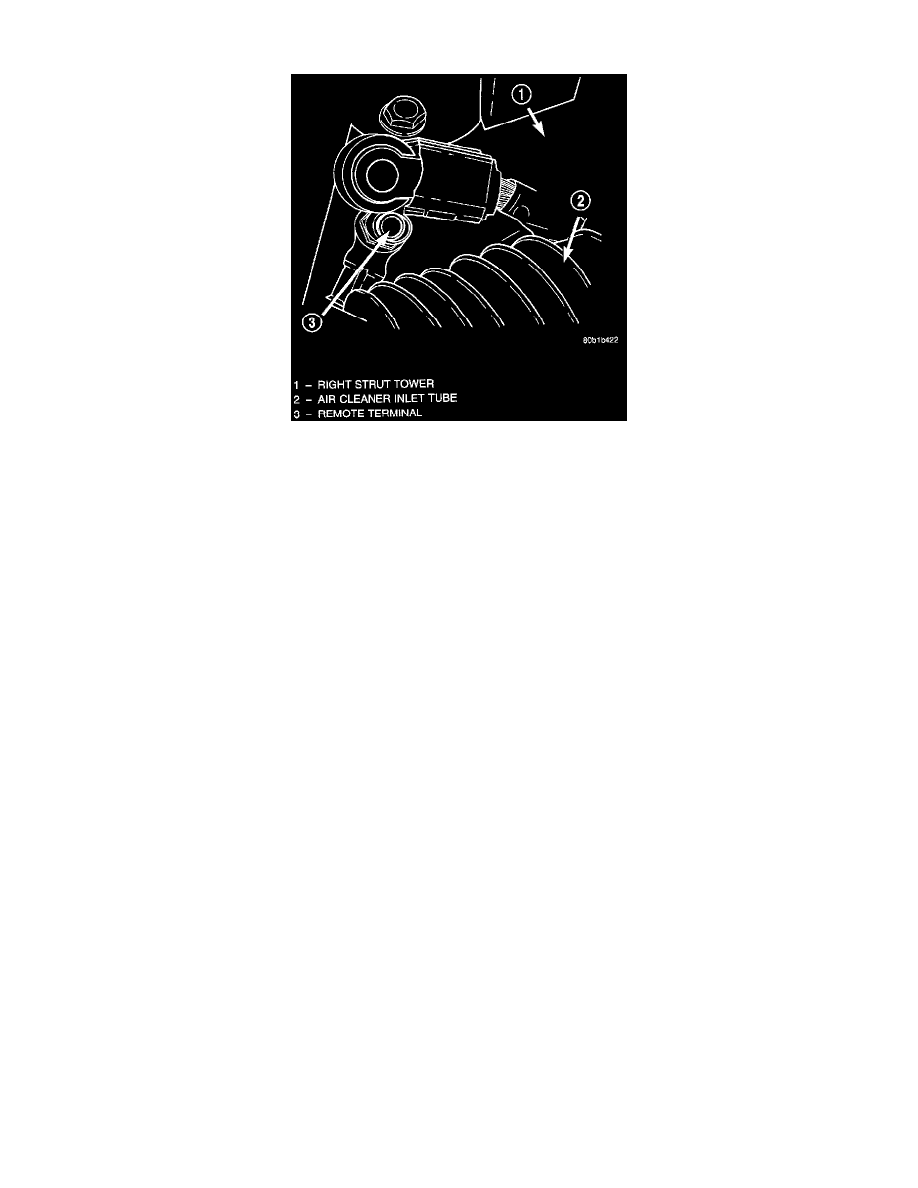
Negative Battery Cable Remote Terminal
REMOVAL
Master Switch
1. Open hood and disconnect the negative battery cable remote terminal from the remote battery post.
2. Remove driver's door trim panel.
3. Remove three mounting screws.
4. Remove switch and disconnect wire connector.
Passenger Switch
1. Open hood and disconnect the negative battery cable remote terminal from the remote battery post.
2. Remove passenger door trim panel.
3. Disconnect switch wire connector.
4. Remove switch from bezel and vehicle.
Rear Door Switches
1. Open hood and disconnect the negative battery cable remote terminal from the remote battery post.
2. Open rear door.
3. Using a trim stick (special tool #C-4755), gently pry up on rear edge of switch pushing forward as you pry up on switch bezel.
4. Pull switch up and out of rear door trim panel.
5. Using a trim stick, gently pry out on retaining tabs on side of switch connector and pull connector from switch.
6. Remove switch from vehicle.
INSTALLATION
Master Switch
1. Install switch and wire connector.
2. Install three mounting screws.
3. Install drivers door trim panel.
4. Connect negative battery cable remote terminal.
Passenger Switch
1. Install switch and wire connector.
2. Install door trim panel.
3. Connect negative battery cable remote terminal.
Rear Door Switches
1. Install connector to switch.
2. Insert switch into door trim panel.
3. Connect negative battery cable remote terminal.