New Yorker V6-181 2972cc 3.0L SOHC VIN 3 FI (1989)

1.
Loosen the following items: glass stabilizer screw (1), glass up-stops (2), lower liftplate retainer (3), and glass to liftplate attachments (4) (see
Figure 4).
2.
Raise the glass to full up position so that it is into the glass weatherstrip and full rearward into glass run.
3.
Rotate the glass into the seals by lightly prying up on the lower front edge of the glass through the access hole on the door (Figure 4).
This step positions the glass to the liftplate:
4.
Tighten glass to liftplate screws and torque to 50 in.lbs.
5.
Tighten lower liftplate retainer and torque to 105 in.lbs.
6.
Make sure glass is in full up position and tighten glass up-stops. Up-stop brackets must make contact with glass liftplate. Torque to 105 in.lbs.
7.
Push outward on door glass while tightening glass stabilizer screws. Torque to (105) in.lbs.
8.
Lower door glass and cycle twice. If adjustments are correct, the rear edge of the glass will be parallel to the door applique and the glass will seal
correctly.
FIGURE 5
Diagnosis D - Glass
1.
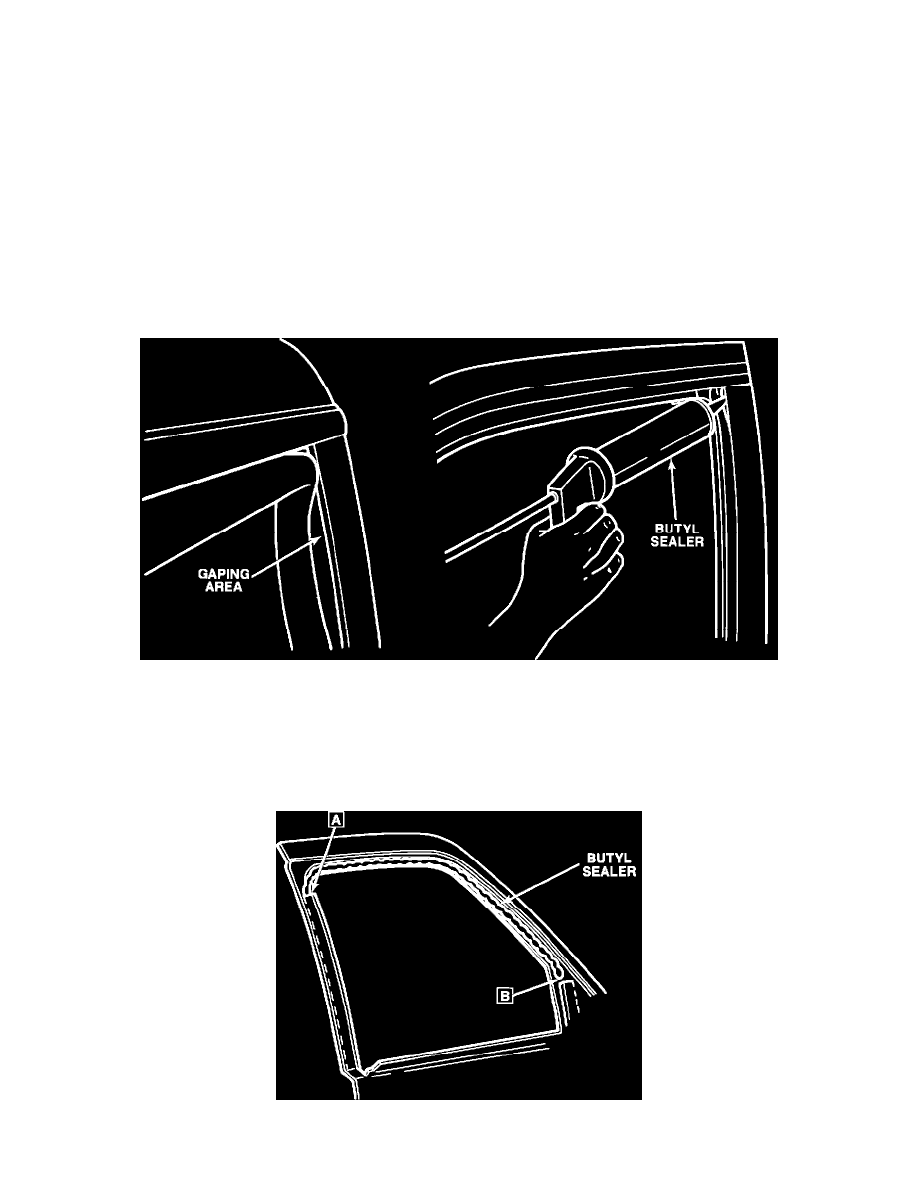
Inspect for a gaping condition at outside B-pillar area glass run to moulded corner outside leg which touches applique (usually within 1-2" of top
corner) (Figure 5).
2.
Repair this condition by filling the gap with pumpable butyl (PN 2498190) (See Figure 5). Allow to cure with the glass in the up position.
FIGURE 6
