
Pacifica V6-3.8L VIN L (2005)
Trunk / Liftgate Striker: Service and Repair
LATCH STRIKER
REMOVAL
1. Open liftgate.
2. Remove liftgate sill scuff plate. Refer to Trim Panel.
3. Mark outline of striker on sill to aid installation.
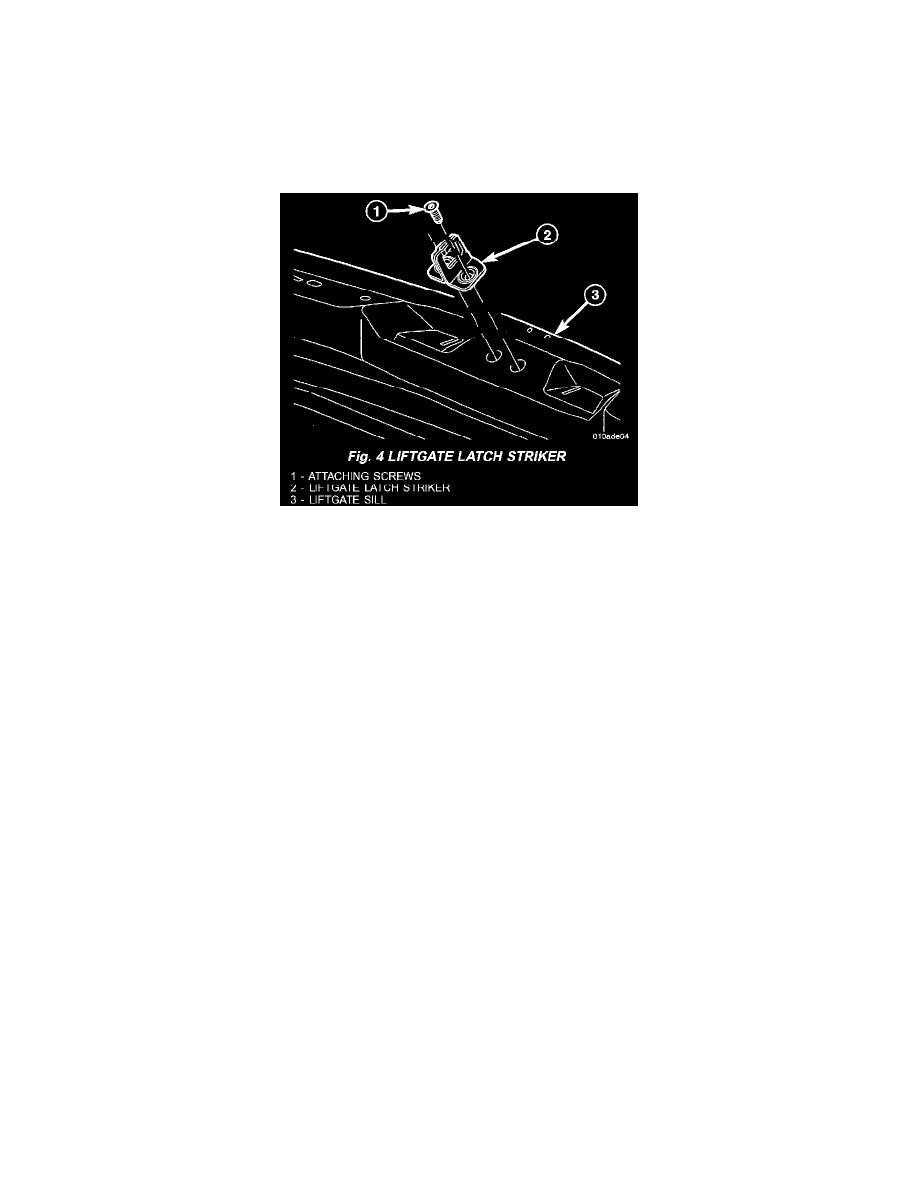
Fig. 4
4. Remove screws attaching striker to sill (Fig. 4).
5. Remove striker from vehicle.
INSTALLATION
1. Place striker in position on vehicle (Fig. 4).
2. Align striker to outline mark on sill.
3. Install screws attaching striker to sill. Tighten screws to 28 N.m (21 ft.lbs.) torque.
4. Verify liftgate alignment and operation.
5. Install liftgate sill scuff plate. Refer to Trim Panel.