
PT Cruiser L4-2.4L (2008)
Refrigerant Pressure Sensor / Switch: Service and Repair
A/C High Pressure Switch
Removal
REMOVAL
WARNING: Review safety precautions and warnings in this group before performing this procedure See: Service Precautions/Warning and
See: Service Precautions/Caution. Failure to follow the warnings and cautions could result in possible personal injury or death.
1. Disconnect and isolate the negative battery cable.
2. Recover the refrigerant from the refrigerant system See: Service and Repair/Refrigerant System Recovery.
3. Raise and support the vehicle.
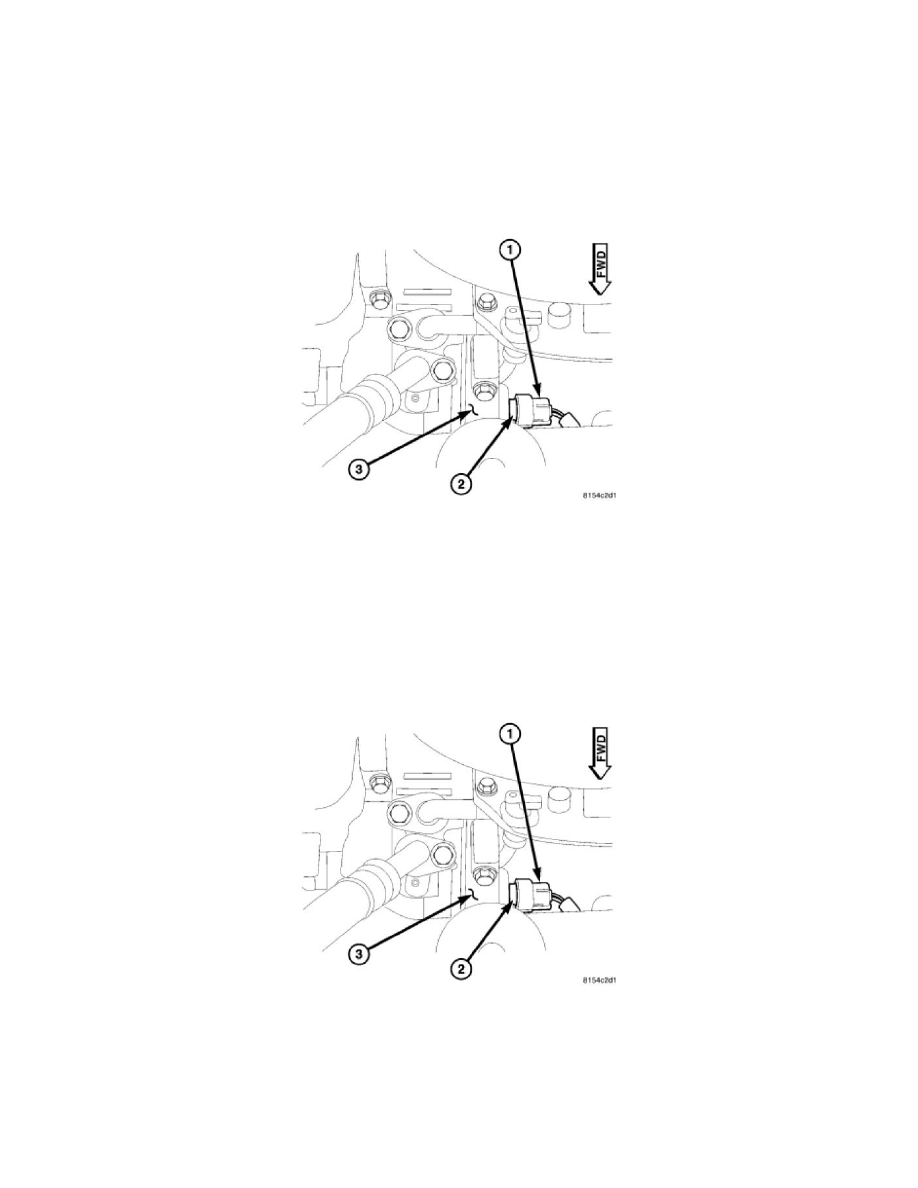
4. Disconnect the wire harness connector (1) from the A/C high pressure switch (2) located at the rear of the A/C compressor (3).
5. Using snap ring pliers (Special Tool C-4574 or equivalent), remove the internal snap ring that secures the A/C high pressure switch to the A/C
compressor.
6. Remove the A/C high pressure switch from the A/C compressor and remove and discard the O-ring seal.
Installation
INSTALLATION
1. Clean any foreign matter from the switch mounting bore at the rear of the A/C compressor (3).
2. Lubricate a new rubber O-ring seal with clean refrigerant oil and install it onto A/C high pressure switch (2). Use only the specified O-ring as it is
made of a special material for the R-134a system. Use only refrigerant oil of the type recommended for the A/C compressor in the vehicle.
3. Install the A/C high pressure switch onto the rear of the A/C compressor.
4. Using snap ring pliers (Special Tool C-4574 or equivalent), install the snap ring that secures the A/C high pressure switch to the A/C compressor.
5. Connect the wire harness connector (1) to the A/C high pressure switch.
6. Lower the vehicle.
7. Reconnect the negative battery cable.