
PT Cruiser L4-2.4L (2008)
Seat Belt Retractor: Service and Repair
Front Seat Belt Retractor - Removal
REMOVAL
WARNING: Front seat belt assemblies must be replaced after a collision.
WARNING: If equipped with Seat Belt Tensioners, the retractor will have pyrotechnics inside the retractor assembly and must be handled
with care See: Service Precautions.
1. Disconnect and isolate the battery negative cable.
WARNING: Wait two minutes for the system reserve capacitor to discharge before servicing any airbag components. Failure to do this
may result in serious or fatal injury.
2. Slide seat to the full forward position.
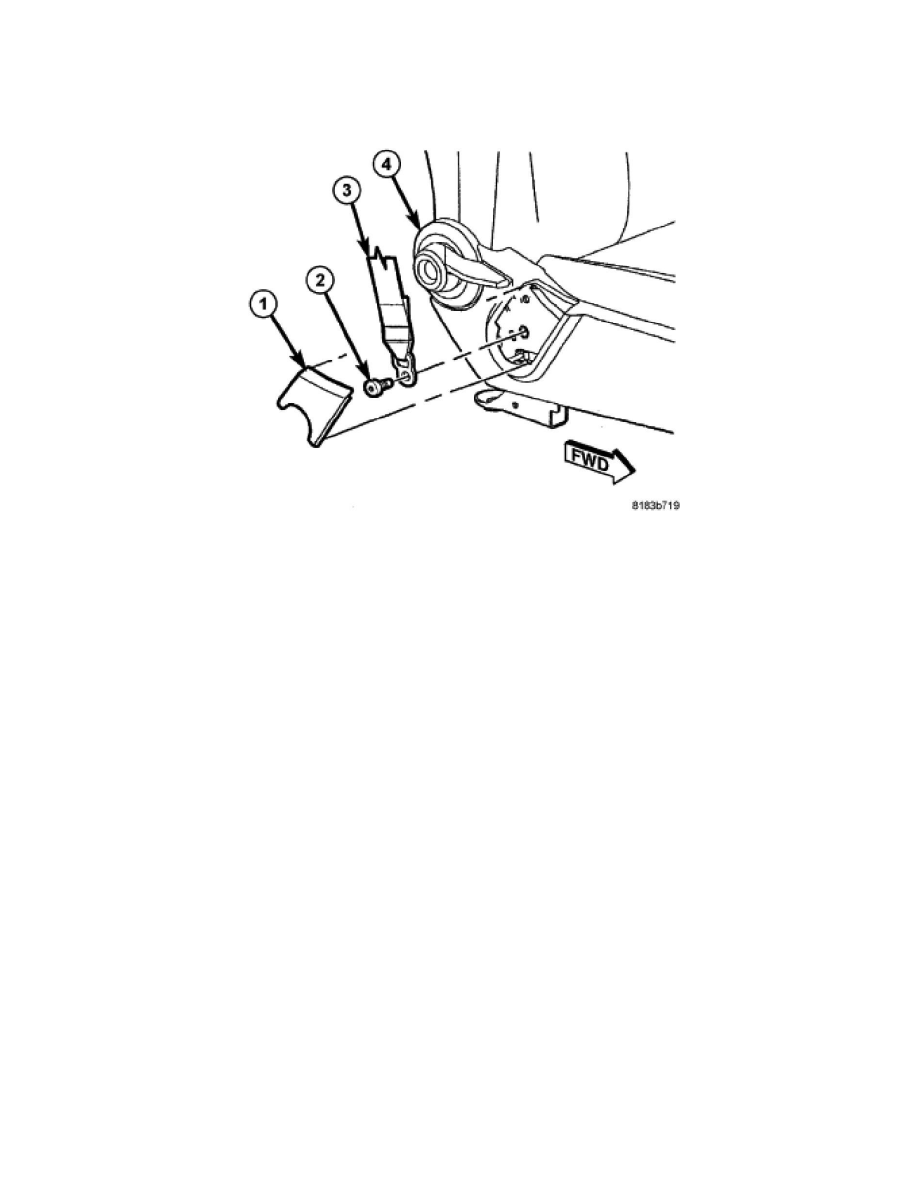
3. Using a trim stick or equivalent, gently pry off the seat belt anchor bolt cover (1) on the outboard side of the seat cushion side panel.
4. Remove the seat belt anchor bolt (2).
5. Remove plastic turning loop cover.
6. Remove shoulder belt height control knob.
7. Remove bolt attaching turning loop to belt adjuster.
8. Remove upper B-pillar trim See: Body and Frame/Interior Moulding / Trim/Trim Panel/Service and Repair/Pillar Trim/B-Pillar Trim.
9. Remove access cover from B-pillar trim.
10. Disengage clips attaching trim to B-pillar.
11. Feed seat belt turning loop and seat belt through trim panel.
12. Disconnect electrical connector.
13. Remove the webbing mid guide two screws.
14. Remove lower B-pillar trim from vehicle.
15. Remove front seat belt retractor.