
PT Cruiser L4-2.4L (2008)
Tilt Wheel Handle: Service and Repair
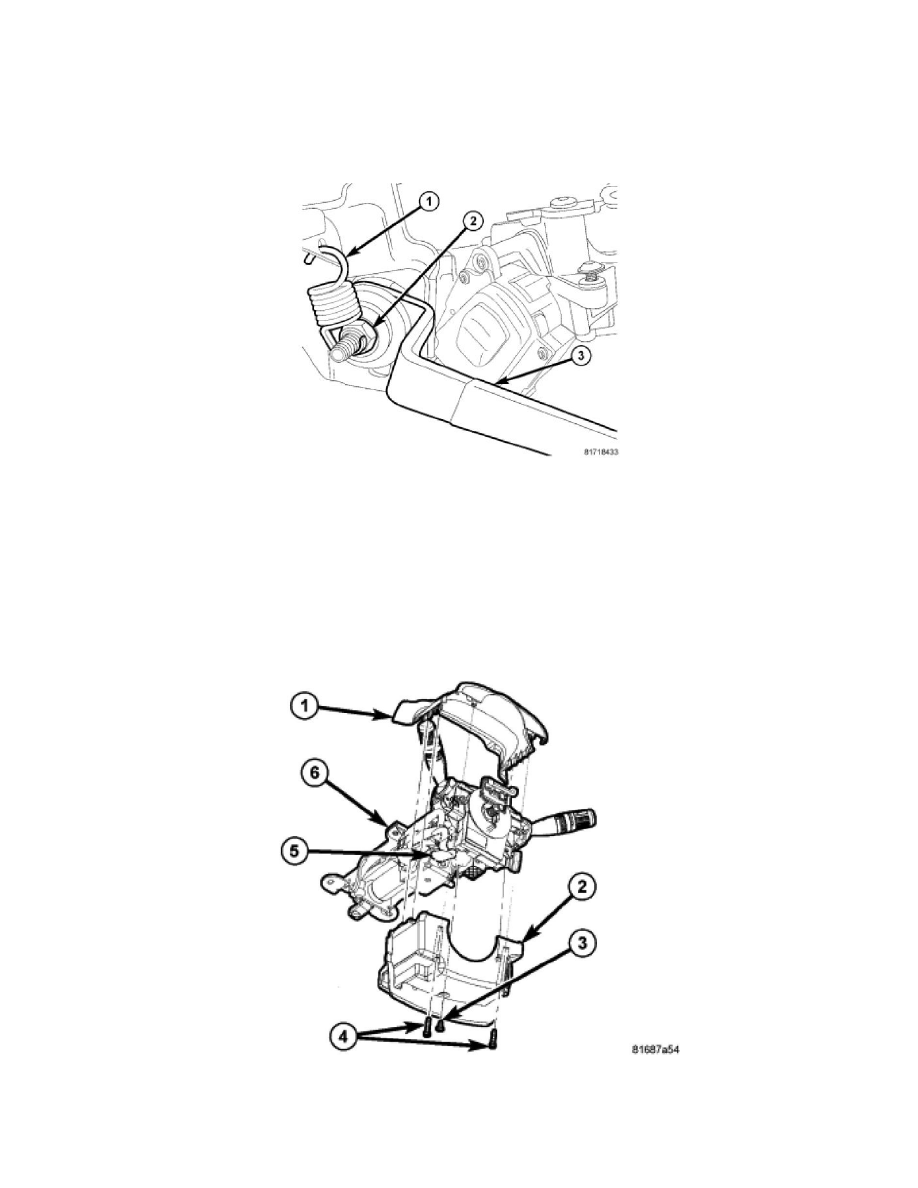
Installation
INSTALLATION
1. Line up the oval boss on the rear of the tilt lever with the tilt slot in the steering column as the lever is installed onto the tilt bolt. Make sure the tilt
bolt stays in place while doing so.
NOTE: The Tilt bolt head has an oval boss on it similar to that on the tilt lever. These bosses must stay in the steering column tilt slot while the
mechanism is assembled.
2. While holding the tilt bolt and lever (3) in place in the tilt slot, install the lock nut (2). Do not tighten the lock nut, but install it far enough that the
bosses on the bolt and lever cannot come out of the tilt slot.
3. Place the tilt lever in the locked (full upward) position.
4. Tighten the lock nut (2) to 7 Nm (60 in. lbs.).
5. Place the tilt lever in the released (downward) position, then back into the locked position. There should be approximately 10 lbs. (4.5 Kg) of
force needed to place the lever in the locked position using a force gauge. If there is not, tighten the lock nut slightly to increase force or loosen the
lock nut slightly to reduce force to meet the specification.
6. Install the spring (1).
7. Install the lower (2) and upper (1) steering column shrouds. See: Steering Column Cover/Service and Repair/Shroud - Lower/Installation