
PT Cruiser L4-2.4L (2008)
8. Install the two screws securing the cooler to the front suspension crossmember. They are located behind the cooler.
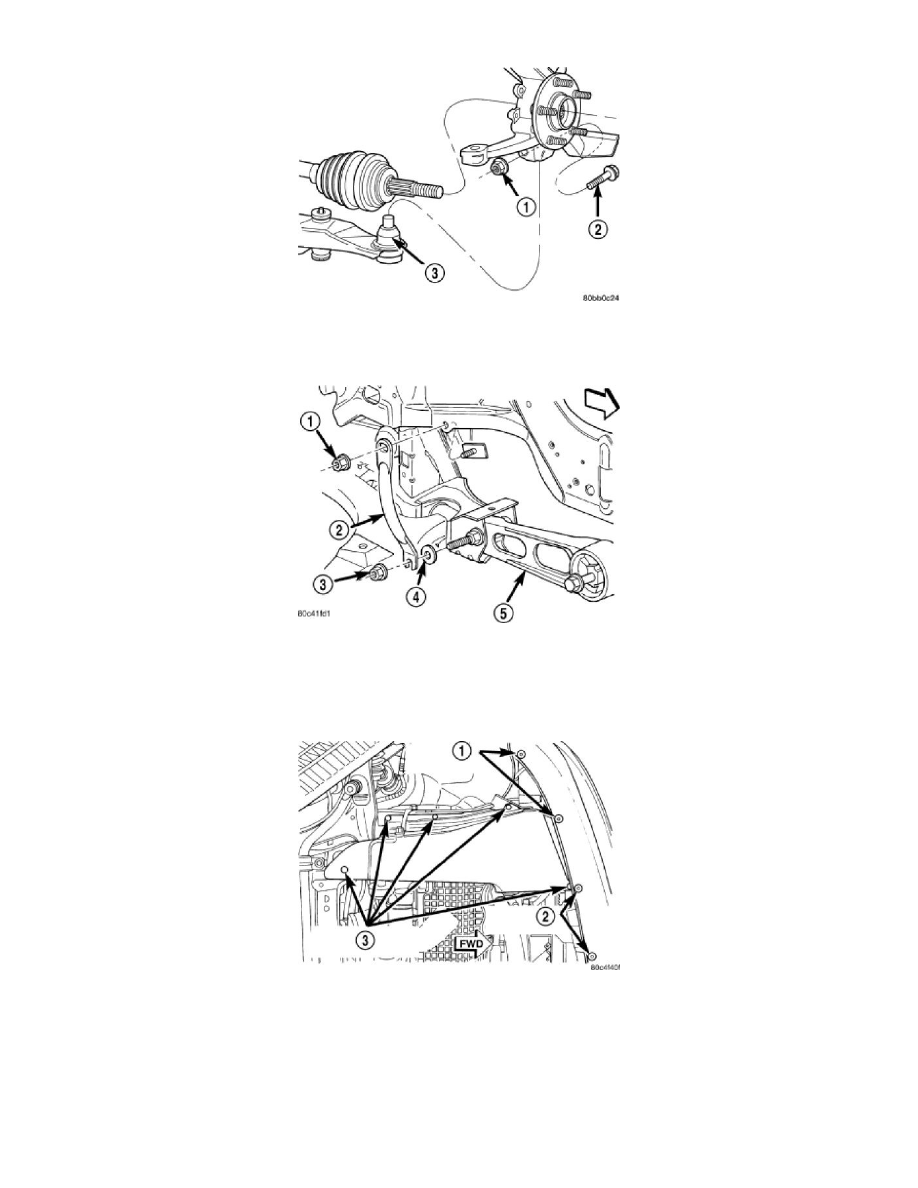
9. Install each ball joint stud into the steering knuckle aligning the bolt hole in the knuckle boss with the notch formed in the side of the ball joint
stud.
10. Install a new ball joint stud pinch bolt (2) and nut (1). Tighten the nut (1) to a torque of 95 Nm (70 ft. lbs.).
11. Fasten the engine torque strut to the right forward corner of the front suspension crossmember using the mounting bolt. Follow the procedure
described in the ENGINE area to properly align and tighten the torque strut and it's mounting bolts.
12. Install the washer (4) on the end of the stud extending from the torque strut bolt.
13. Install the pencil strut (2) to the right front corner of the crossmember and body of the vehicle. Tighten the pencil strut nuts (1) to a torque of 58
Nm (43 ft. lbs.).
14. Install the drive-belt splash shield and fasteners (3).
15. Install the screws fastening the front fascia to the reinforcement.
NOTE: Before installing the stabilizer bar, make sure the bar is not upside-down. The stabilizer bar must be installed with the curve on
the outboard ends of the bar facing downward to clear the control arms once fully installed.