
PT Cruiser L4-2.4L Turbo VIN 8 (2005)
Hood Striker: Service and Repair
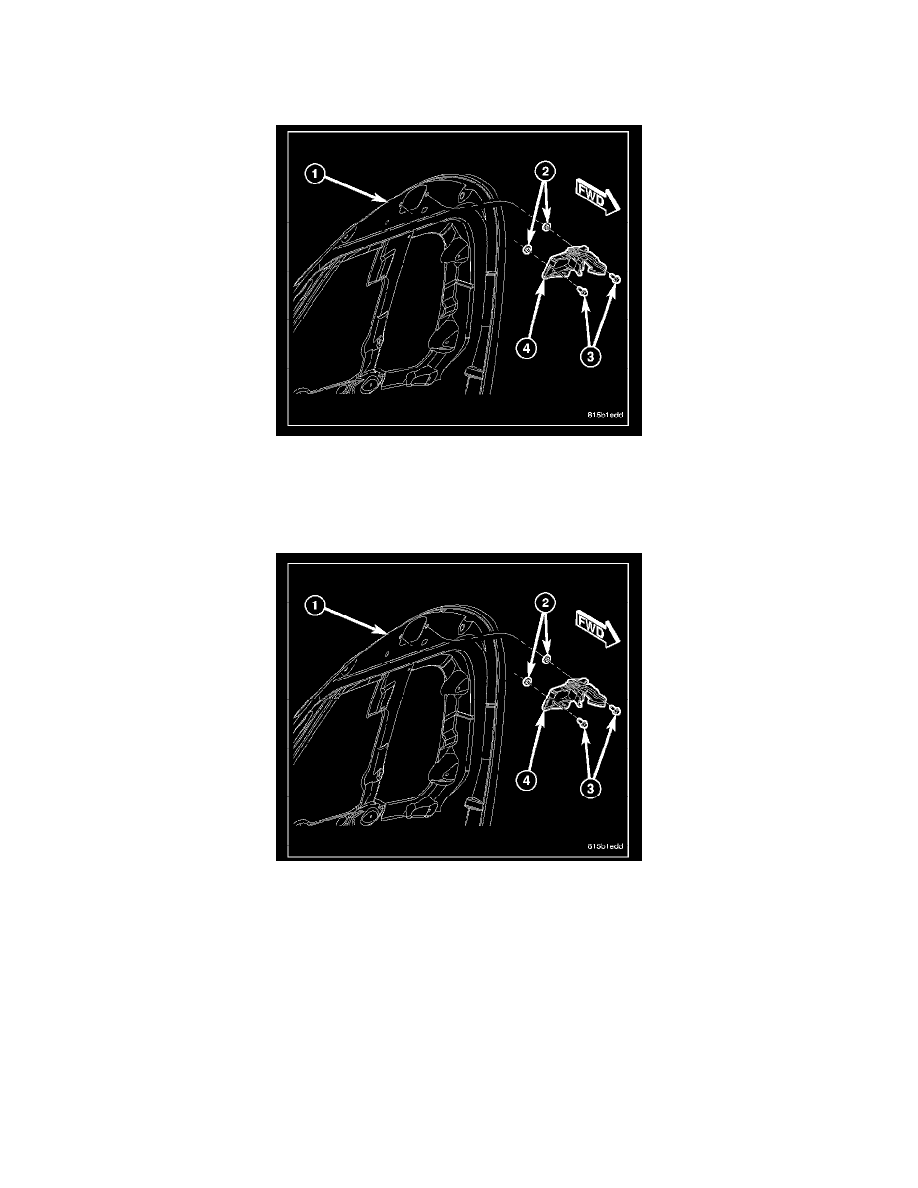
STRIKER
REMOVAL
1. Open and support the hood.
2. Mark the location of the hood striker (4) on the hood (1) with a grease pencil or other suitable device to provide reference marks for reinstallation.
3. Remove the two bolts (3) that secure the striker to the hood and remove the striker and spacers (2), if equipped.
INSTALLATION
1. Position the hood striker (3) and any spacers (2) to the hood (1).
2. Loosely install the two bolts (3) that secure the striker to hood.
3. Align the striker to the hood using the previously marked locations and tighten the retaining bolts to 13.5 N.m (10 ft. lbs.).
4. Verify hood alignment and latch operation. The hood should have even gaps aligned to 4 mm (0.160 in.) to the adjacent body panels.